Triple Chocolate Cake
This post contains affiliate links. Read the full disclosure here.
Get ready for the ultimate triple chocolate cake! This moist chocolate cake is packed with mini chocolate chips and covered in the dreamiest chocolate buttercream. It’s the perfect layer cake for chocolate lovers!

Is there anything better than a big slice of chocolate cake? Based off of my hugely popular chocolate cake, this triple chocolate cake is even more chocolatey! Just like my triple chocolate brownies – triple the chocolate means triple the fun.
With mini chocolate chips baked right into the cake layers, this cake is decadent and perfect for birthdays, celebrations and family gatherings!
Why You’ll Love This Triple Chocolate Cake
- After seeing how easy it is to make this triple chocolate cake, you’ll never need a box mix again!
- Since this is an oil based cake, it is extra moist!
- You don’t need any fancy ingredients for this cake. I bet you’ve got everything you need already in your kitchen.
- This moist chocolate cake is covered in an ultra rich chocolate frosting.
- You can easily make this chocolate cake dairy free, so it’s perfect for those with food allergies.
Ingredients Needed

- Chocolate Chips: I recommend using mini chocolate chips. Since they’re smaller they won’t all fall to the bottom of the cake, plus mini chocolate chips are much more pleasant to bite into.
- Milk: you can use whole milk or a dairy free milk of your choice if you’re dairy-free. This recipe has been tested both ways.
- Butter: feel free to use regular butter or vegan butter if you’re dairy free.
- Cocoa Powder: I recommend using dutch processed cocoa powder in this recipe.
- Shortening: if you’re using vegan butter in the frosting, I recommend combining it with some shortening.
Step by Step Instructions
Step 1: Preheat your oven to 350°Fahrenheit and line three 8 inch round cake pans with parchment paper. Spray each one with nonstick spray then line the bottoms of the pans. Set aside.
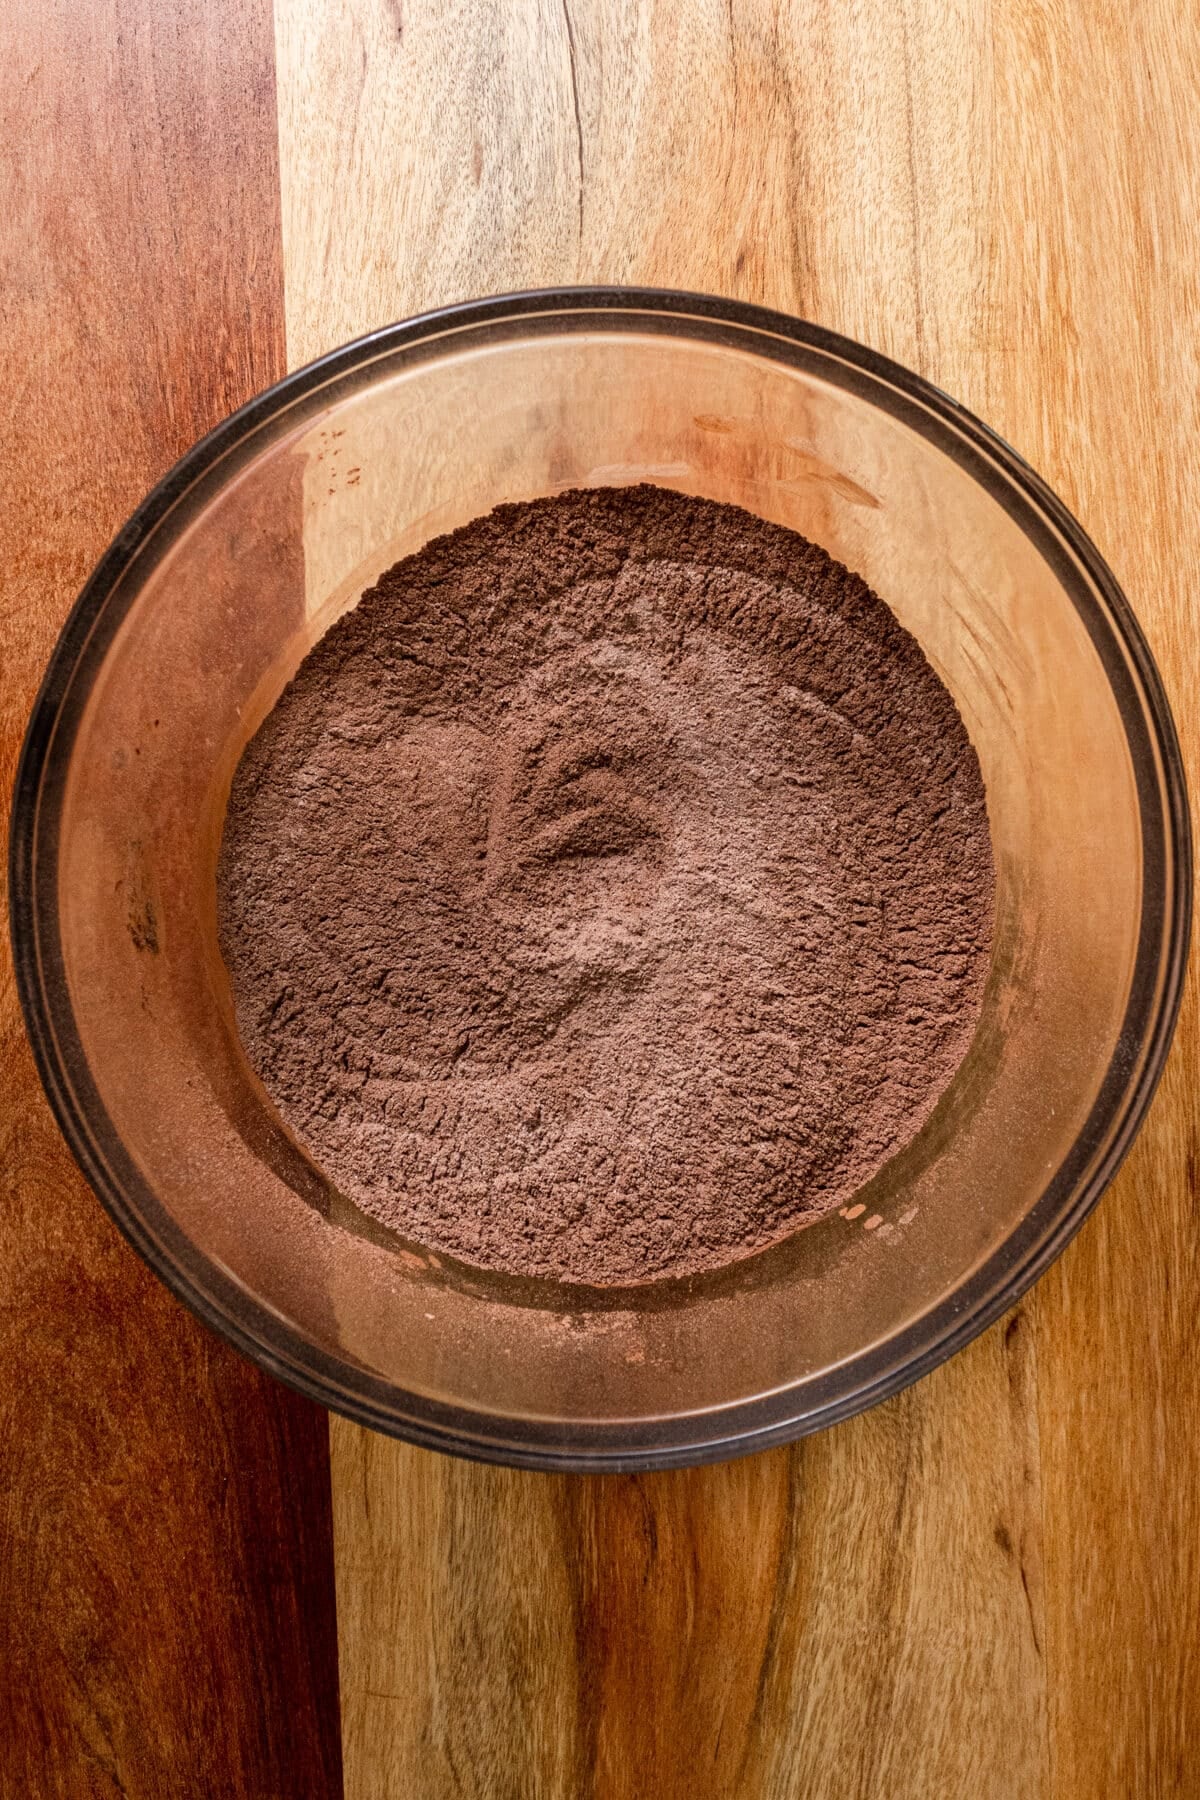
Step 2: In a large bowl, whisk together the flour, sugar, cocoa powder, salt, baking powder and baking soda together.
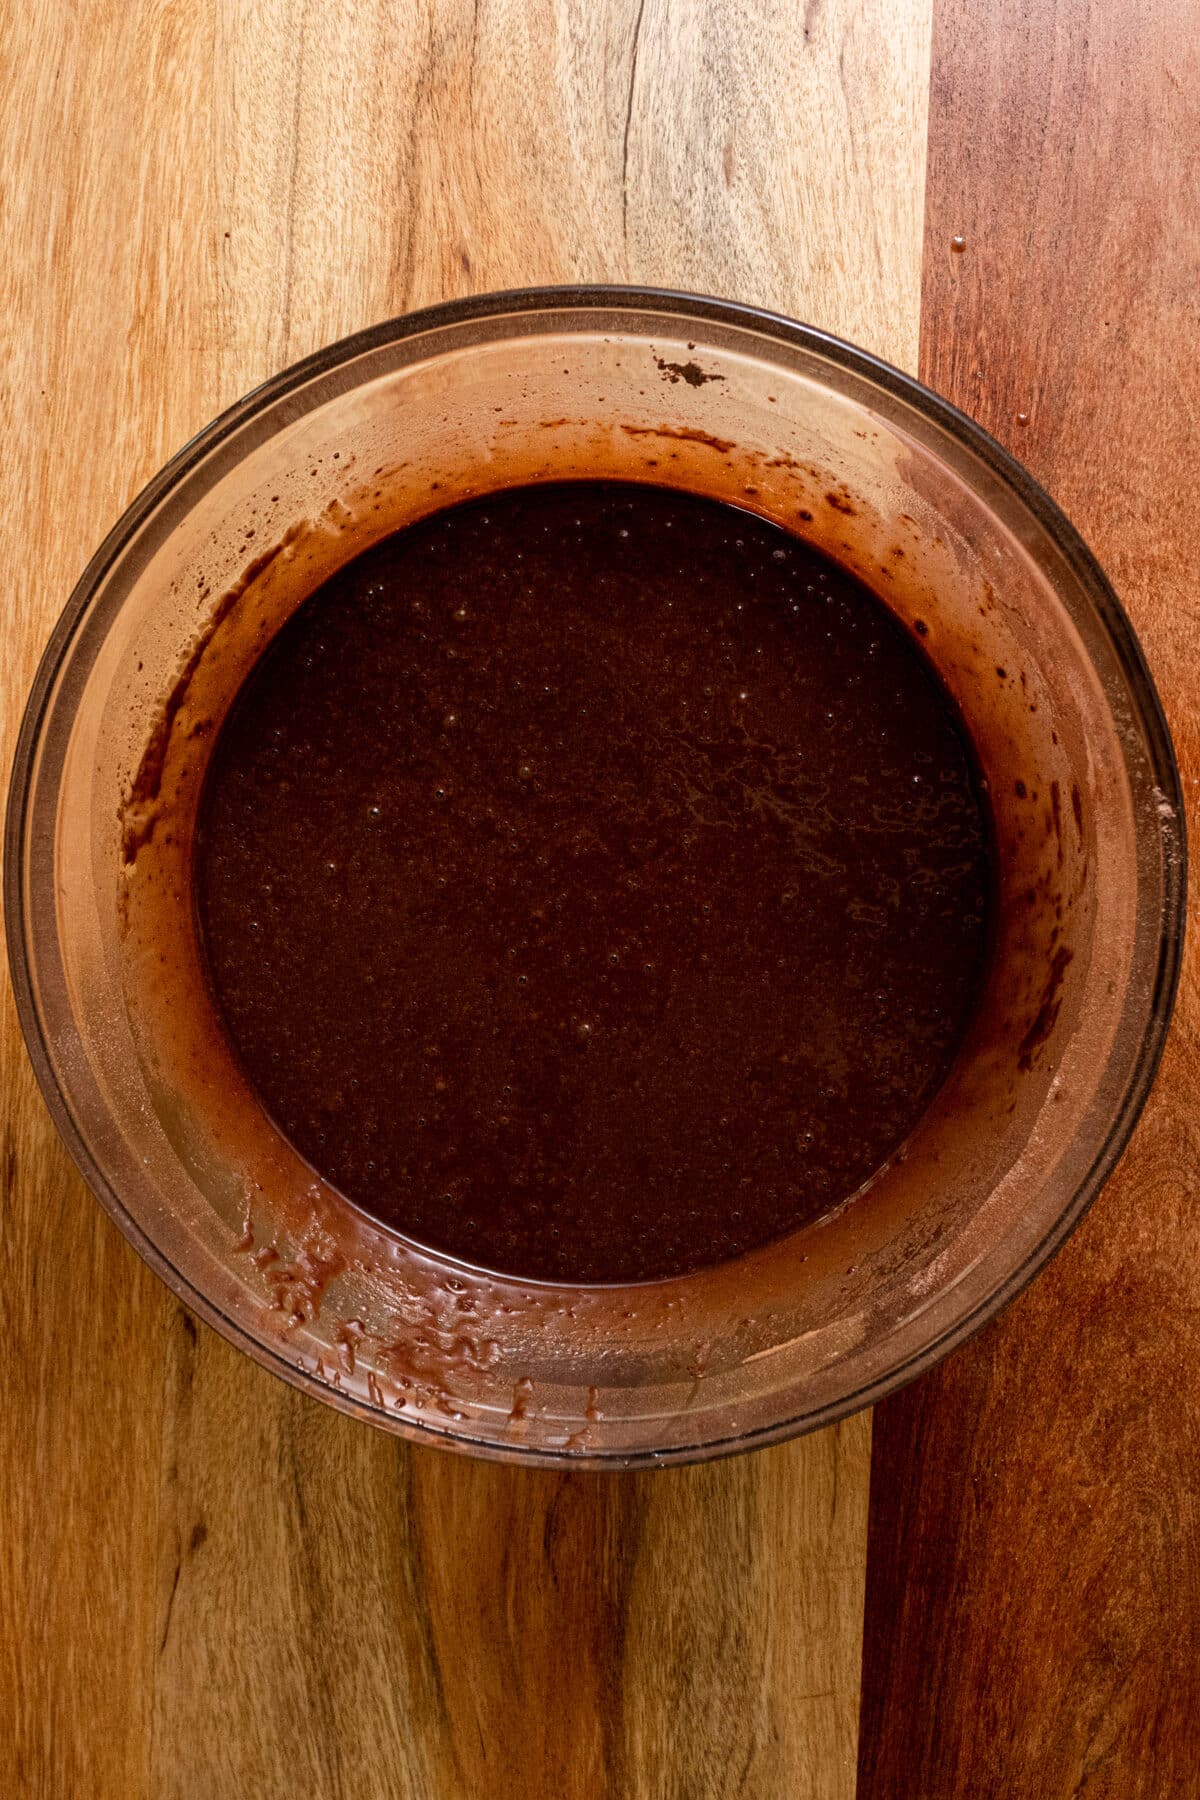
Step 3: Add in the eggs, vanilla extract, milk, oil and hot water into the dry ingredients and mix until smooth. Stir in the mini chocolate chips.
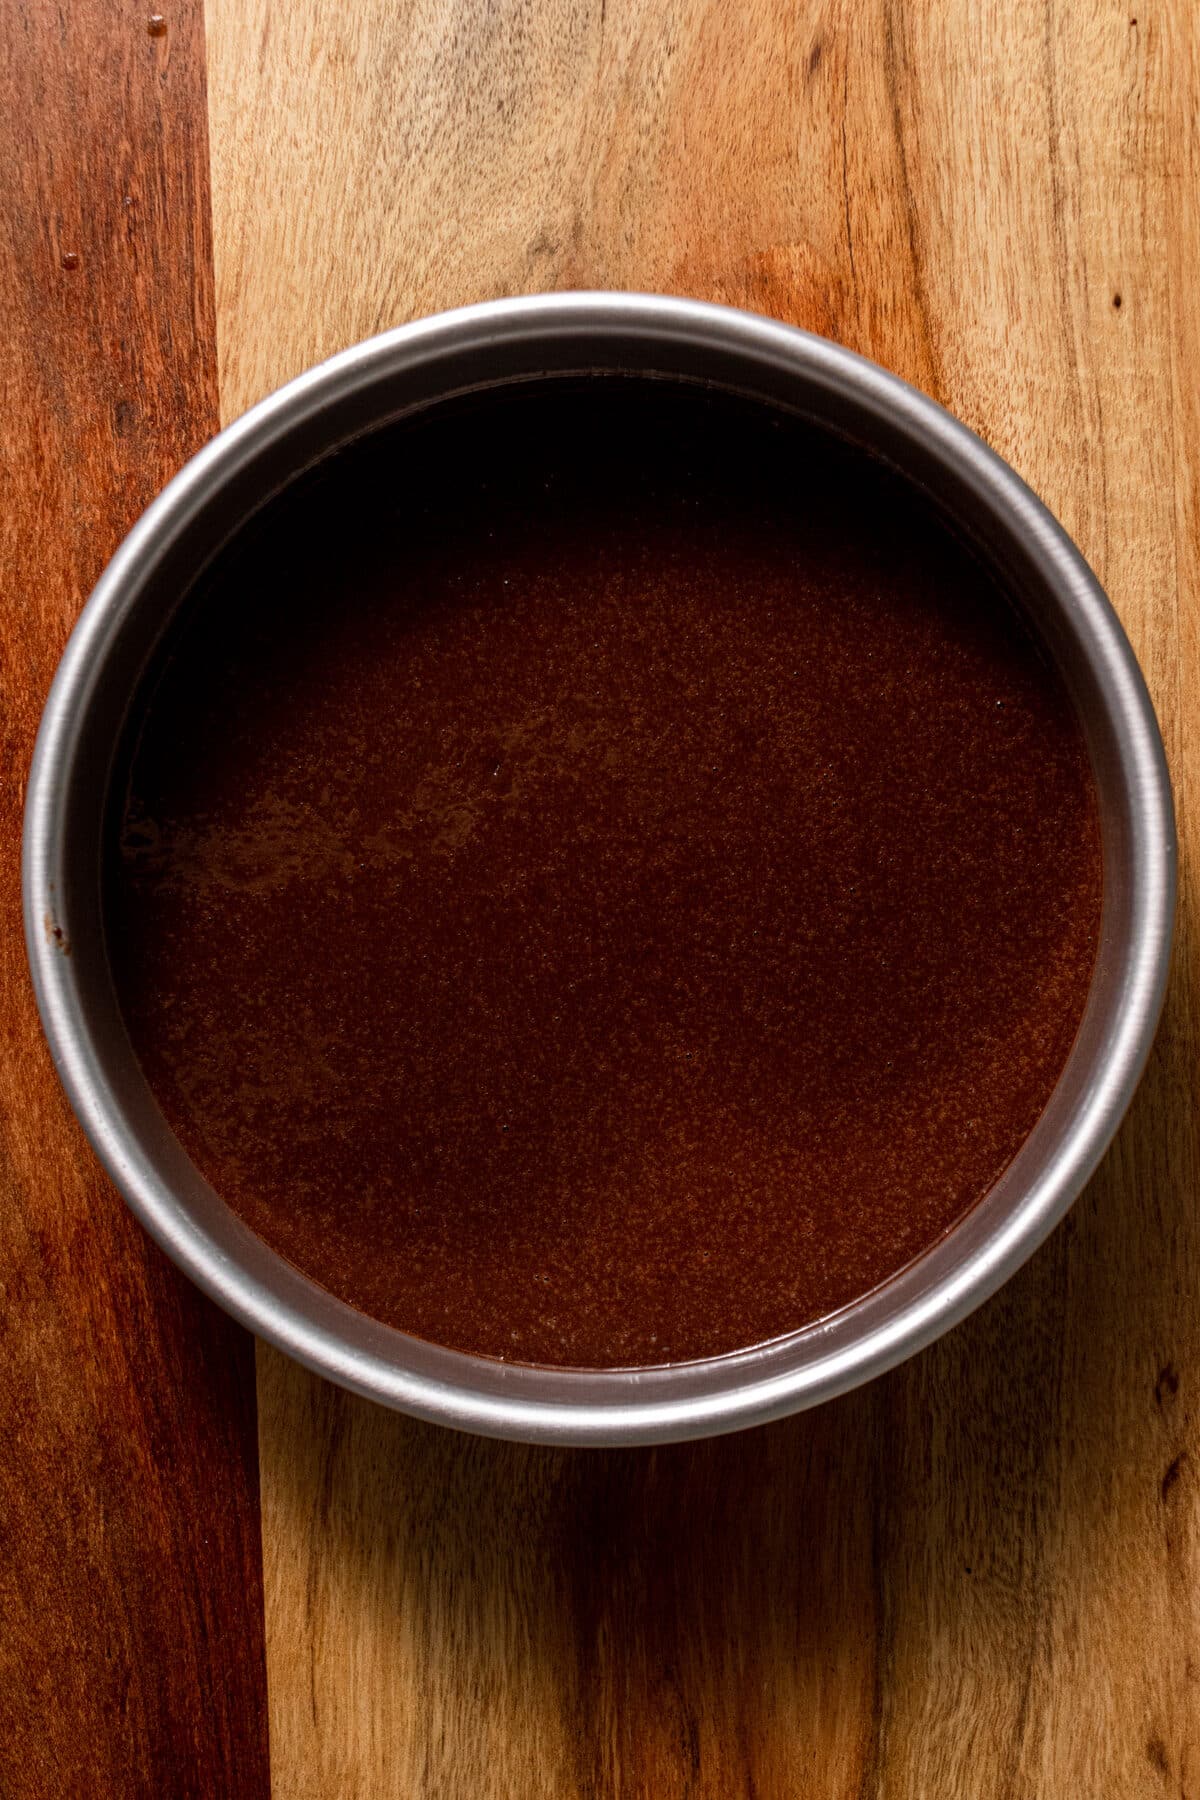
Step 4: Divide the chocolate cake batter between the 3 cake pans and bake for 20-26 minutes. You’ll know they’re done when a toothpick inserted in the middle of the cake comes out clean with no crumbs.
Step 5: Let the cakes cool in the pan for about 20 minutes, then remove and cool completely on a wire cooling rack.
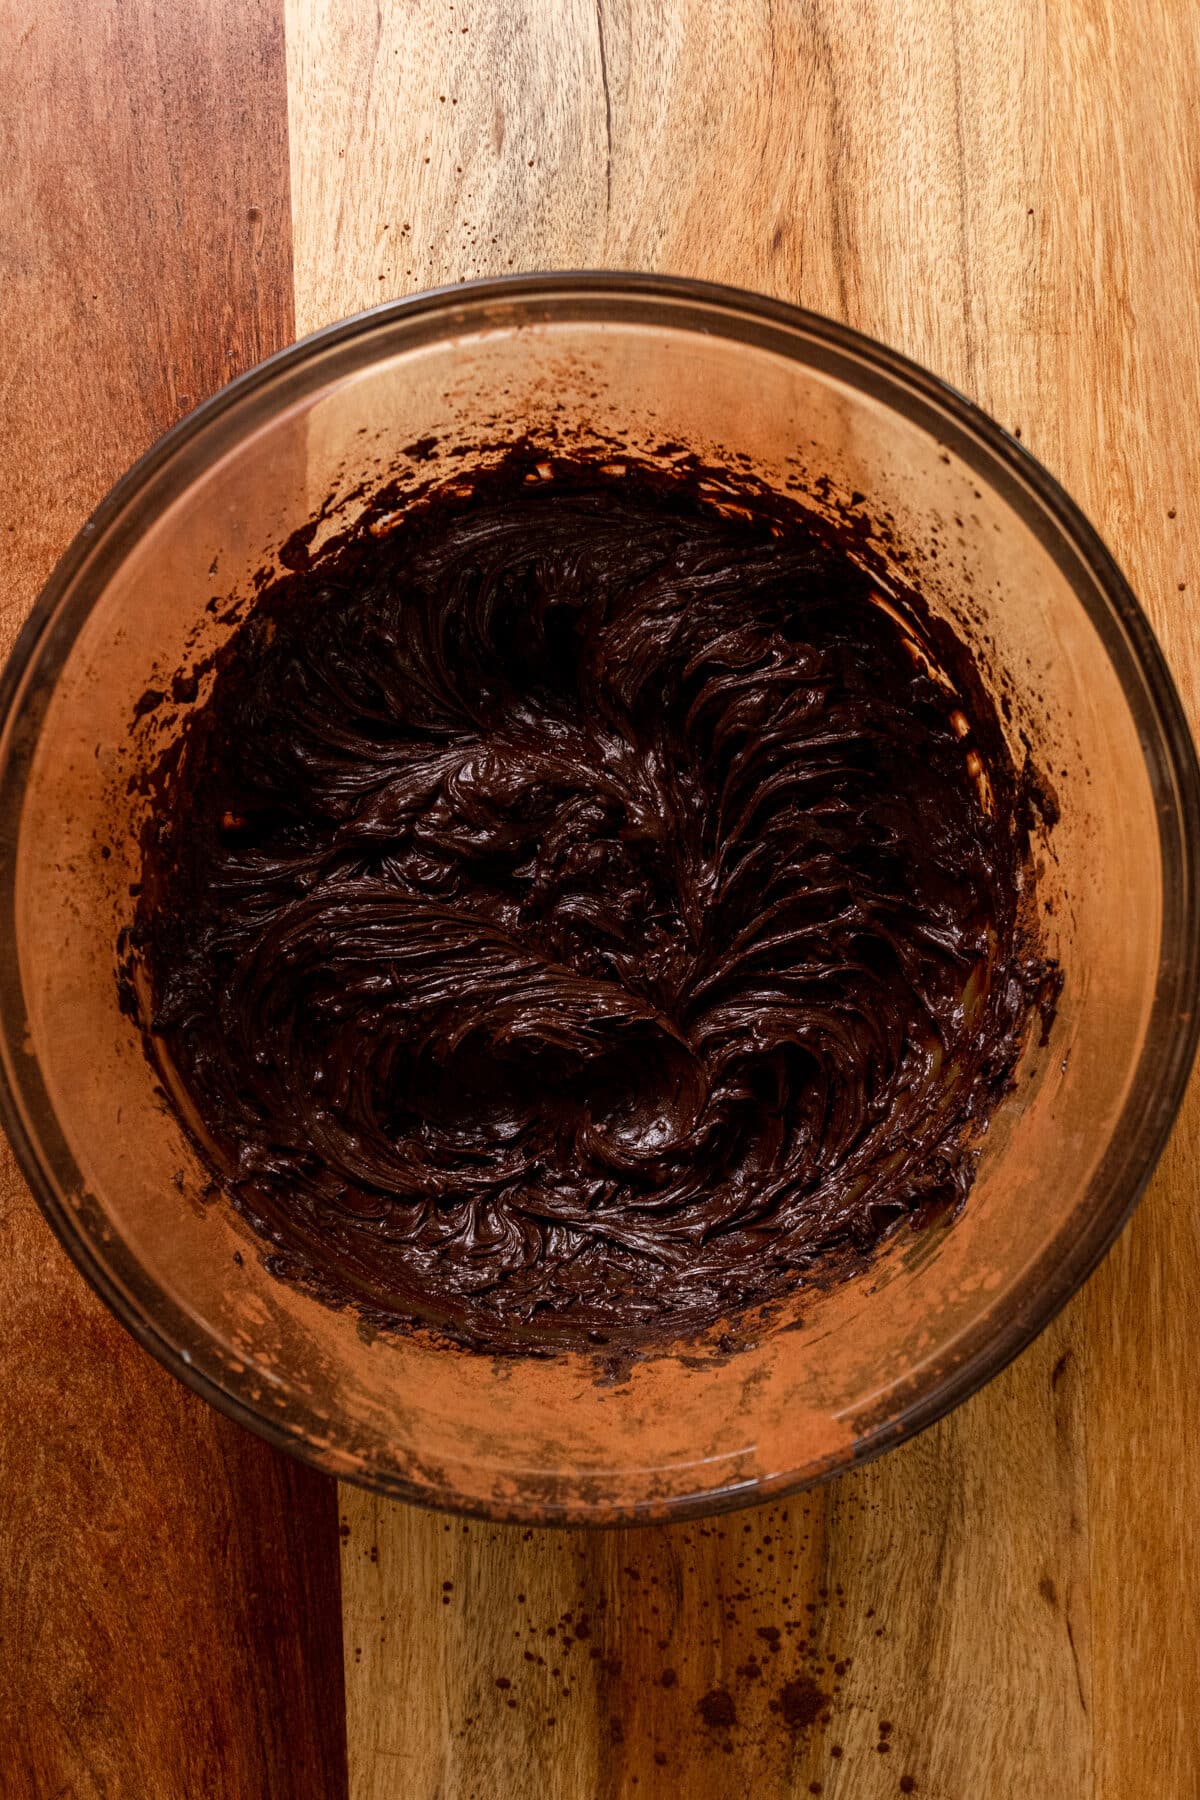
Step 6: Once the cakes are cool you can make the buttercream. In the bowl of a stand mixer or in a large bowl with a hand mixer, beat the butter (and shortening, if using) together until smooth. Add the cocoa powder and beat together.
Step 7: Add the vanilla extract and the icing sugar, ¼ cup at a time until it’s the consistency you like.
If you think the buttercream is too thick, you can add 1 tablespoon of milk at a time until it’s the consistency you want. If the chocolate frosting gets too thin, add ¼ cup of confectioners’ sugar at a time.
Step 8: Assemble the cake! Place the first cake layer on a cake plate and place some of the chocolate frosting on top and smooth it over.
Repeat this once more, then place the final cake on top and frost the sides and top of the cake. Decorate as you wish!

Expert Tips
- I recommend using a weighing scale when you’re baking! It is so easy to add too much flour or cocoa powder if you’re using measuring cups, and that’ll lead to a dry cake. If you don’t have a weighing scale, make sure you use the scoop and level method. Use a fork to fluff up the flour, then use a spoon to spoon the flour into the measuring cup. Run the back of a knife along the top of the cup so it’s even. Make sure you also do this for the cocoa powder as well.
- You should always grease and line your cake pans with parchment paper when baking a cake. If you don’t do this, your cake might stick to the pans and fall apart.
- Let the cake layers completely cool before you frost them, otherwise the frosting might slide off.
- The frosting recipe makes enough buttercream to frost the cake like in my pictures. If you want to pipe more frosting on the cake or want a thicker layer of frosting, you’ll need to multiply the frosting ingredients by half.
Storage Instructions
Store the assembled cake in a cake carrier or airtight container at room temperature for 3-4 days.
To freeze the cake layers, let them cool completely and tightly wrap in plastic wrap and then foil. Freeze in ziploc bags for up to 3 months and let them thaw at room temperature when ready to use.
Any leftover buttercream can be stored in an airtight container in the freezer for up to 2 months. Let it thaw in the fridge and then whip with a handheld mixer or stand mixer before using.
More Cake Recipes You’ll Love


If you make this recipe, let me know how it went in the comments below, I’d love to hear from you! You can also tag me on Instagram or Facebook so I can check it out!
Baking FAQ
These are the topics I’m asked about most frequently:
You can get these answers and more in my frequently asked questions post!

Triple Chocolate Cake
Video
Ingredients
Triple Chocolate Cake
- 1½ cups (187.5 g) all-purpose flour
- 1¼ cup (250 g) granulated sugar
- ½ tsp salt
- 1 ½ tsp baking soda
- ½ tsp baking powder
- ¾ cup (64.5 g) unsweetened dutch processed cocoa powder
- 2 eggs
- 1 cup (225 ml) water, hot
- ½ cup (107.5 ml) canola oil, grapeseed oil, or sunflower oil
- ½ cup (125 ml) milk of choice, (regular or dairy free)
- 1 tsp vanilla extract
- 1 cup mini chocolate chips, (regular or dairy free)
Chocolate Buttercream
- 1 cup (210) butter, softened, (regular or dairy free)
- ½ cup (125 g) butter or shortening, (SEE NOTES)
- 1 ¼ cup (107.5 g) cocoa powder
- 2¾-3 cup (330 g) icing sugar
- 1 tsp vanilla extract
- 1-2 tbsp milk of choice, (vegan or regular) only as needed!
Instructions
- Preheat your oven to 350°Fahrenheit and line three 8-inch round cake pans with parchment paper. Spray each one with nonstick spray then line the bottoms of the pans. Set aside.
- In a large bowl, whisk together the flour, sugar, cocoa powder, salt, baking powder and baking soda together.
- Add in the eggs, vanilla extract, milk, oil and hot water into the dry ingredients and mix until smooth. Stir in the mini chocolate chips.
- Divide the chocolate cake batter between the 3 cake pans and bake for 20-26 minutes. You’ll know they’re done when a toothpick inserted in the middle of the cake comes out clean with no crumbs.
- Let the cakes cool in the pan for about 20 minutes, then remove and cool completely on a wire cooling rack.
- Once the cakes are cool you can make the buttercream. In the bowl of a stand mixer or in a large bowl with a hand mixer, beat the butter (and shortening, if using) together until smooth. Add the cocoa powder and beat together.
- Add the vanilla extract and the icing sugar, ¼ cup at a time until it’s the consistency you like. If you think the buttercream gets too thick, you can add 1 tablespoon of milk at a time until it’s the consistency you want. If the chocolate frosting gets too thin, add ¼ cup of confectioners’ sugar at a time.
- Assemble the cake! Place the first cake layer on a cake plate and place some of the chocolate frosting on top and smooth it over. Repeat this once more, then place the final cake on top and frost the sides and top of the cake. Decorate as you wish!


Notes
The calorie information provided for this recipe is an estimate. The accuracy of the calories listed is not guaranteed.