Biscoff Brownies
This post contains affiliate links. Read the full disclosure here.
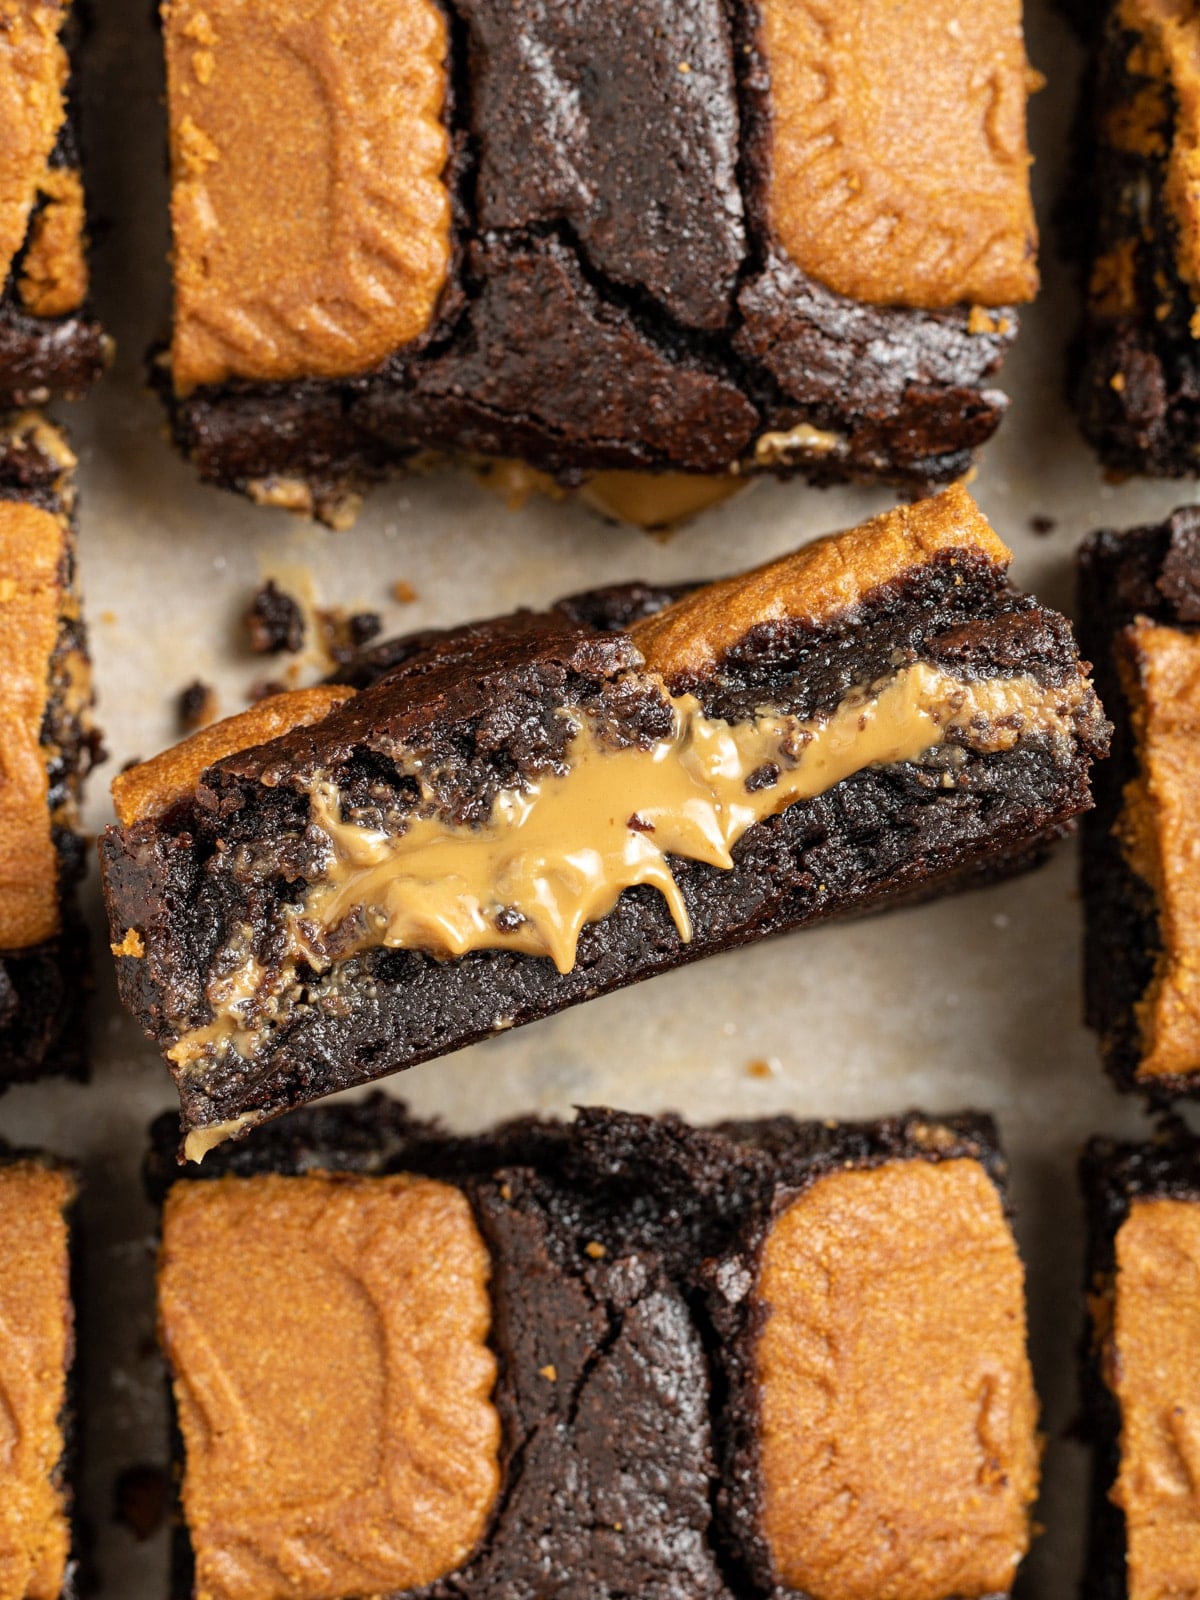
These are the best Biscoff brownies ever. They have an ultra fudgy brownie base, a thick layer of gooey cookie butter in the middle and more cookies on top. Plus, only 10 ingredients! Say hello to your new favorite cookie butter brownies!

Next to cookie dough, Biscoff spread (aka cookie butter) is my absolute weakness. I swear I will find a reason to make my cookie butter stuffed cookies at least once a month, and adding cookie butter to brownies will absolutely blow your mind!
These Lotus Biscoff brownies were tested by 8 different people who wouldn’t stop raving about them. They are seriously SO good. If you love cookie butter, you’ll also love my biscoff stuffed blondies!
Featured Reader Review
“I never leave reviews, however these brownies are incredible. Delicious and fudgy and slightly chewy with an amazing crust, I will never use another brownie recipe. I added white chocolate chips and will try this recipe with other additions. So so glad I found this website!”
Olivia
Why You’ll Love These Chocolate Brownies
- This recipe uses only 2 eggs (instead of 4, like many other recipes). A bonus in this economy where eggs are so pricey!
- This recipe also uses only 3/4 cup of flour, which is one of the reasons why the brownies are so gooey and fudgy.
- The cookie butter is chilled before you bake the brownies so that it doesn’t spread into the batter, giving you a thick layer of Biscoff in every bite
- Biscoff cookies are layered on top of the batter and baked with the brownies. This makes the cookies slightly soft but still adds a crunch to the brownies.
Ingredient Notes
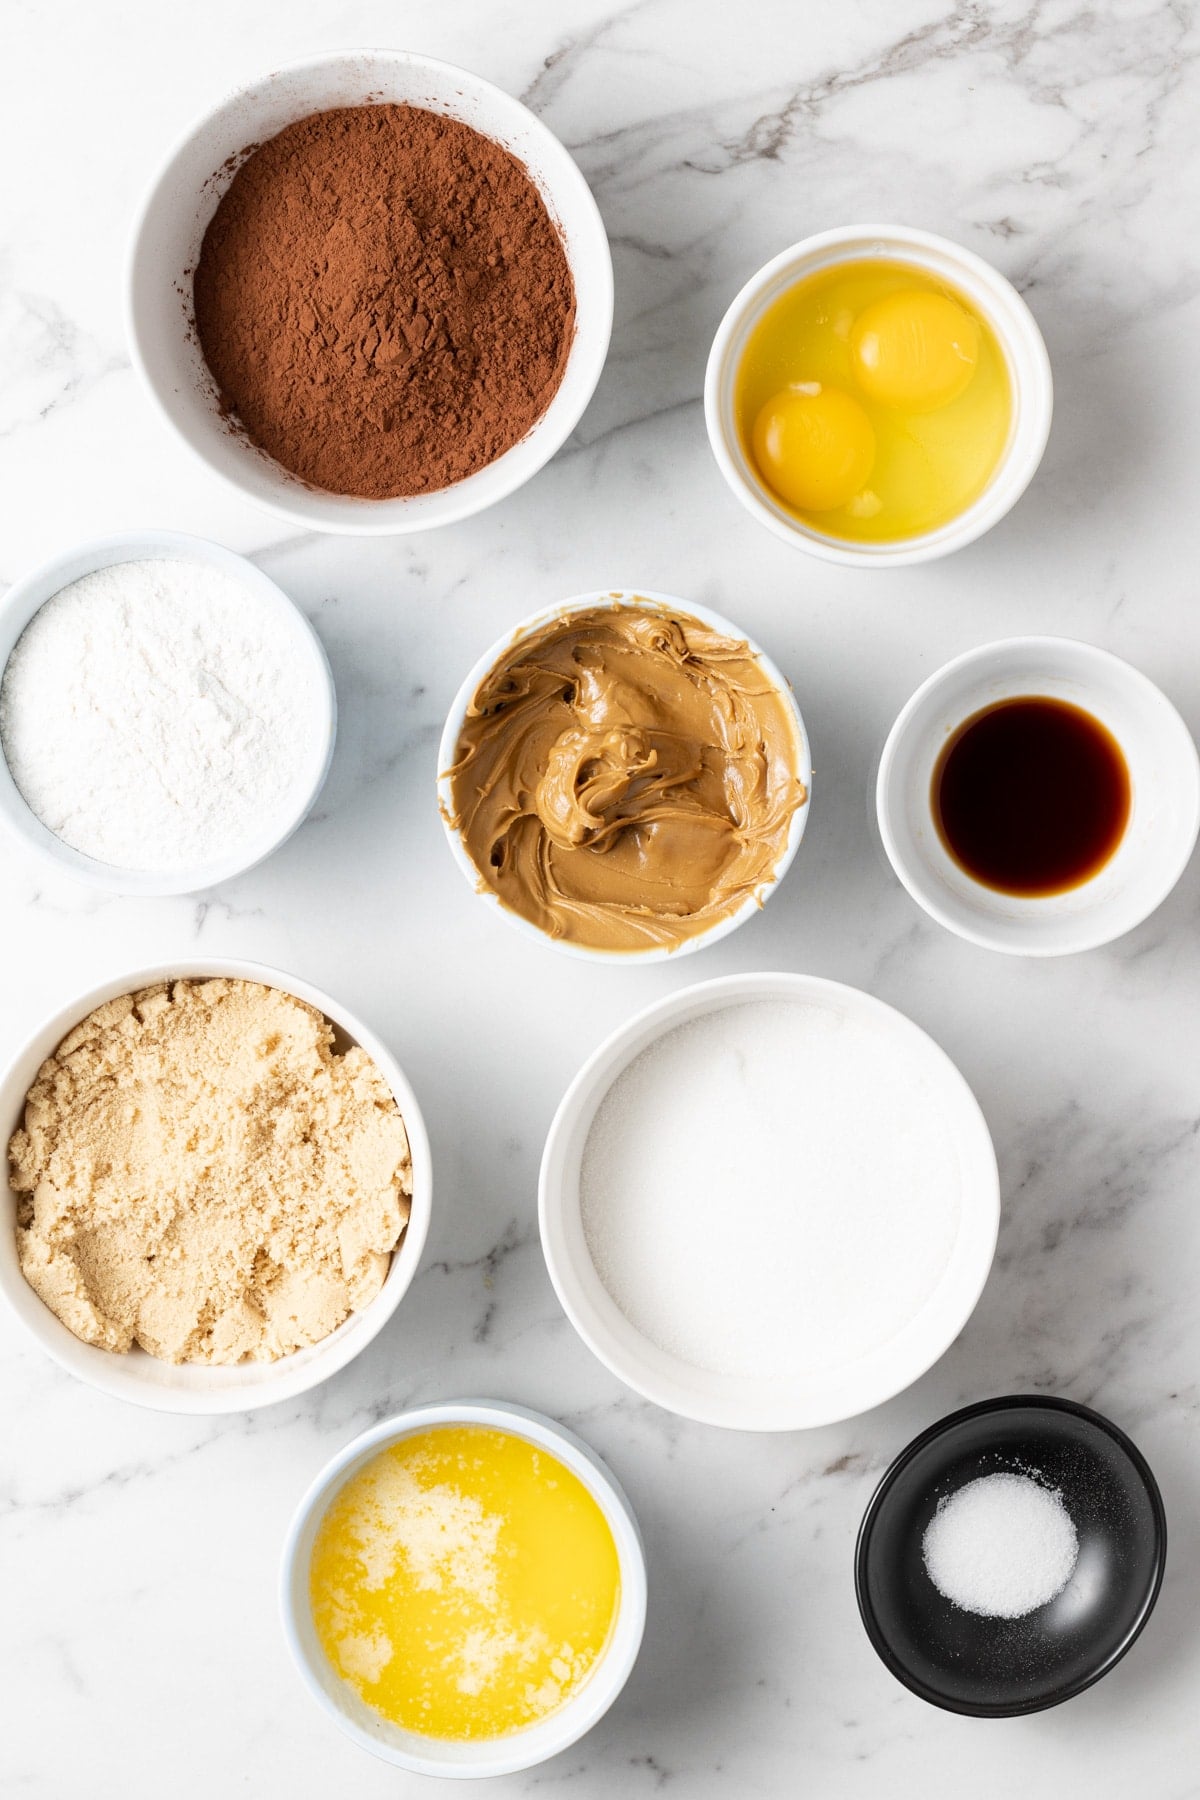
- Butter: You can use regular butter or vegan/dairy free butter – the recipe has been tested both ways!
- Biscoff Spread (Cookie Butter): There are tons of different brands of cookie butter out there, so you don’t have to use the Biscoff brand! I’ve tried at least 4 different brands. I use smooth but you can also use crunchy.
How To Make These Brownies
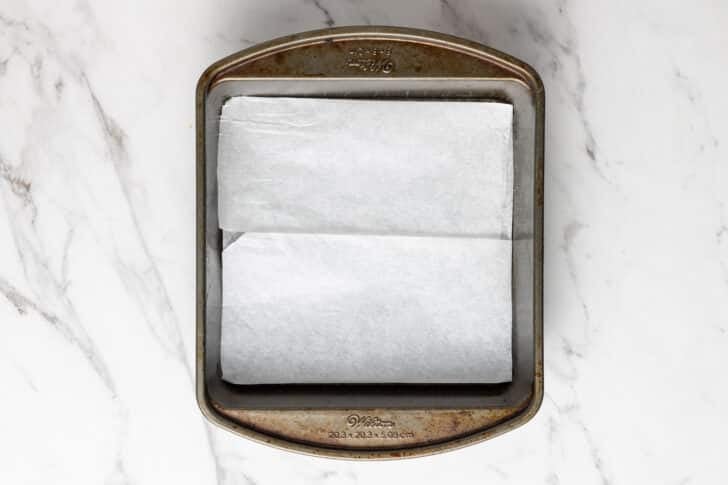
Prepare your parchment paper.
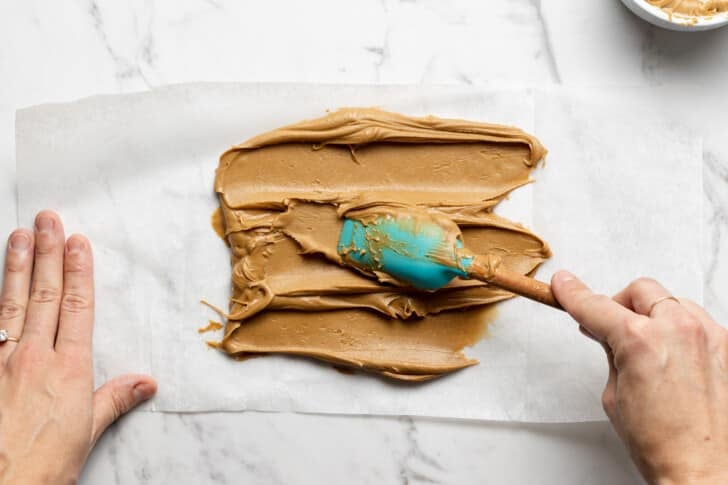
Spread cookie butter on paper!
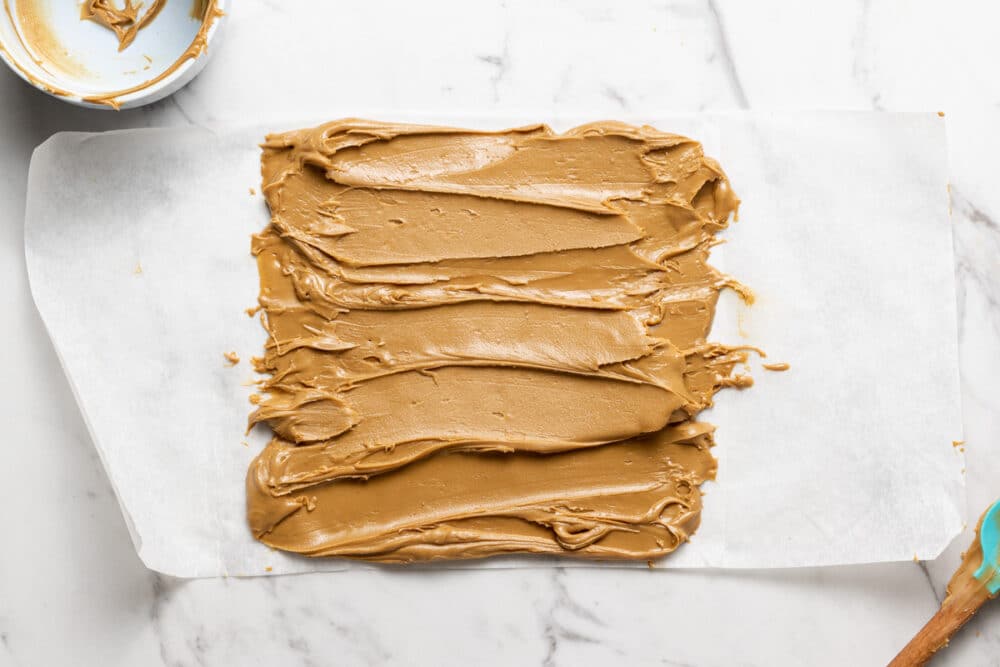
Freeze while you make the brownies!
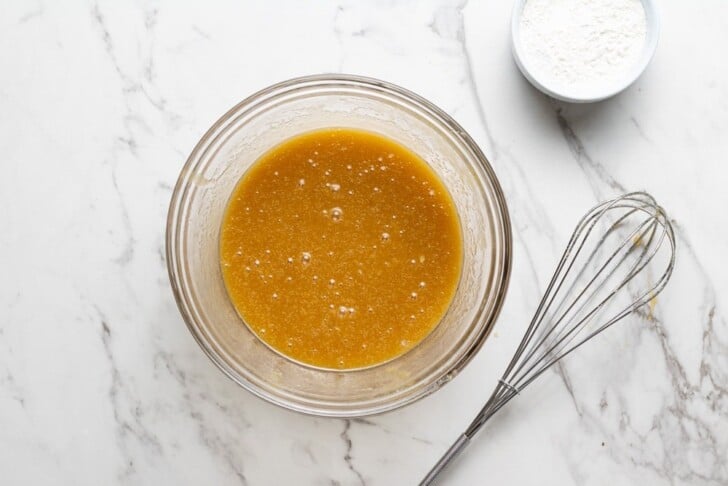
Whisk your wet ingredients together!
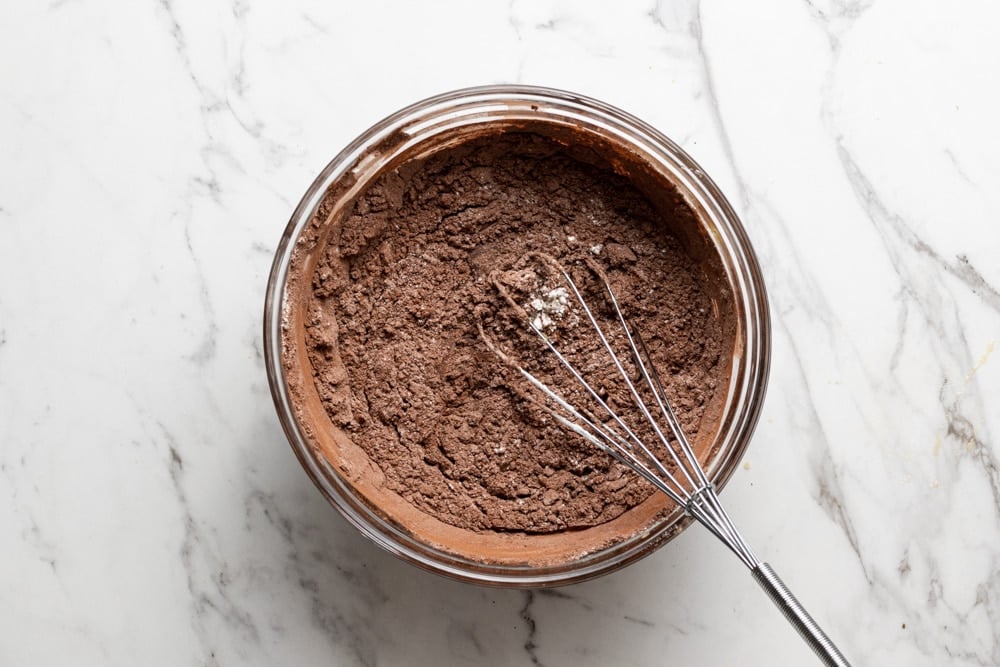
Whisk in dry ingredients!
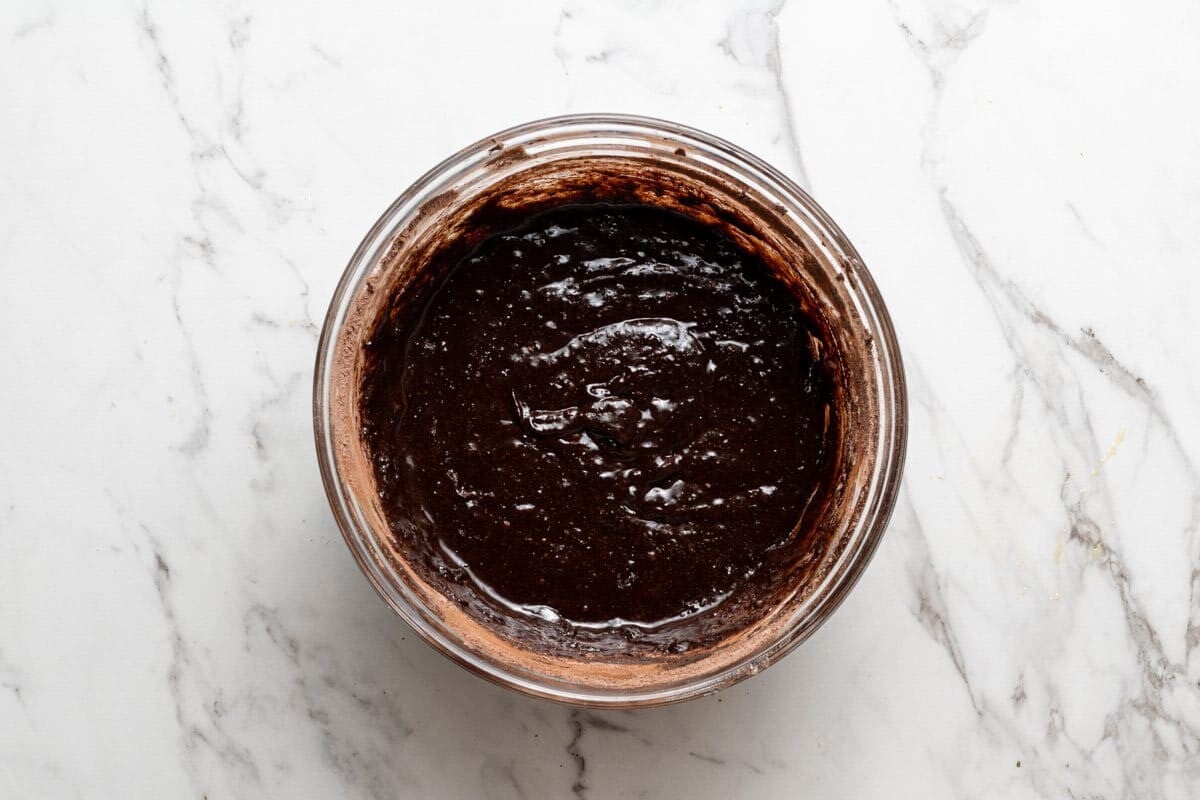
Voilá – brownie batter!
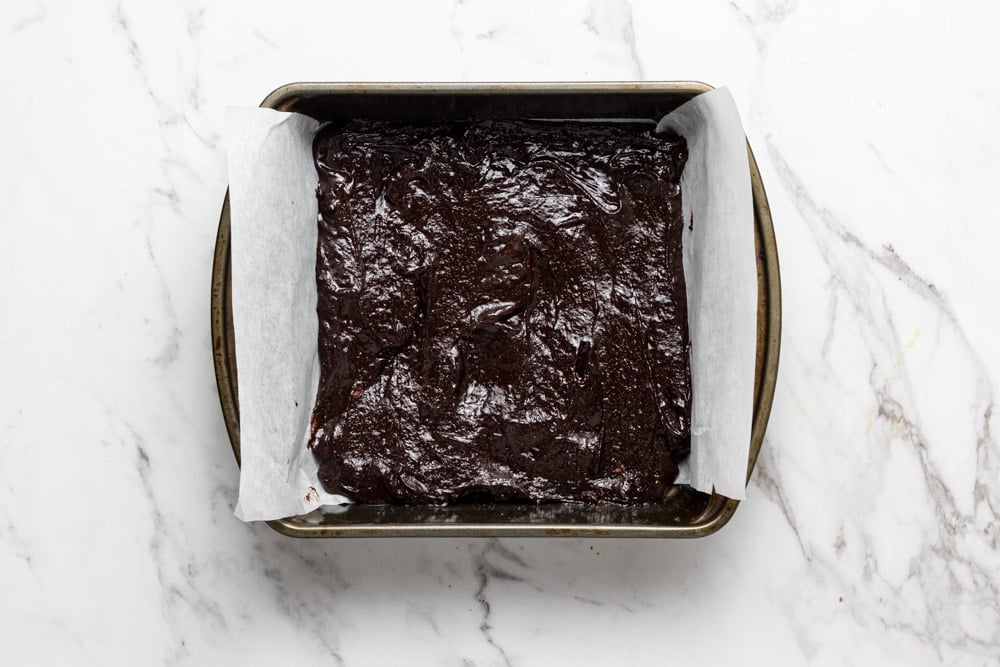
Add half the batter to your pan.
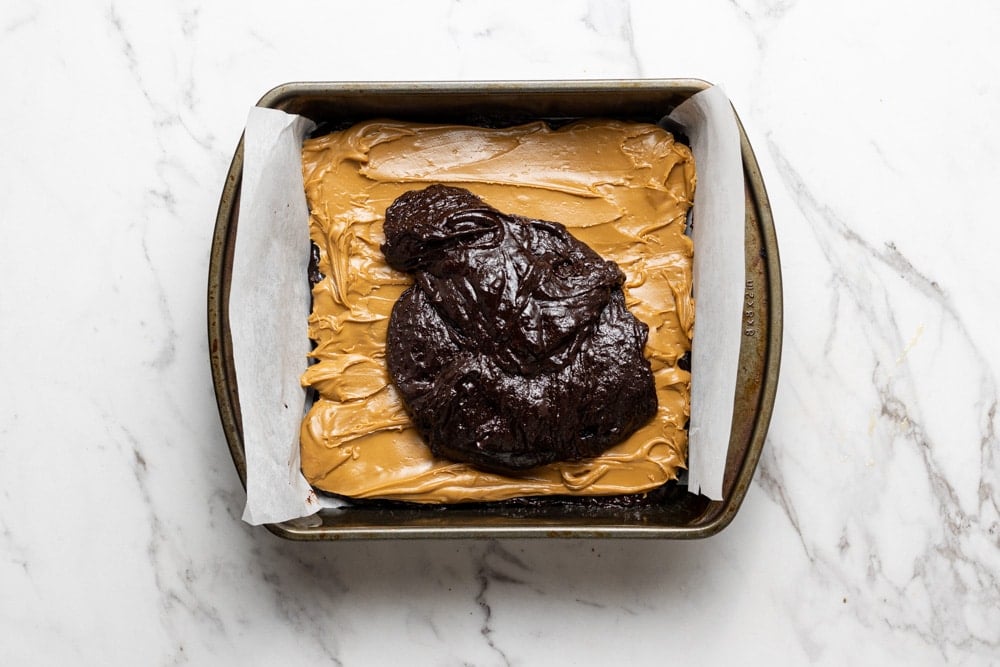
Top with biscoff layer then more brownie batter.
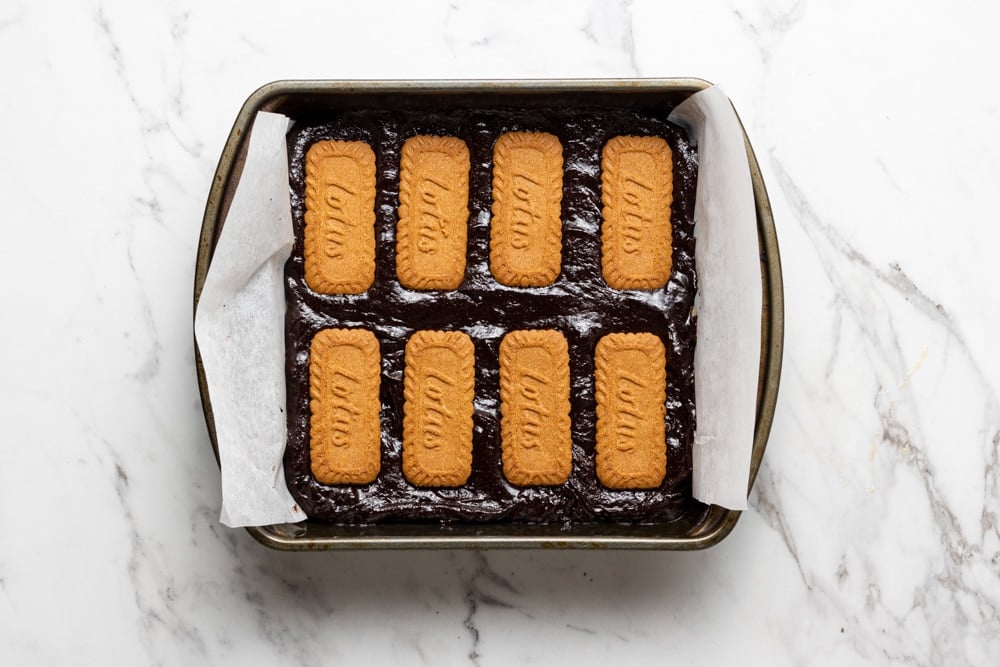
Top with cookies and bake!
Recipe Developer Expert Tips
- Don’t skip the parchment paper lining in the baking tin! It makes it so much easier to remove the brownies from the pan later.
- Be sure to whisk the melted butter and sugars until it starts to pull away from the sides of the bowl, almost like a paste! This helps create a crinkle top.
- When placing the cookies on top of the brownie batter, you can leave them whole like I did, break them into large pieces, or even crush them up and sprinkle on top.
More Biscoff Recipes You’ll Love


If you make this recipe, let me know how it went in the comments below, I’d love to hear from you! You can also tag me on Instagram or Facebook so I can check it out!
Baking FAQ
These are the topics I’m asked about most frequently:
You can get these answers and more in my frequently asked questions post!

Biscoff Brownies
Video
Ingredients
- ¾ cup (225 g) Lotus Biscoff Spread (or other Speculoos cookie butter spread brand)
- ¾ cup (158 g) butter (regular or vegan), melted
- 2 eggs
- ¾ cup (150 g) light brown sugar
- ¾ cup (150 g) granulated sugar
- 2 tsp vanilla extract
- ¾ tsp salt
- ¾ cup (93.75 g) all-purpose flour
- ¾ cup (64.5 g) cocoa powder
- 8-12 biscoff cookies, (optional)
Instructions
- Cut a piece of parchment paper so that it fits into your an 8×8 square baking pan, leaving some hanging over the edges. Place it in the pan and fold the parchment that is overhanging to form a crease in the shape of the square pan.
- Remove the parchment from the pan and place it on a flat surface like a cookie sheet, cutting board, or cooling rack. Spread the cookie butter onto the parchment in the shape of the square pan, so that it will fit into the baking pan in one piece. Freeze while you make the brownies.
- Preheat the oven to 350°F and line an 8×8 square baking pan with parchment paper. Leave parchment paper hanging over the sides of the pan so that you can easily remove the brownies from the pan later.
- Mix the cocoa powder, salt, and flour in a bowl and set aside.
- Melt the butter in the microwave or in a small pan over the stove. Transfer the melted butter to a medium sized bowl.
- Add in both the sugars and whisk butter and sugars together. Keep whisking until the mixture resembles a paste that pulls away cleanly from the side of the bowl when you mix it.
- Add the eggs and vanilla and mix again.
- Pour the dry ingredients into the bowl and mix with the whisk until just combined (do not over mix!).
- Pour half of the batter into the lined baking pan, then take the cookie butter out of the freezer, peel it from the parchment (it should come off easily and in one piece*), and place the whole piece on top of the brownie batter.
- Pour the remaining brownie batter on top of the cookie butter into the pan and smooth into an even layer.
- Line the top of the brownies with Biscoff Cookies, pushing them into the batter slightly.
- Bake for 30-40 minutes*. Begin checking the brownies at 30 minutes by inserting a toothpick in the middle. The top of the brownies should be crinkly and the toothpick should not come out clean. The brownies are ready when the toothpick has a few wet crumbs, but not wet batter.
- Let the brownies cool completely before slicing. Enjoy!
Equipment

Notes
The calorie information provided for this recipe is an estimate. The accuracy of the calories listed is not guaranteed.
Hey! I wanted to ask, is it ok if I made it beforehand for a party, the day before? If so should I warm it again before serving it?
Yes, you can store them at room temperature in an airtight container, or un-sliced in the pan. If leaving them in the pan, be sure to cover in plastic wrap or a reusable wrap. You can serve them at room temperature, but if you’d prefer to serve them warm and gooey, then I would pop them into the oven (low temperature) for a few minutes covered with tinfoil.
Easy to follow recipe. The brownie turned out just perfect! Thank you!
Thank you for your review!