Oat Flour Pancakes
This post contains affiliate links. Read the full disclosure here.
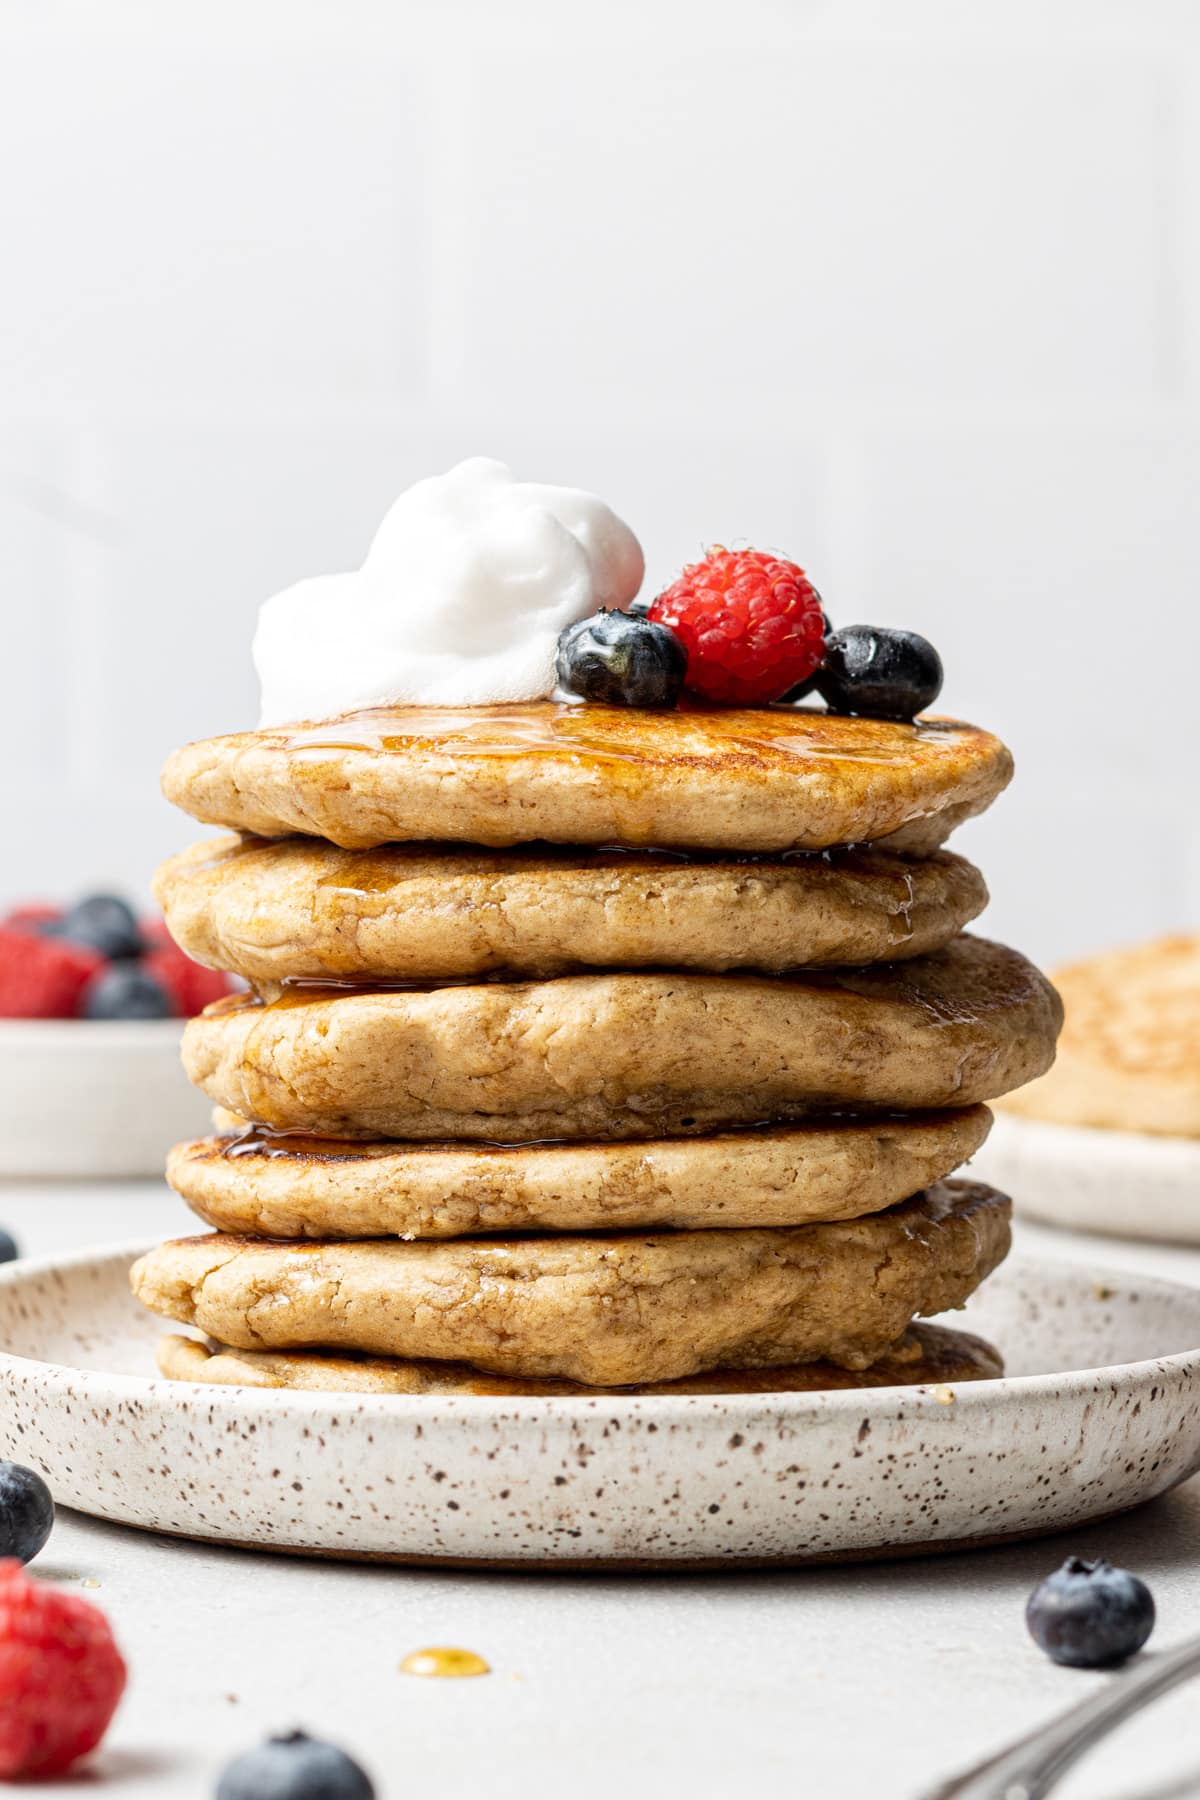
Make the perfect stack of pancakes with these thick and fluffy oat flour pancakes! These gluten free pancakes are so easy to make, require just 8 simple ingredients and are ready in 20 minutes. They’re super filling too!
I love whipping up a big stack of pancakes on a lazy Sunday, like these popular oat milk pancakes!
Because this is such a reader favorite, I knew I had to create a gluten free version! These oat flour pancakes are soft, thick and oh so fluffy.
Make a batch of these oat flour pancakes as is, or get creative with mix-ins like berries and chocolate chips.
These pancakes are gluten free as long as you use certified guten free oat flour, and they can easily be made dairy free too! They’re delicious topped with whipped cream and fresh berries!
Why You’ll Love These Oat Flour Pancakes
- As long as you use gluten free oat flour, these oat flour pancakes are completely gluten free, but they’re so thick and fluffy you’d never even know!
- You only need 8 ingredients that you probably already have in your pantry.
- It takes just 20 minutes to whip up this recipe.
- You can easily make these pancakes dairy free, so they’re perfect for those with food allergies.
- These pancakes are freezer friendly so they’re perfect for meal prep.
Ingredients Needed

- Oat Flour: if you follow a gluten free diet make sure you are using certified gluten free oat flour. Don’t have any oat flour? You can easily make your own by blending up whole rolled oats in a food processor or blender. Blend until you have a very, very fine powder.
- Oat Milk: I’ve used oat milk here, but any dairy free milk or even regular milk will work.
- Sugar: I recommend using granulated sugar, but you can use coconut sugar in a pinch.
- Butter: feel free to use regular butter or vegan butter if you’re dairy free. You can also replace the butter with an equal amount of oil (like canola or grapeseed oil).
Step By Step Instructions
Note: Full ingredient measurements and instructions can be found in the recipe card at the bottom of this page.
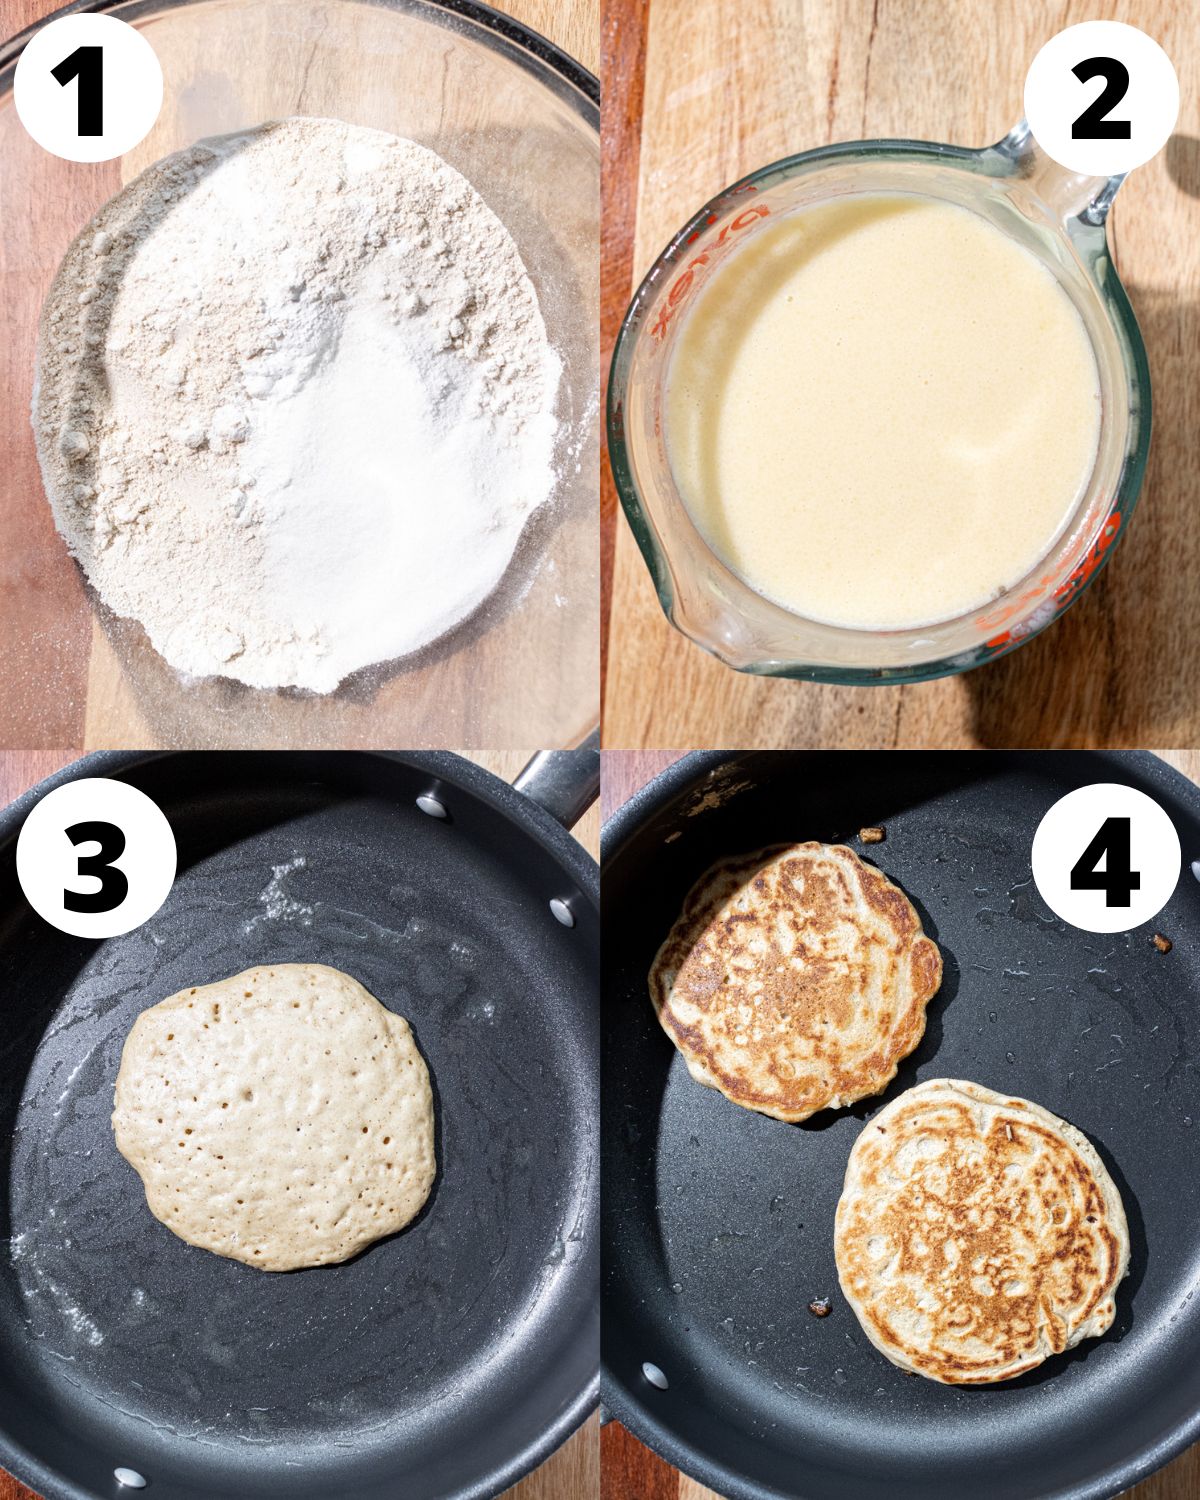
Step 1: Pour the milk, vanilla extract, melted butter and eggs into a large measuring cup or bowl. Whisk the mixture until combined.
Step 2: In a medium bowl, whisk together the oat flour, salt, sugar, and baking powder. Pour the wet ingredients into the dry and whisk until just combined. You don’t want to over-mix the batter, so it’s okay if there are a few small lumps!
Step 3: Heat a large skillet or nonstick griddle over medium-low heat. If using a skillet, add a small amount of butter or spray it with cooking spray.
Step 4: Once the pan or griddle is hot, scoop out ¼ cup of pancake batter and pour into the pan.
Step 5: As soon as bubbles form on top of the pancakes, use a spatula to flip the pancake over and cook the other side. Cook the other side of the pancake for 1-2 minutes, or until golden brown. Remove the pan cakes from the heat, add your toppings and enjoy!

Expert Tips
- Properly measure your flour: It’s really easy to over-measure your flour if you don’t know how to measure it properly! This can lead to tough and rubbery pancakes. I strongly recommend weighing it with a $10 kitchen scale or using the scoop and level method.
- Don’t over-mix the pancake batter: it is totally fine if there are a few lumps in the batter before you start making the pancakes!
- Careful with the heat: you don’t want your pancakes to burn! So keep the heat on medium low.
- Don’t flip too early: if you flip your pancake too early then you risk having raw batter in the middle! Make sure the top of the pancake is bubbling before you flip it.
Storage Instructions
Store these oat flour pancakes in a ziploc bag or airtight container in the fridge for up to 5 days. You can also place them in a freezer bag and freeze. Just defrost in the fridge or microwave!
More Recipes You’ll Love


If you make this recipe, let me know how it went in the comments below, I’d love to hear from you! You can also tag me on Instagram or Facebook so I can check it out!
Baking FAQ
These are the topics I’m asked about most frequently:
You can get these answers and more in my frequently asked questions post!

Oat Flour Pancakes
Video
Ingredients
- 1½ cup (354 ml) oat milk, (or milk of choice)
- 3 Tablespoons (40 g) melted butter, (regular or vegan)
- 2 teaspoons vanilla extract
- 2 eggs
- 2 cups (240 g) oat flour
- ¼ teaspoon salt
- 3 Tablespoons (37.5 g) granulated sugar
- 1 Tablespon (14 g) baking powder
Instructions
- Add milk, vanilla extract, melted butter, and eggs to a large measuring cup and whisk until combined, then set aside.
- In a medium mixing bowl, whisk together the oat flour, sugar, baking powder, and salt. Pour in the wet ingredients and whisk until just combined. Don’t over-mix the batter, if there are still some small lumps of flour that’s okay!
- Heat a large skillet or nonstick griddle to medium low heat. If you're using a pan, add a little bit of butter to grease the pan or lightly spray the pan with cooking oil.
- Once the pan or griddle is hot (a drop of water dropped on the pan should sizzle), scoop ¼ cup of pancake batter and pour it onto the pan/griddle.
- When bubbles start to form on top of the pancakes, use a spatula to flip them over and cook on the other side for another 1-2 minutes, until the pancakes are golden brown. Remove the pancakes from heat and add toppings of your choice!
Equipment
Notes
The calorie information provided for this recipe is an estimate. The accuracy of the calories listed is not guaranteed.
These were so good, easy to make, and filled the whole family up! Thanks for a great recipe!
Hi Dana! So happy you loved the pancakes!
THANK YOU FOR THIS RECIPE! Omg I just learned i am intolerant to gluten and these pancakes were the first thing I’ve made that didn’t taste grainy or “gluten free”. thank you thank you
Hi Lisa! I am so happy to hear that you loved the pancakes! Thanks for the review!