Dairy Free Whipping Cream (3 Ingredients!)
This post contains affiliate links. Read the full disclosure here.
Dairy free whipping cream is so delicious and makes a perfect vegan substitute for traditional whipped cream. It’s incredibly easy to whip up and only requires 3 ingredients or less!

This is a basic recipe but it is so versatile. Whether you’re vegan, dairy free, or just love whipped cream – this dairy free whipping cream makes everyone happy. It’s made using canned coconut cream so it has a slight coconut flavour, but it’s very subtle!
I use this dairy free whipped cream as an ingredient in so many recipes, so I decided to create a very basic, step-by-step guide to teach you how to make it!

Homemade vegan whipped cream – 2 ways
There are two ways to use this coconut whipped cream. The first way is to add icing sugar and vanilla, then use it for topping desserts like cakes (I love it with this chocolate pumpkin cake or apple crumble cake, pancakes, and brownies.
The second way is as a substitute ingredient in recipes that call for whipped cream or heavy cream. If you leave out the icing sugar, the recipe becomes a plant based whipping cream that can be used to make dairy free homemade ice cream and cheesecake!
If you’re making this whipped cream to use as a base ingredient in a recipe, you’ll want to make sure to leave out the icing sugar and vanilla. Those ingredients are likely already in the recipe!

How to make dairy free whipping cream
This homemade vegan whipped cream is SO easy, but the trickiest part is remembering to refrigerate the canned coconut milk!
Canned coconut milk must be chilled for at least 8 hours or overnight so that the coconut cream can harden and separate from the coconut water in the can. The whipped cream absolutely won’t work if you skip this step, but you can also use canned coconut cream, which doesn’t need to be refrigerated before use.
Step 1: 10 minutes before you start making the whipped cream, place a large mixing bowl in the freezer to chill.
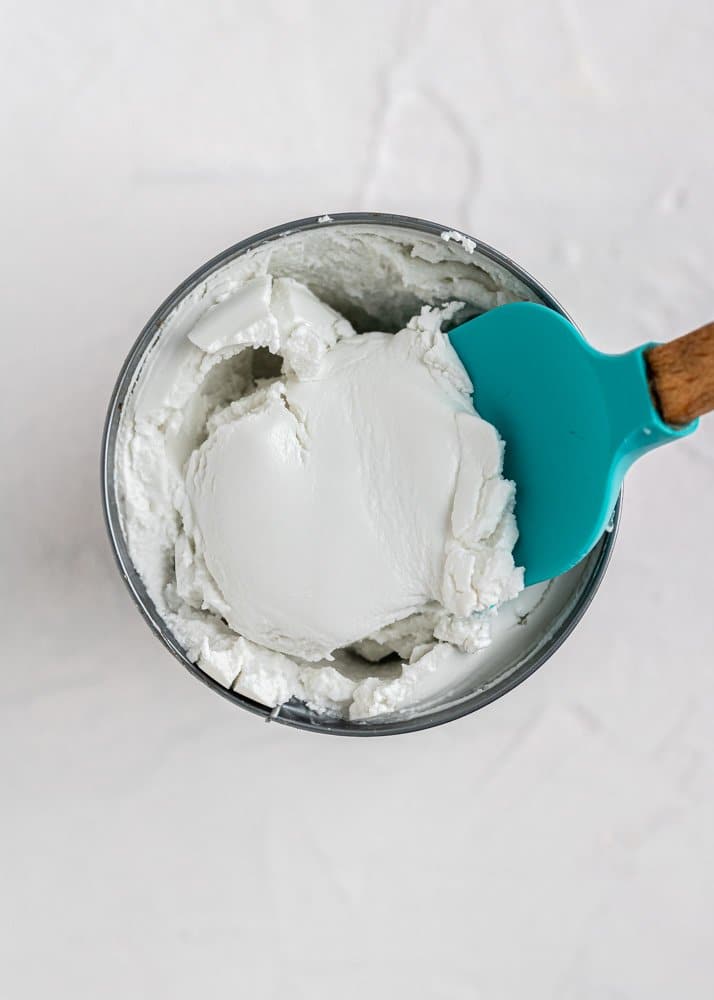
Step 2: Remove the bowl from the freezer and the can of coconut milk from the fridge (careful not to tip the cans or shake them up). Scoop the hard coconut cream out into your mixing bowl, leaving behind the liquid (you can use it for smoothies later!).


Step 3: Begin whipping the coconut cream on medium-high speed until smooth. You can use a standing mixer or a handheld mixer for this! Beat for around 1 minute, then add in the powdered sugar and vanilla.
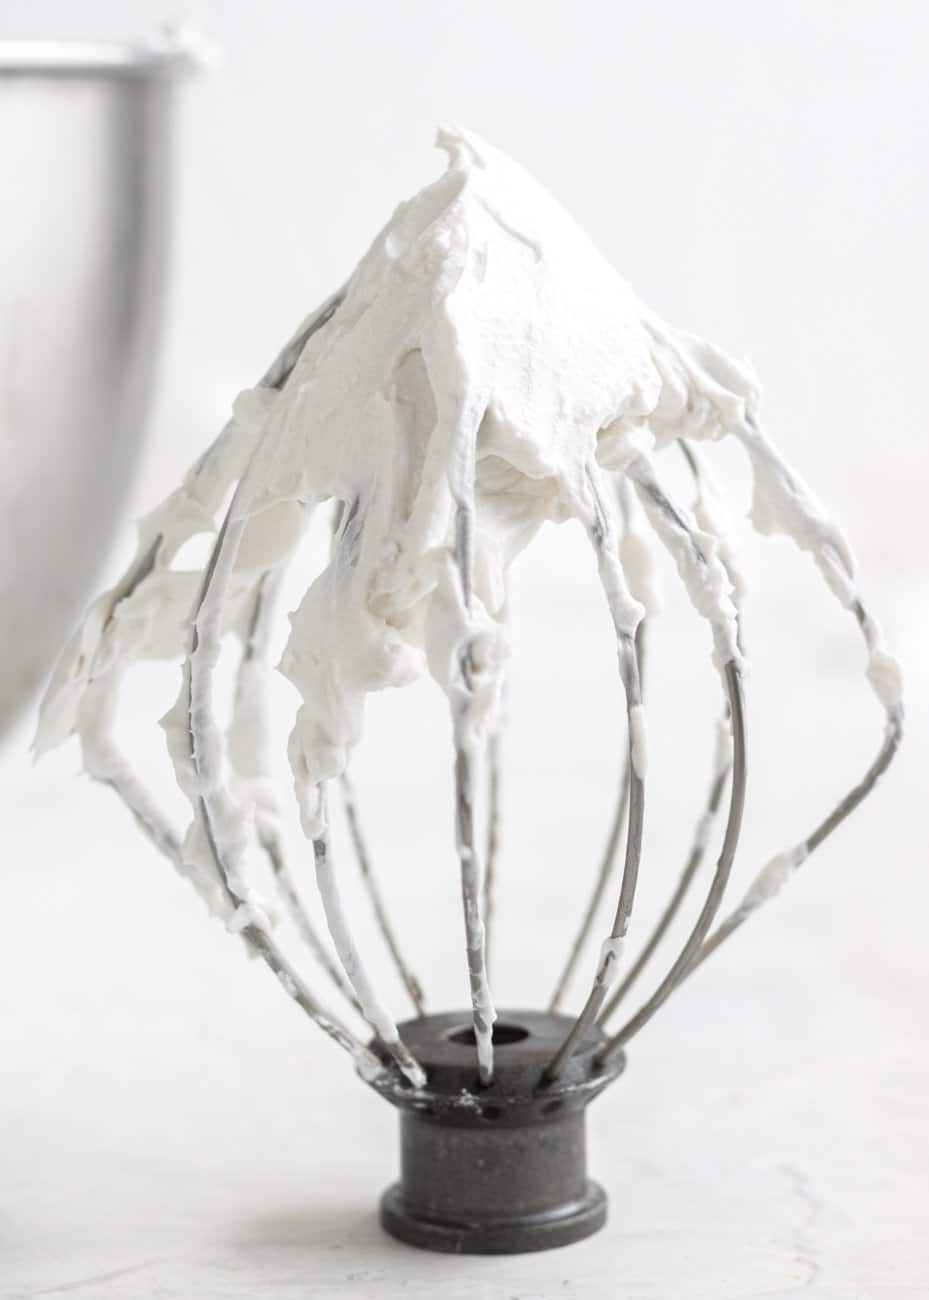
Step 4: Continue whipping the cream until stiff peaks form. This can take around 5 minutes or more, and when it’s ready it should be the consistency of whipped cream.


Expert Tips
I’ve made this dairy free whipped cream soooo many times, so I’ve put together a few tips that I’ve found helpful:
- Keep a couple cans of coconut milk in the fridge at all times so you always have at least one can ready to go! This is much easier than realizing you need to make whipped cream and having to wait 8 hours for the coconut milk to harden in the fridge!
- Chill your mixing bowl in the freezer for 5-10 minutes right before you make the whipping cream. This will help keep the coconut cream nice and cold for longer so that it stays stiff.
- Make sure not to tip the can when you remove it from the fridge! When you open the can, the hardened cream will be separated on top, and the liquid will be on the bottom. We only use the cream for this recipe so tipping the can will mix it up with the liquid again.
Choosing the right coconut milk
Although the base of this dairy free whipping cream is coconut milk, it is important to note that this is not the same as coconut milk in a carton that you would find next to the almond and oat milk at the grocery store.
Canned coconut milk acts as a substitute for heavy cream in whipped cream, so you want the highest fat content possible. Here are a few things to look for when choosing canned coconut milk:
- The first ingredient should be coconut milk, not water
- The fewer ingredients there are on the label, the better
- Avoid light coconut milk, since you want a higher fat content
Some stores also sell coconut cream in a can, which works too! You should still chill the can overnight though!
Ways to use dairy free whipped cream
Dairy free whipping cream can be used in SO many things! Use it to top cake, brownies, hot chocolate, pancakes, or as a key base in vegan or dairy free cheesecakes and homemade no-churn vegan ice creams!
You can start here:
Or use it as a topping on one of these:
- Fudgy Brownies
- Vegan Chocolate Cheesecake
- Banana Mug Cake
- Vegan Mug Brownie
- Apple Almond Cake
- Dairy Free Pancakes

Storage Instructions
The dairy free whipping cream can be covered and refrigerated for up to two days.
More Recipes You’ll Love


If you make this recipe, let me know how it went in the comments below, I’d love to hear from you! You can also tag me on Instagram or Facebook so I can check it out!
Baking FAQ
These are the topics I’m asked about most frequently:
You can get these answers and more in my frequently asked questions post!

Dairy Free Whipping Cream
Ingredients
- 1 can full-fat coconut milk or coconut cream (chilled in the fridge overnight), (14 oz can) SEE NOTES
- ½ tsp vanilla extract
- ⅛ cup powdered sugar
Instructions
- Refrigerate canned coconut cream or milk for at least 8 hours, or overnight. Note that coconut cream will yield more whipped cream and require less mixing time since it is already more solid to begin with and there is less liquid in a can of coconut cream.
- Once the coconut cream/milk has chilled overnight and you are ready to make the whipped cream, place a large mixing bowl into the freezer for 10-15 minutes to chill.
- After the bowl has chilled, remove the cans of coconut milk from the fridge (do not shake them). Scoop out the thick coconut cream from the top and place it in the bowl, leaving behind the liquid.
- Whip the coconut cream for one minute, then add in the vanilla and powdered sugar. Scrape the sides of the bowl until the powdered sugar and vanilla are fully incorporated.
- Whip the cream on medium high until stiff peaks form and the consistency is similar to that of whipped cream. This could take around 5 minutes.