Espresso Brownies
This post contains affiliate links. Read the full disclosure here.
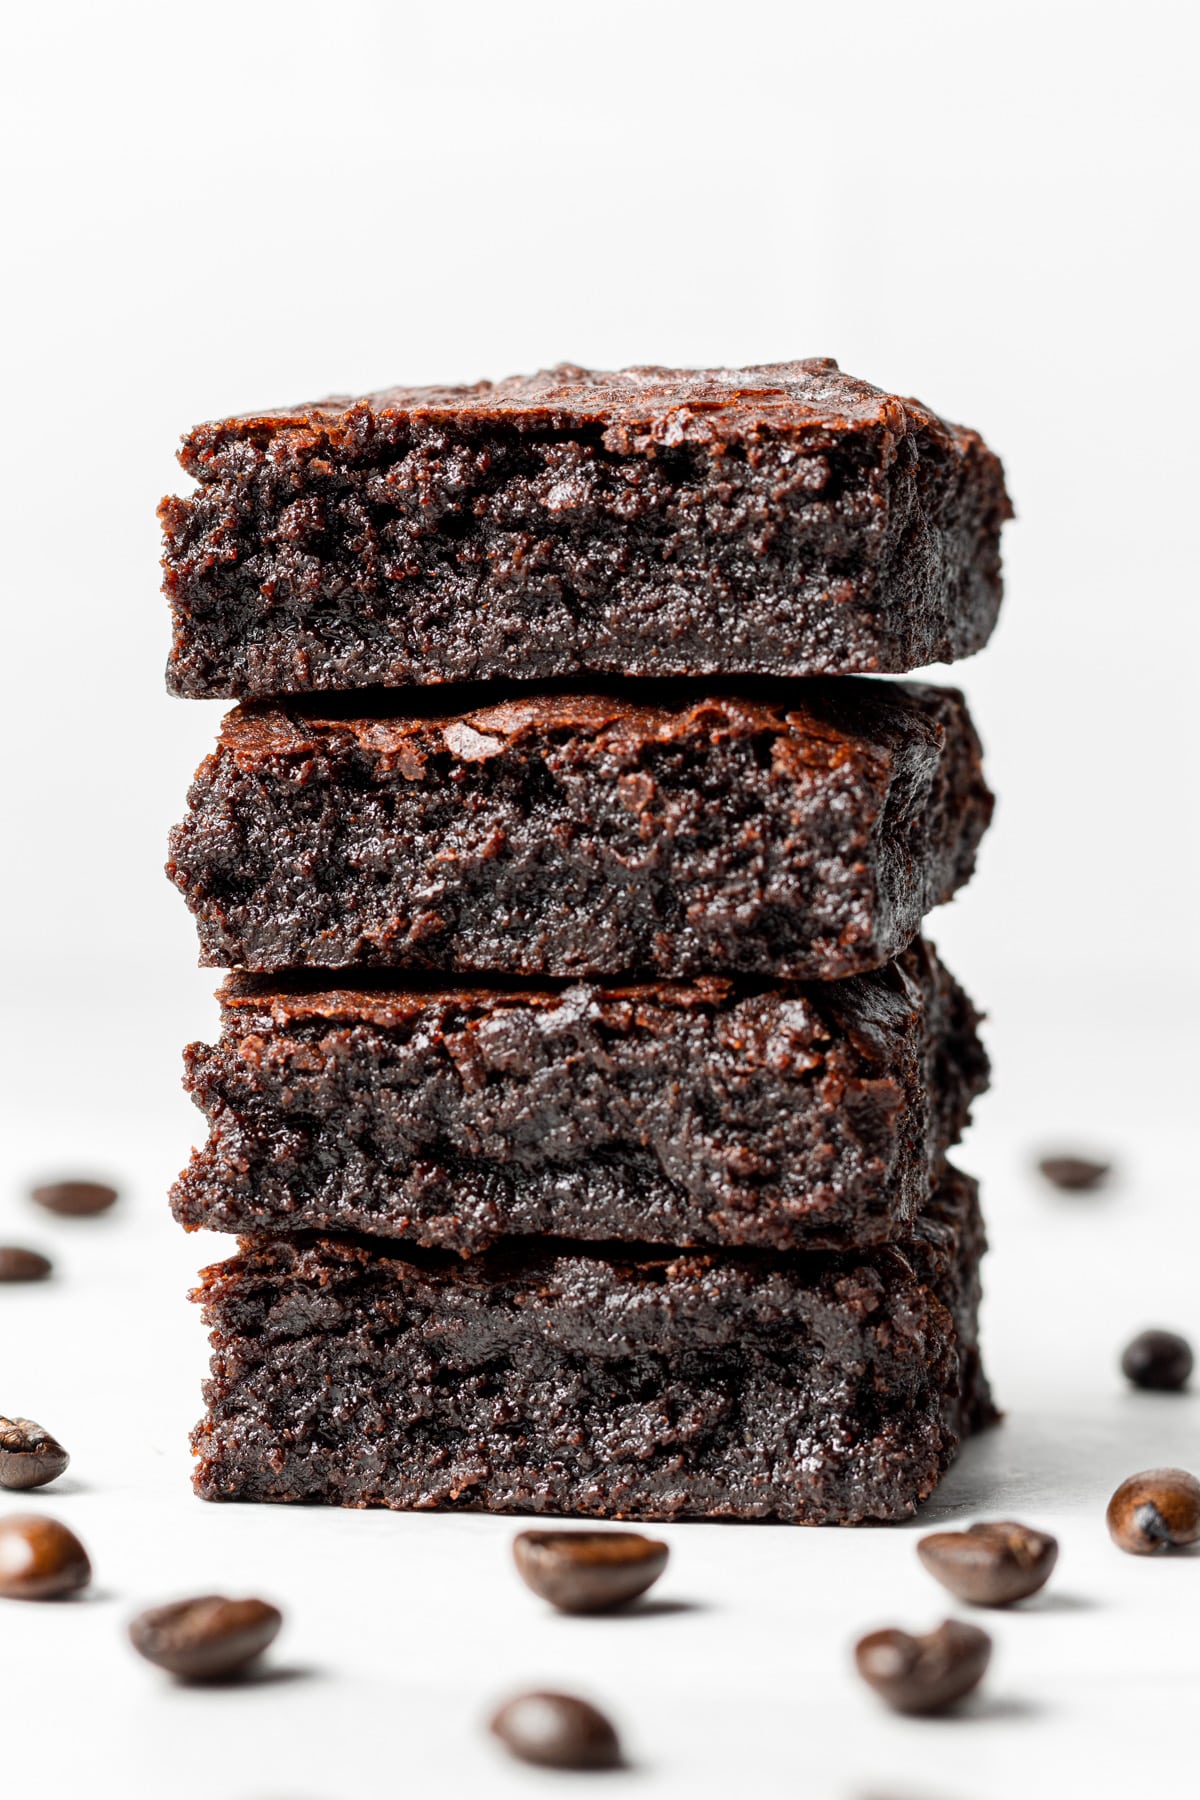
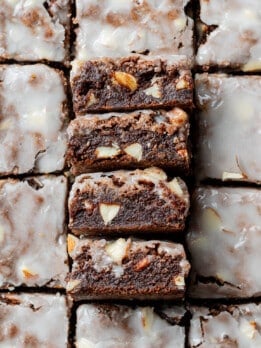
These espresso brownies are extra fudgy, packed with coffee flavor and just perfect for coffee lovers. You only need nine ingredients, no mixer, and one bowl to make coffee brownies!
I truly love coffee flavored desserts. My coffee cookies and coffee chocolate cake are the ideal desserts for coffee-lovers, in my opinion. These fudgy espresso brownies are based off of my dairy free brownies, and the chocolate flavors pair perfectly with the espresso!
Just like my original dairy free brownie recipe, these coffee brownies are gooey with a crinkle top! I think you’re going to love them!
Why You’ll Love These Espresso Brownies
- They’re made in 1 bowl which means there’s minimal clean up!
- You can easily make these brownies dairy free so they’re perfect for those with allergies.
- These espresso brownies get their chocolate flavor from just cocoa powder, so you don’t have to melt any chocolate!
- These brownies are super fudgy, gooey and chewy – no cakey brownies here!
Ingredients Needed
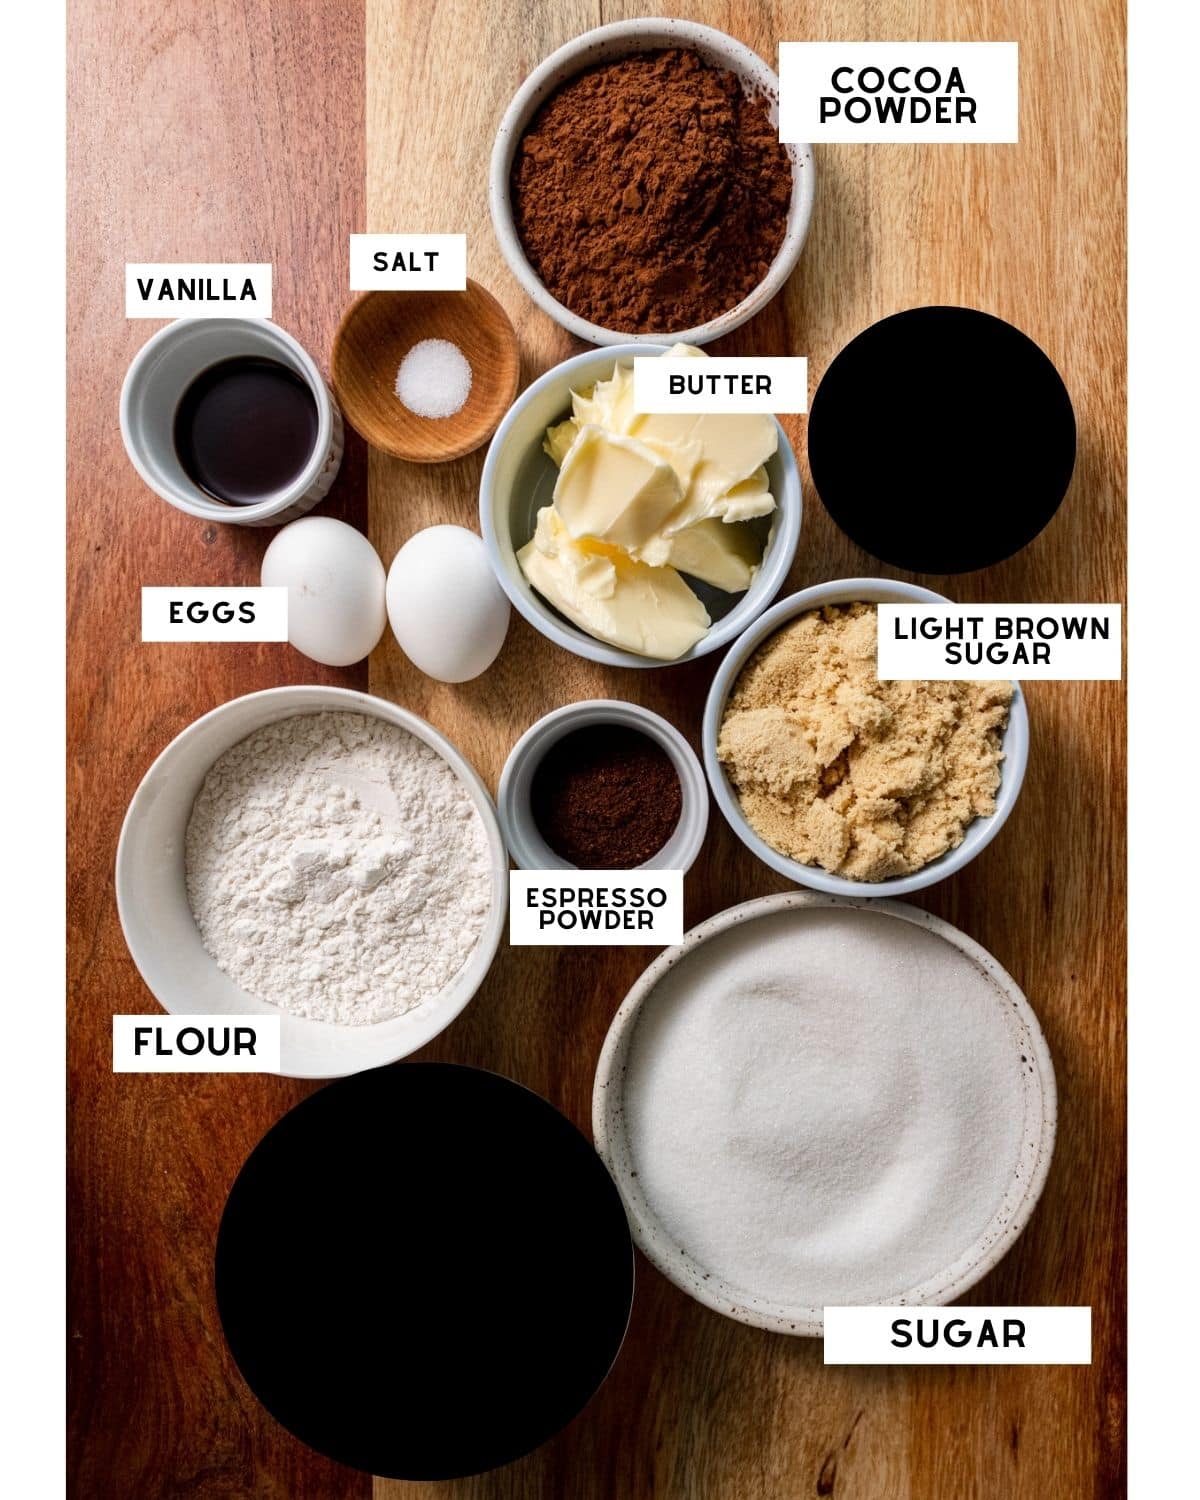
- Butter: feel free to use vegan butter or regular butter for these brownies!
- Cocoa Powder: these espresso brownies have been tested with unsweetened dutch processed cocoa powder. You can use natural cocoa powder in a pinch though!
- Flour: I’ve only tested these brownies with all purpose flour.
- Espresso Powder: you can either use instant espresso or regular espresso powder! You can also use instant coffee powder if that’s all you have.
Step By Step Instructions
Note: Full ingredient measurements and instructions can be found in the recipe card at the bottom of this page.
Step 1: Preheat your oven to 350°Fahrenheit and line an 8×8 baking pan with parchment paper. Make sure the paper is overhanging so you can easily lift the brownies out later.
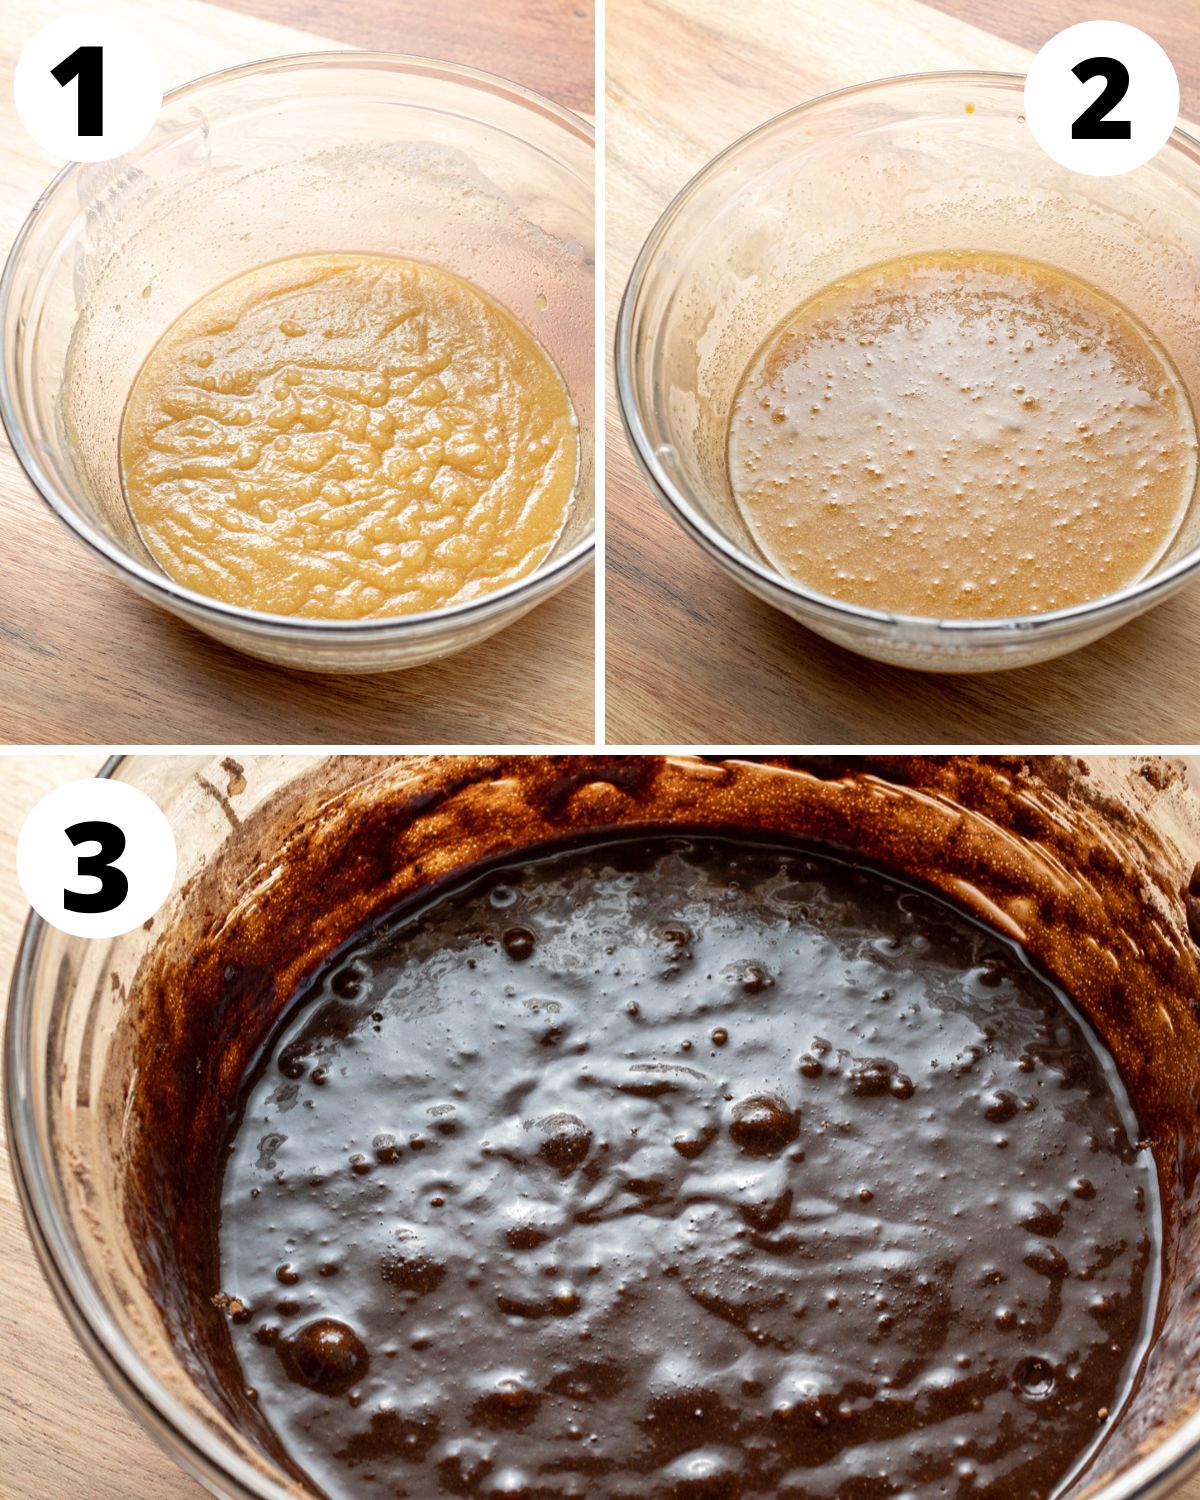
Step 2: Melt the butter in the microwave or in a small pan on the stove. Pour the melted butter into a medium bowl.
Step 3: Add in the light brown sugar and white sugar and whisk together. Whisk until it becomes very thick and paste-like, it should pull away from the sides of the bowl. This will give the espresso brownies a crinkly top!
Step 4: Add in the eggs and vanilla extract and whisk to combine.
Step 5: Pour the flour, cocoa powder, espresso powder, salt and flour into the wet ingredients and whisk until just combined. Don’t overcombine as that will give you dry brownies!
Step 6: Pour the brownie batter into the prepared baking pan.
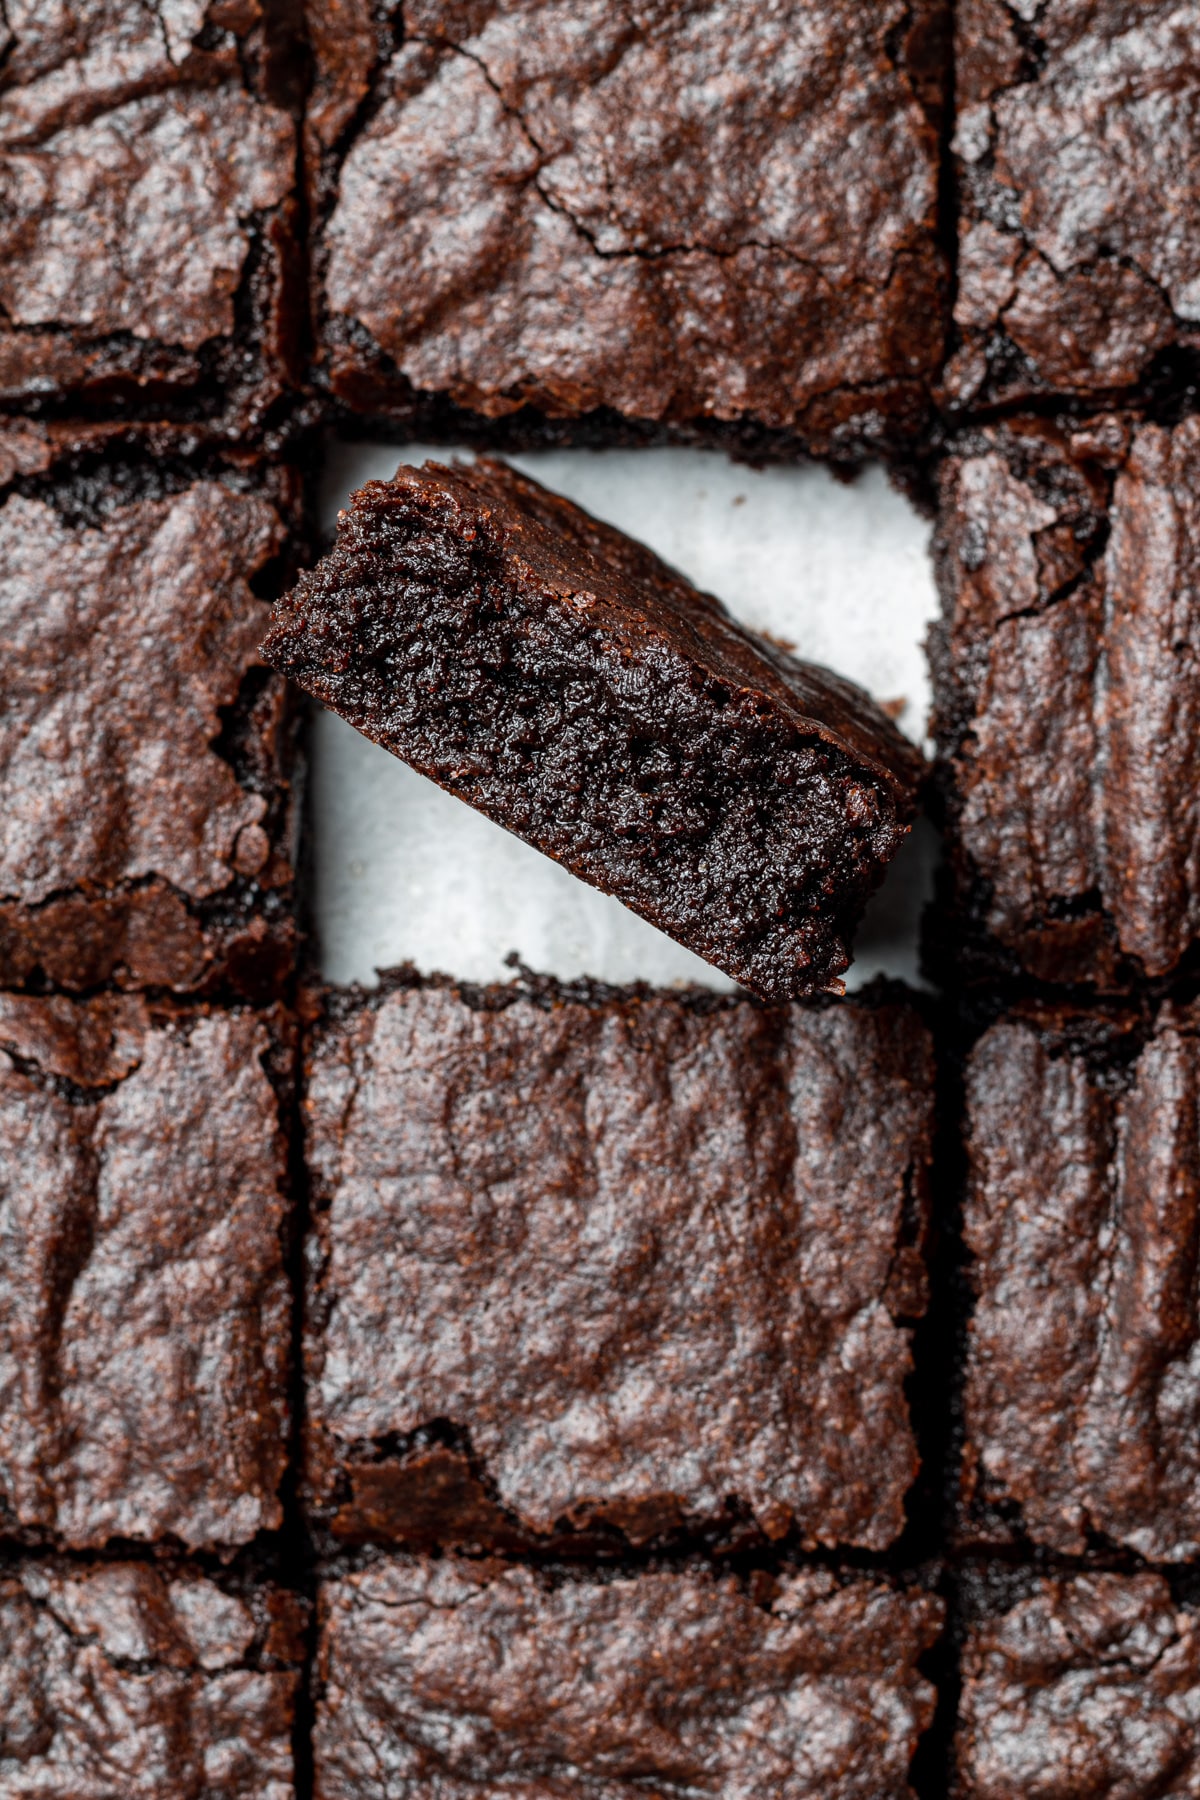
Step 7: Bake in the preheated oven for 30-40 minutes. If you insert a toothpick in the center it should come out with a few wet crumbs. Let them cool completely before slicing!
Expert Tips
- Use a kitchen scale! It is really important to measure your cocoa powder and flour properly, as if you add too much it might lead to dry and cakey brownies.
- Let the brownies cool completely before slicing! This is going to be hard to do as you’ll want to dig in, but if you slice them while they’re too hot or warm they won’t slice cleanly and might fall apart.
- Don’t overmix the brownie batter. Once you’ve added all of the dry ingredients, stop mixing together as soon as there are no more streaks of flour or cocoa powder. If you overmix the batter it will affect the texture of the brownies!
Storage Instructions
I recommend storing the espresso brownies in an airtight container at room temperature for up to 4 days. You can freeze the sliced brownies, just wrap them in plastic wrap and then foil. Let them defrost before enjoying!
More Recipes You’ll Love


If you make this recipe, let me know how it went in the comments below, I’d love to hear from you! You can also tag me on Instagram or Facebook so I can check it out!
Baking FAQ
These are the topics I’m asked about most frequently:
You can get these answers and more in my frequently asked questions post!

Espresso Brownies
Ingredients
- ¾ cup (158 g) butter, melted, regular or dairy free
- ¾ cup (150 g) light brown sugar
- 1 cup (200 g) granulated sugar
- 2 eggs
- 1 Tablespoon vanilla extract
- ¼ teaspoon salt
- 1½ Tablespoon (9 g) espresso powder
- ⅔ cup (57 g) unsweetened cocoa powder
- ¾ cup + 1 Tablespoon (103 g) all-purpose flour
Instructions
- Preheat your oven to 350°Fahrenheit and line an 8×8 baking pan with parchment paper. Make sure the paper is overhanging so you can easily lift the brownies out later.
- Melt the butter in the microwave or in a small pan on the stove. Pour the melted butter into a medium bowl.
- Add in the light brown sugar and white sugar and whisk together. Whisk until it becomes very thick and paste like – this will give you a crinkly top!
- Add in the eggs and vanilla extract and whisk to combine.
- Pour the flour, cocoa powder, espresso powder, salt and flour into the wet ingredients and whisk until just combined. Don’t overcombine as that will give you dry brownies!
- Pour the brownie batter into the prepared baking pan.
- Bake in the preheated oven for 30-40 minutes. If you insert a toothpick in the center it should come out with a few wet crumbs. Let them cool completely before slicing!

Video
Notes
The calorie information provided for this recipe is an estimate. The accuracy of the calories listed is not guaranteed.
These were amazing! So well balanced. Though I suggest adding any kind of chocolate chips. It adds so much to the taste and texture.
Hi Gabby! Just wanna to ask about the butter. Salted butter or unsalted butter? Thanks before! ❤️
You can use either, if you prefer a sweeter brownie, use unsalted. I personally like desserts to be on the slightly less sweet side so I often am fine with salted butter. Either is fine though based on your personal preference.
omggg i have nothing but good words to say about this recipe!! sooo fudgy and as a coffee anddd chocolate lover this was amazing like i got the best of both worlds with these flavours <3 i always stand by gabby's recipes, supporting a fellow canadian! love from BC
Thank you Celine! I’m so happy to hear this! Your message means so much 🩵
I made these for work (just because I love to bake and share) and they were incredible! Everyone commented how good they were. I bake and share because I’m an empty nester, and if I made these for home , my husband and I would eat the entire pan. I did double the recipe and bake in a 9×13 pan. They were so moist in the middle and the espresso powder took them over the top with flavor. This is a recipe I will share gladly. Thanks!
So happy to hear this! Thank you for your review!
Excellent brownies. I did bloom my cocoa powder in the warm butter and sugars and and added about a half cup of toasted walnuts. These were quick easy and really rich and fudgy. I’ve made a lot of brownie recipes over the years that were good but this one is the best I’ve done and it’s a keeper,
Thank you for your review Maggie! So glad to hear you enjoyed these brownies 🤗
Hi when you say espresso powder is it the fine grind coffee beans that is use in espresso machines?or i can use instant coffee?thanks
You can use either one! Instant coffee works
This is a delish ! recipe that is easy to follow and easy to understand. A big hit with my family of brownie lovers. PS: The espresso does the trick.
I’m so happy you all loved the recipe! Thanks for the review!
How much espresso powder would I add if I were making a small batch of brownies?
If you are using an 8×4 pan or 9×5 pan, use half the amount of all ingredients!
Came out so fudgy and perfect, especially when warm!! ^_^ sm better than boxed brownies
I am so happy you loved them, yay!
these were amazing. perfect amount of coffee flavor!
so happy you loved them Jessie!
I have made this one and it is another success attempt! Tried blondies before, and safe to say Gabby’s recipe is worth to try ?? Rich flavour and yummy!
Hi Ann! I am so happy you loved the brownies so much! Thank you for the review!