Dairy Free Waffles
This post contains affiliate links. Read the full disclosure here.
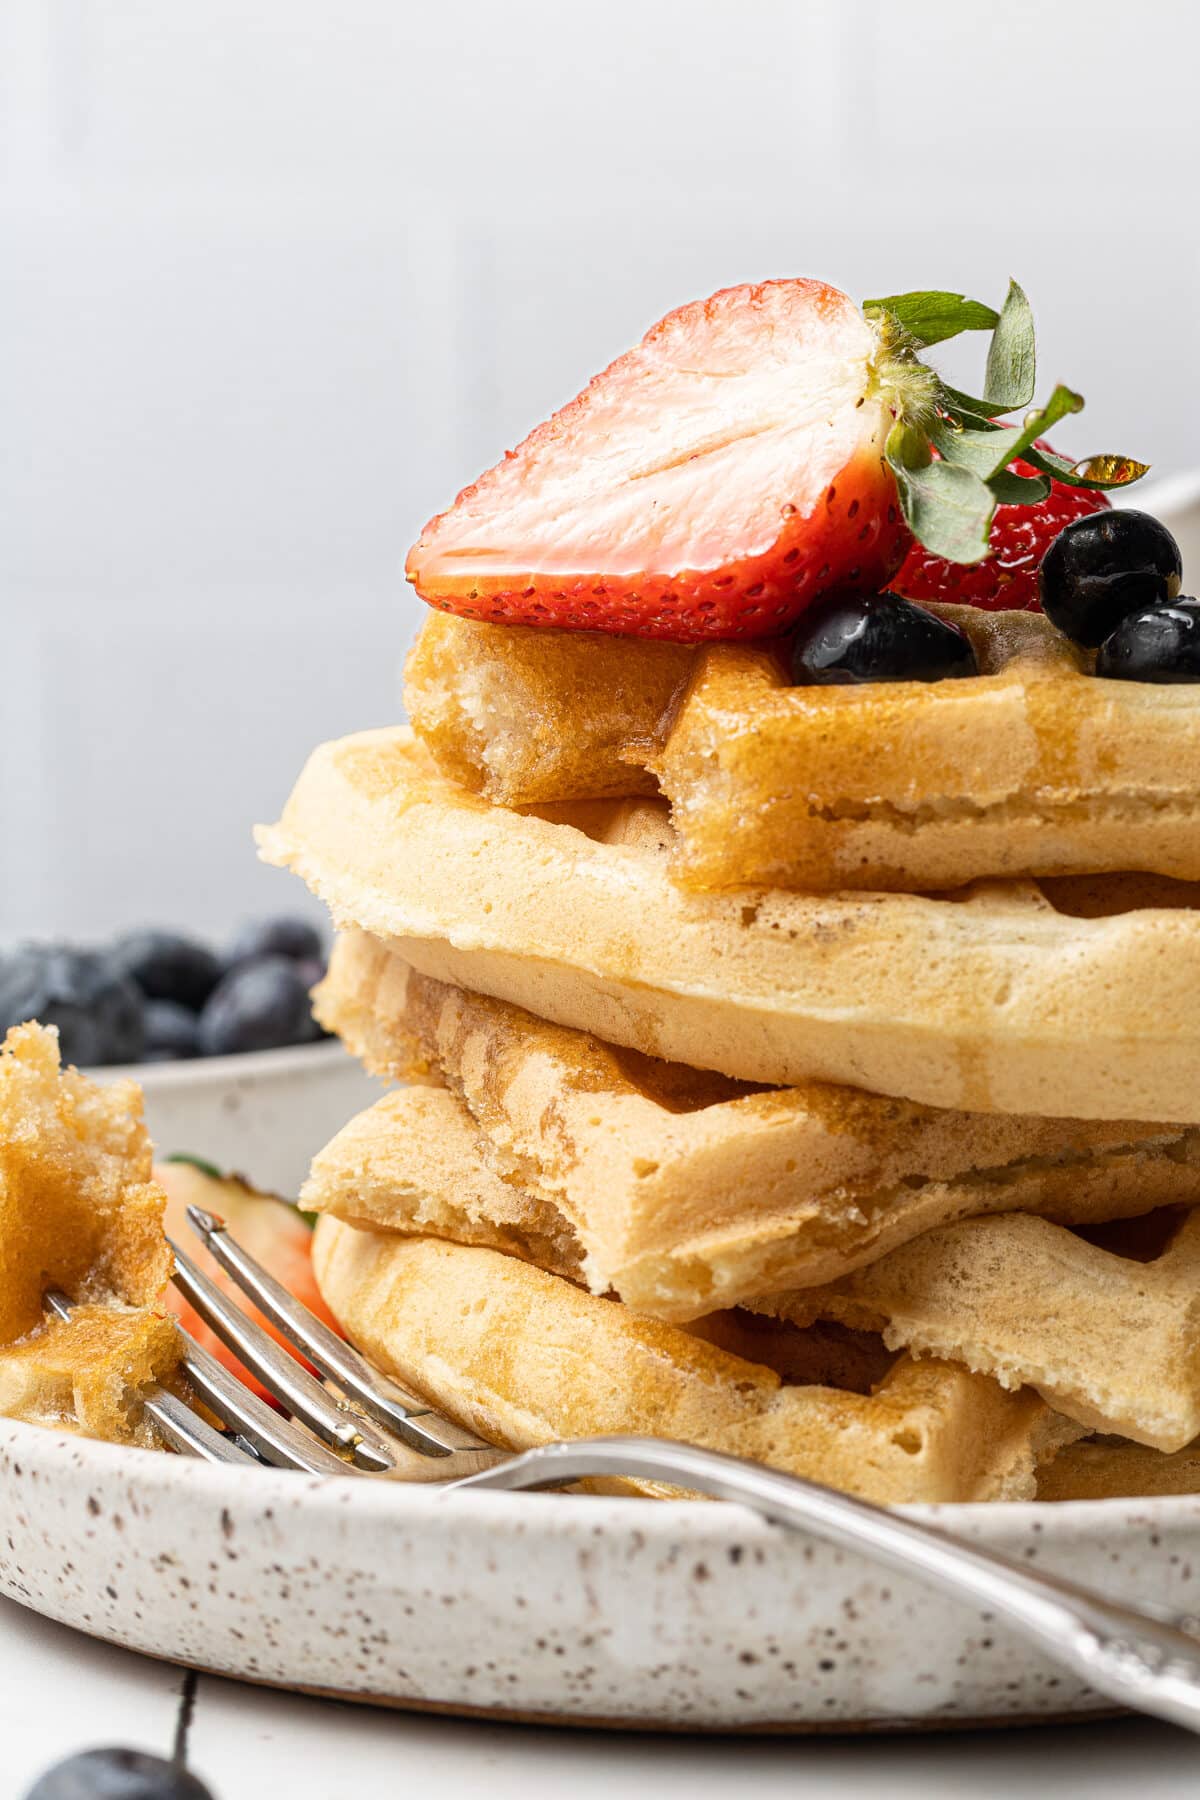
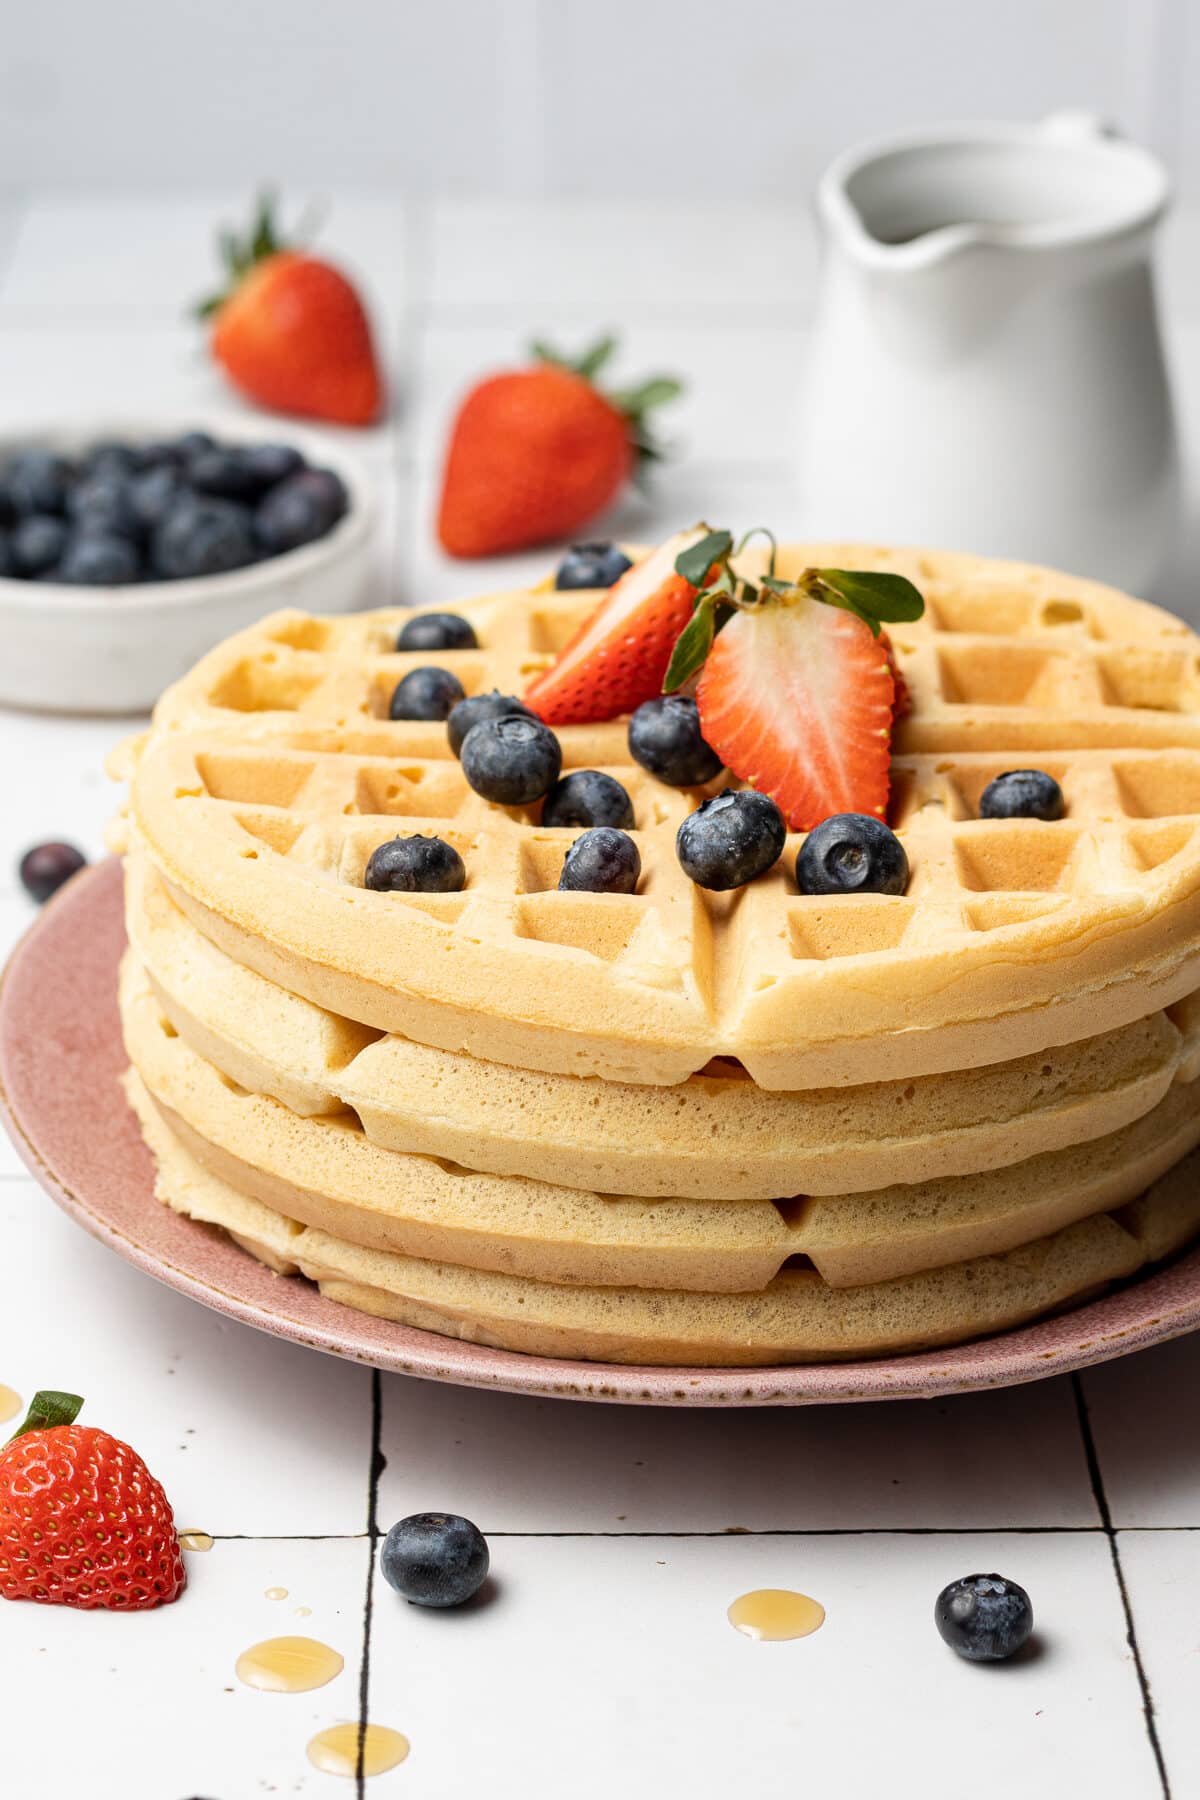
These dairy free waffles are soft and fluffy on the inside and crispy on the outside, and so easy to make! Made with no milk, these waffles are the perfect addition to your breakfast or brunch.

On the weekends, you can usually find me making fluffy dairy free pancakes. But every once in a while I wonder why I’m not making these waffles without milk more often!
This homemade waffle recipe is super easy, can be made with any size or shape of waffle iron, and they can even be stored for leftovers!
Featured Reader Review
“These are literally the best waffles ever! My daughter is lactose intolerant so we use lactose free milk and they work perfectly!!! So tasty.”
Steph
I swear no one one will even know these waffles are made without dairy – they are perfect for Valentine’s Day, Mother’s Day brunch, meal prep, or just a regular lazy Sunday.
Why You’ll Love These Waffles
- I know some people like their waffles crispier – you can easily make these even crispier by cooking them a little longer.
- These dairy free waffles are freezer friendly, so they can actually be made ahead of time and then reheated. I like to reheat mine in the toaster to bring back the crispiness they lose after a few days.
- This recipe is a great base, and you can easily add chocolate chips or blueberries to the batter to switch it up!
Ingredient Notes

- Oil: You can use any neutral oil you’d like (for example, grapeseed, canola, or even melted coconut oil), or you can swap the oil for melted dairy free butter at a 1:1 ratio. While I tested this recipe both ways, I found that the version made with oil resulted in a crispier outside than the one made with butter.
- Dairy Free Milk: I love using oat milk in this recipe, but you can use any dairy free milk like almond milk, soy milk, or cashew milk.
- Eggs: Good news – I also tested these waffles without eggs! To make these waffles egg-free and vegan, leave out the eggs and add 2 teaspoons of apple cider vinegar and an extra 1/3 cup of vegan milk.
How To Make These Waffles
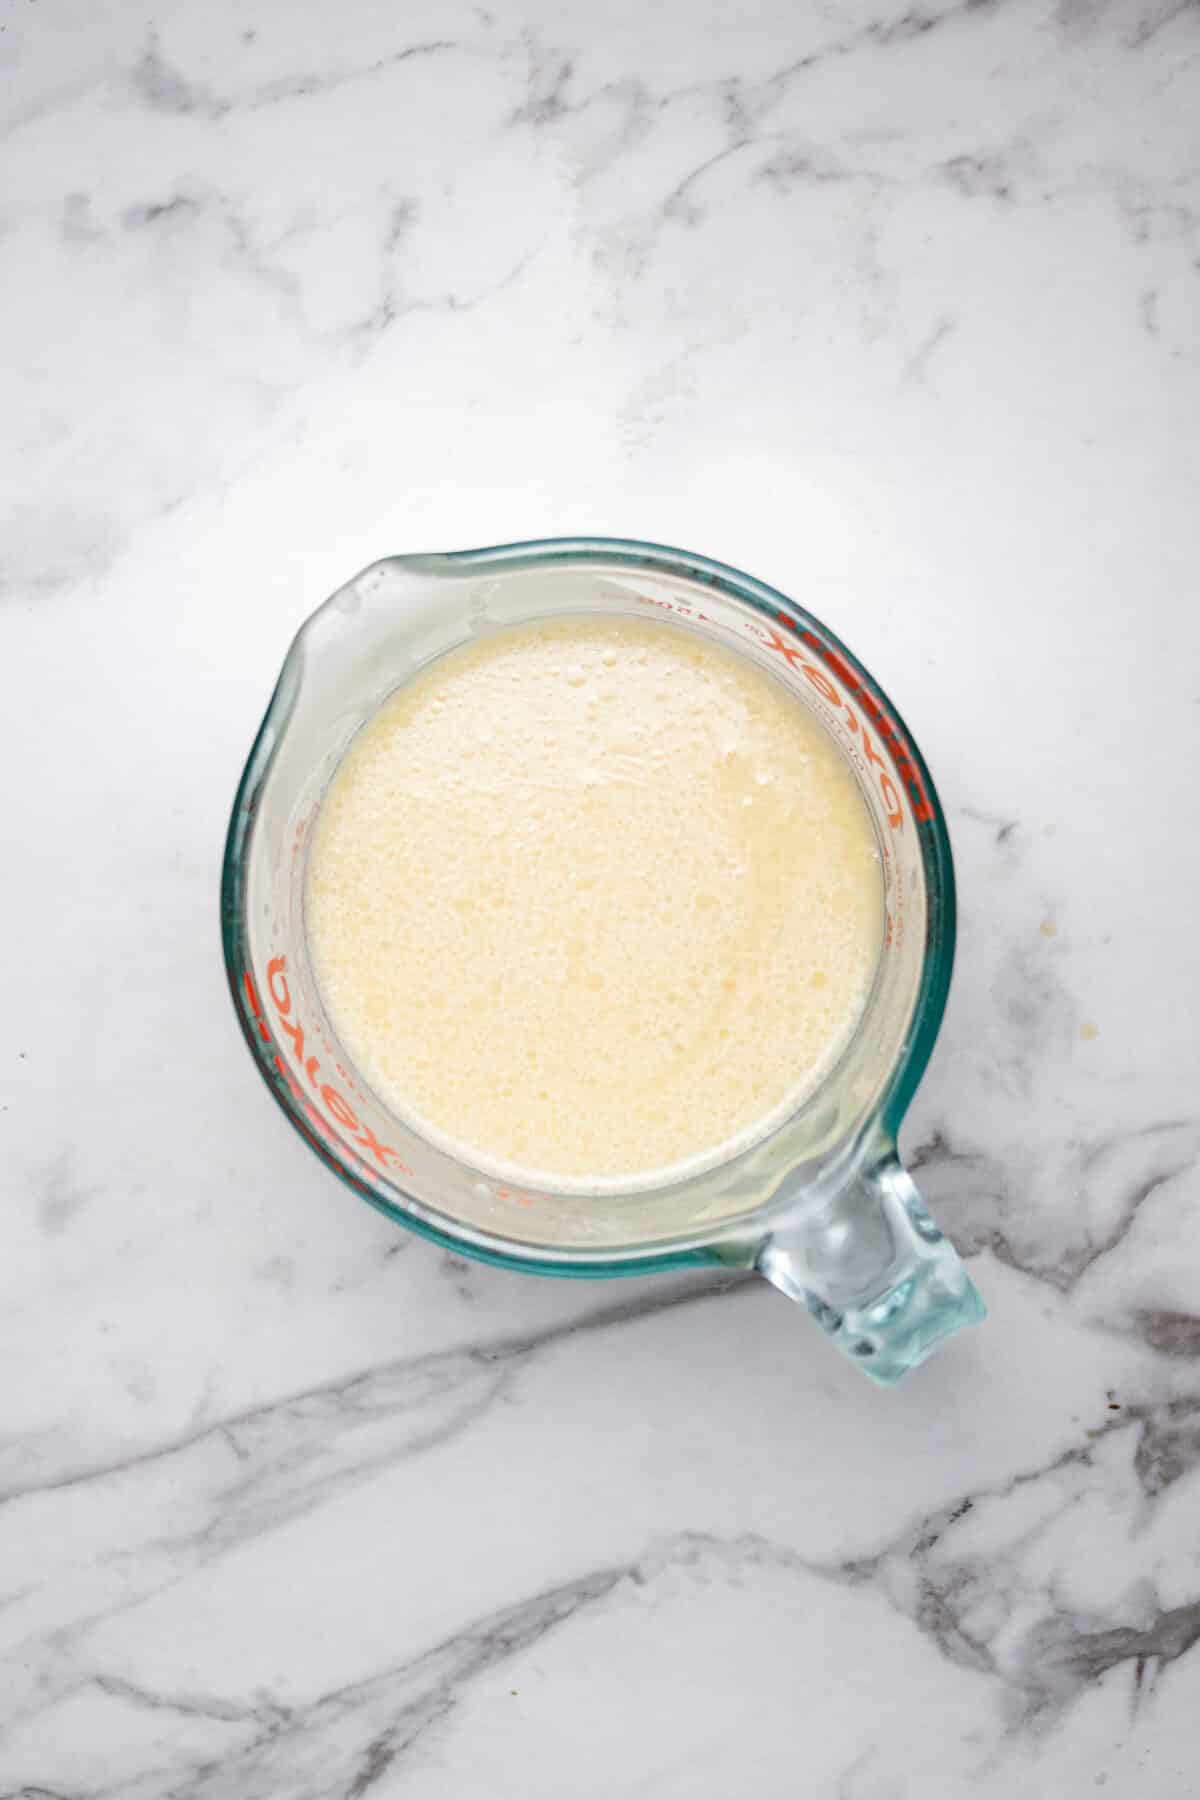
Mix all wet ingredients together.
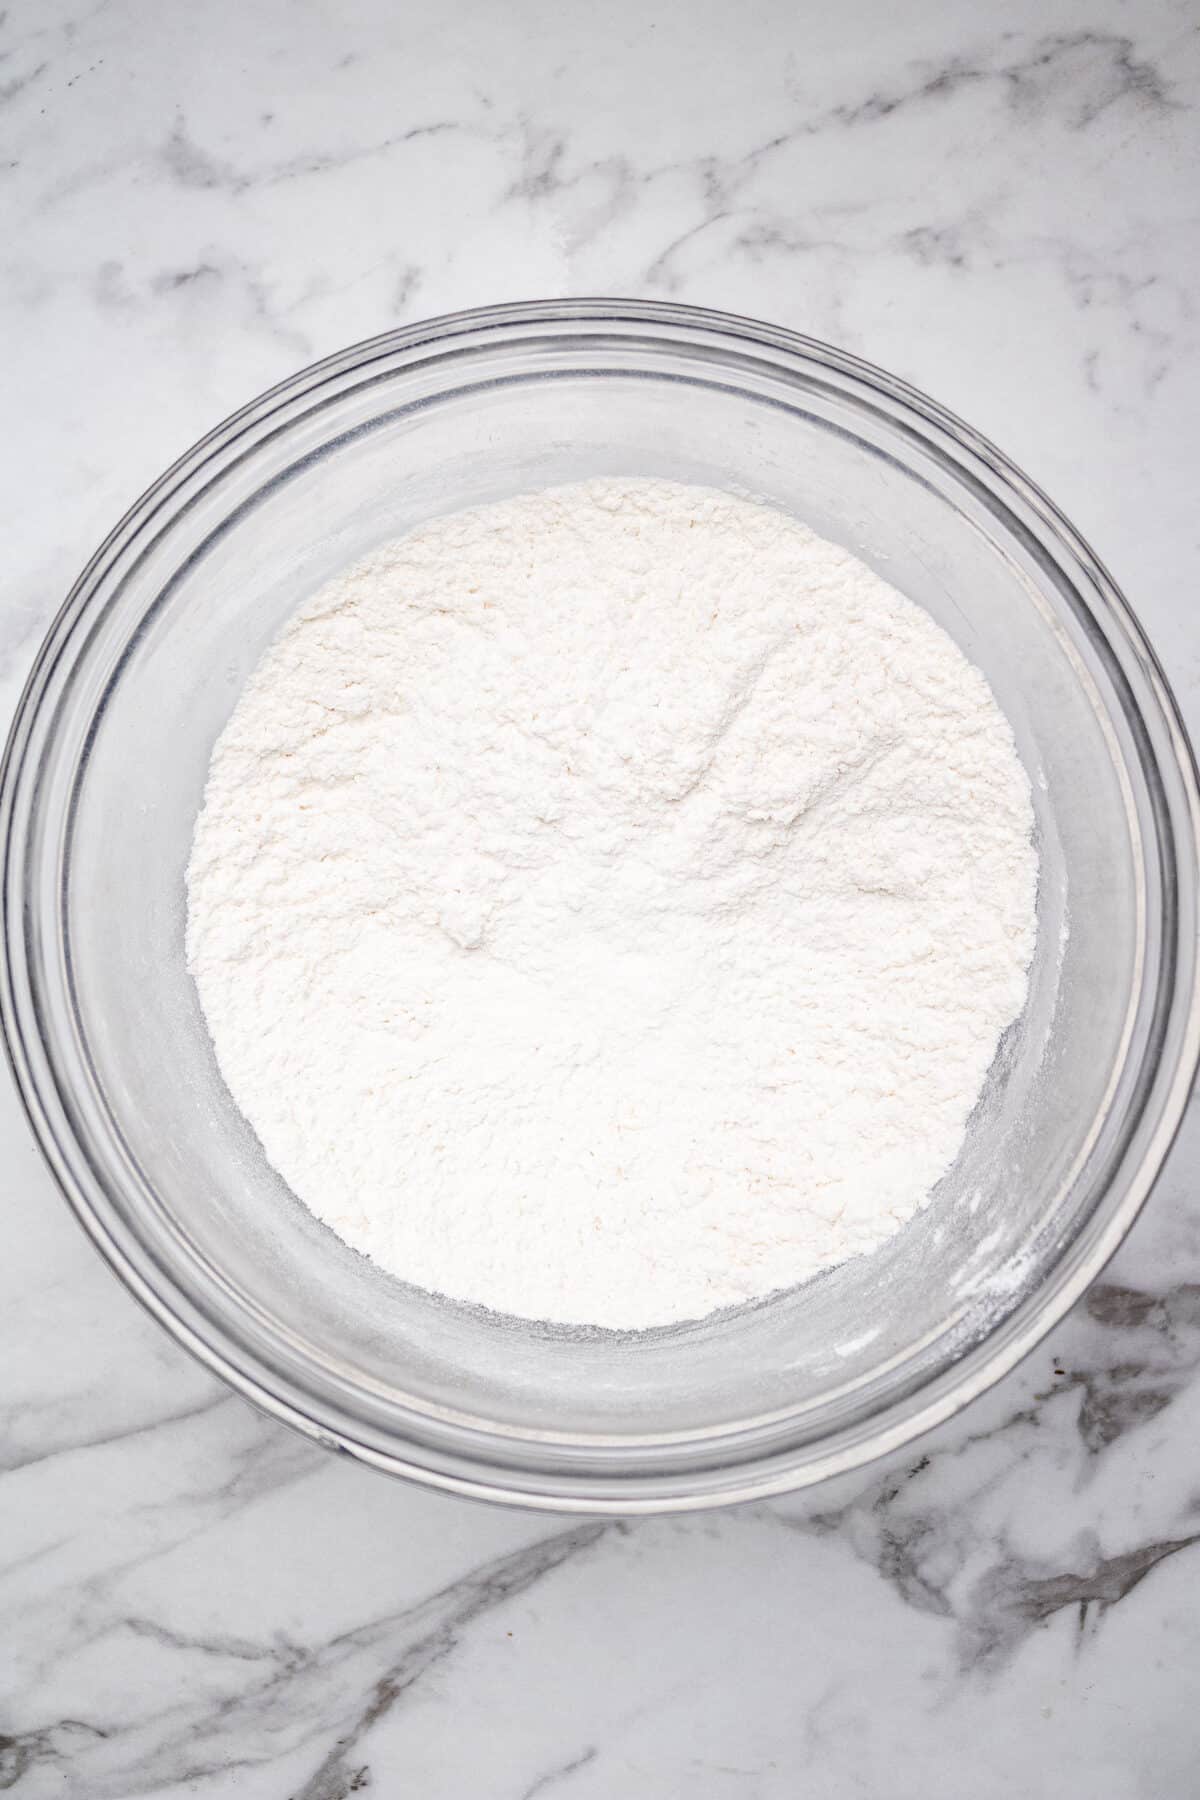
Separately, whisk together the dry ingredients.
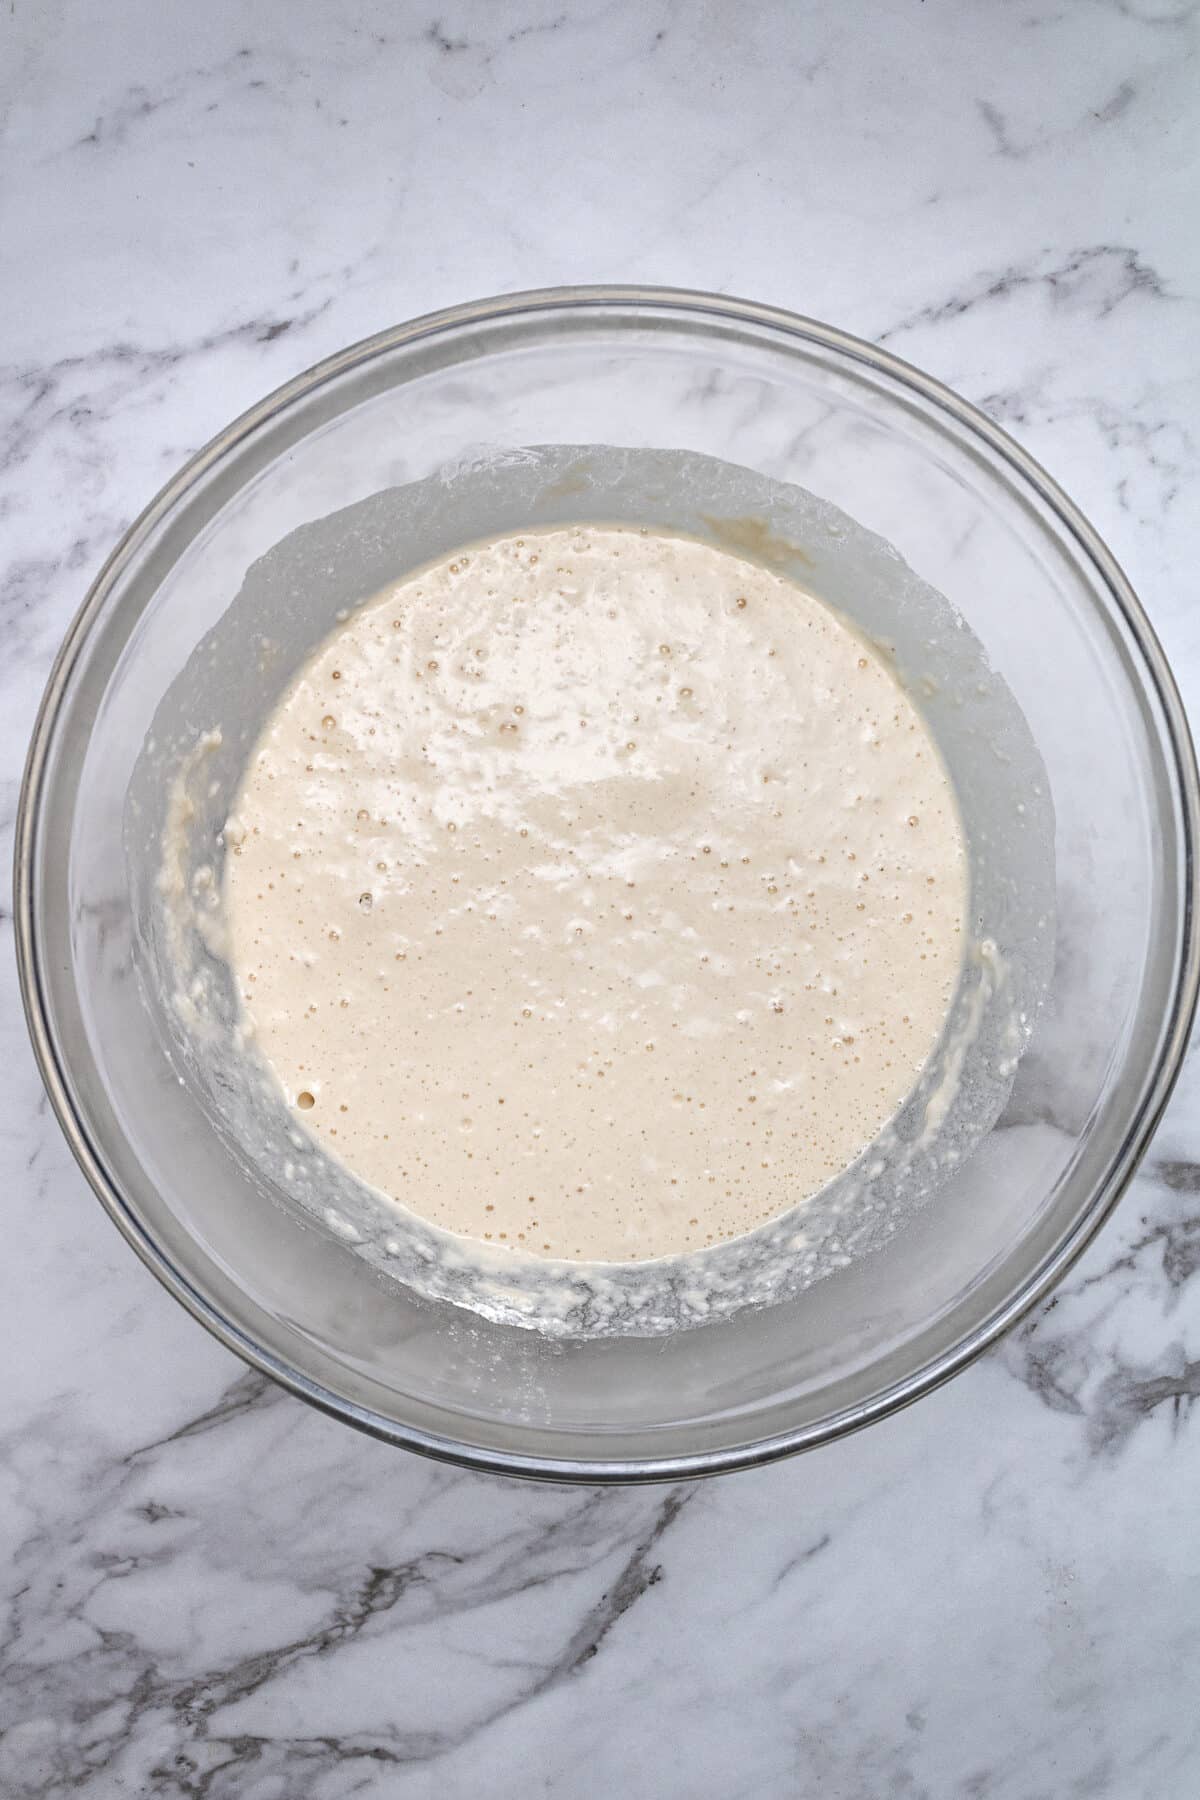
Combine the wet and dry!
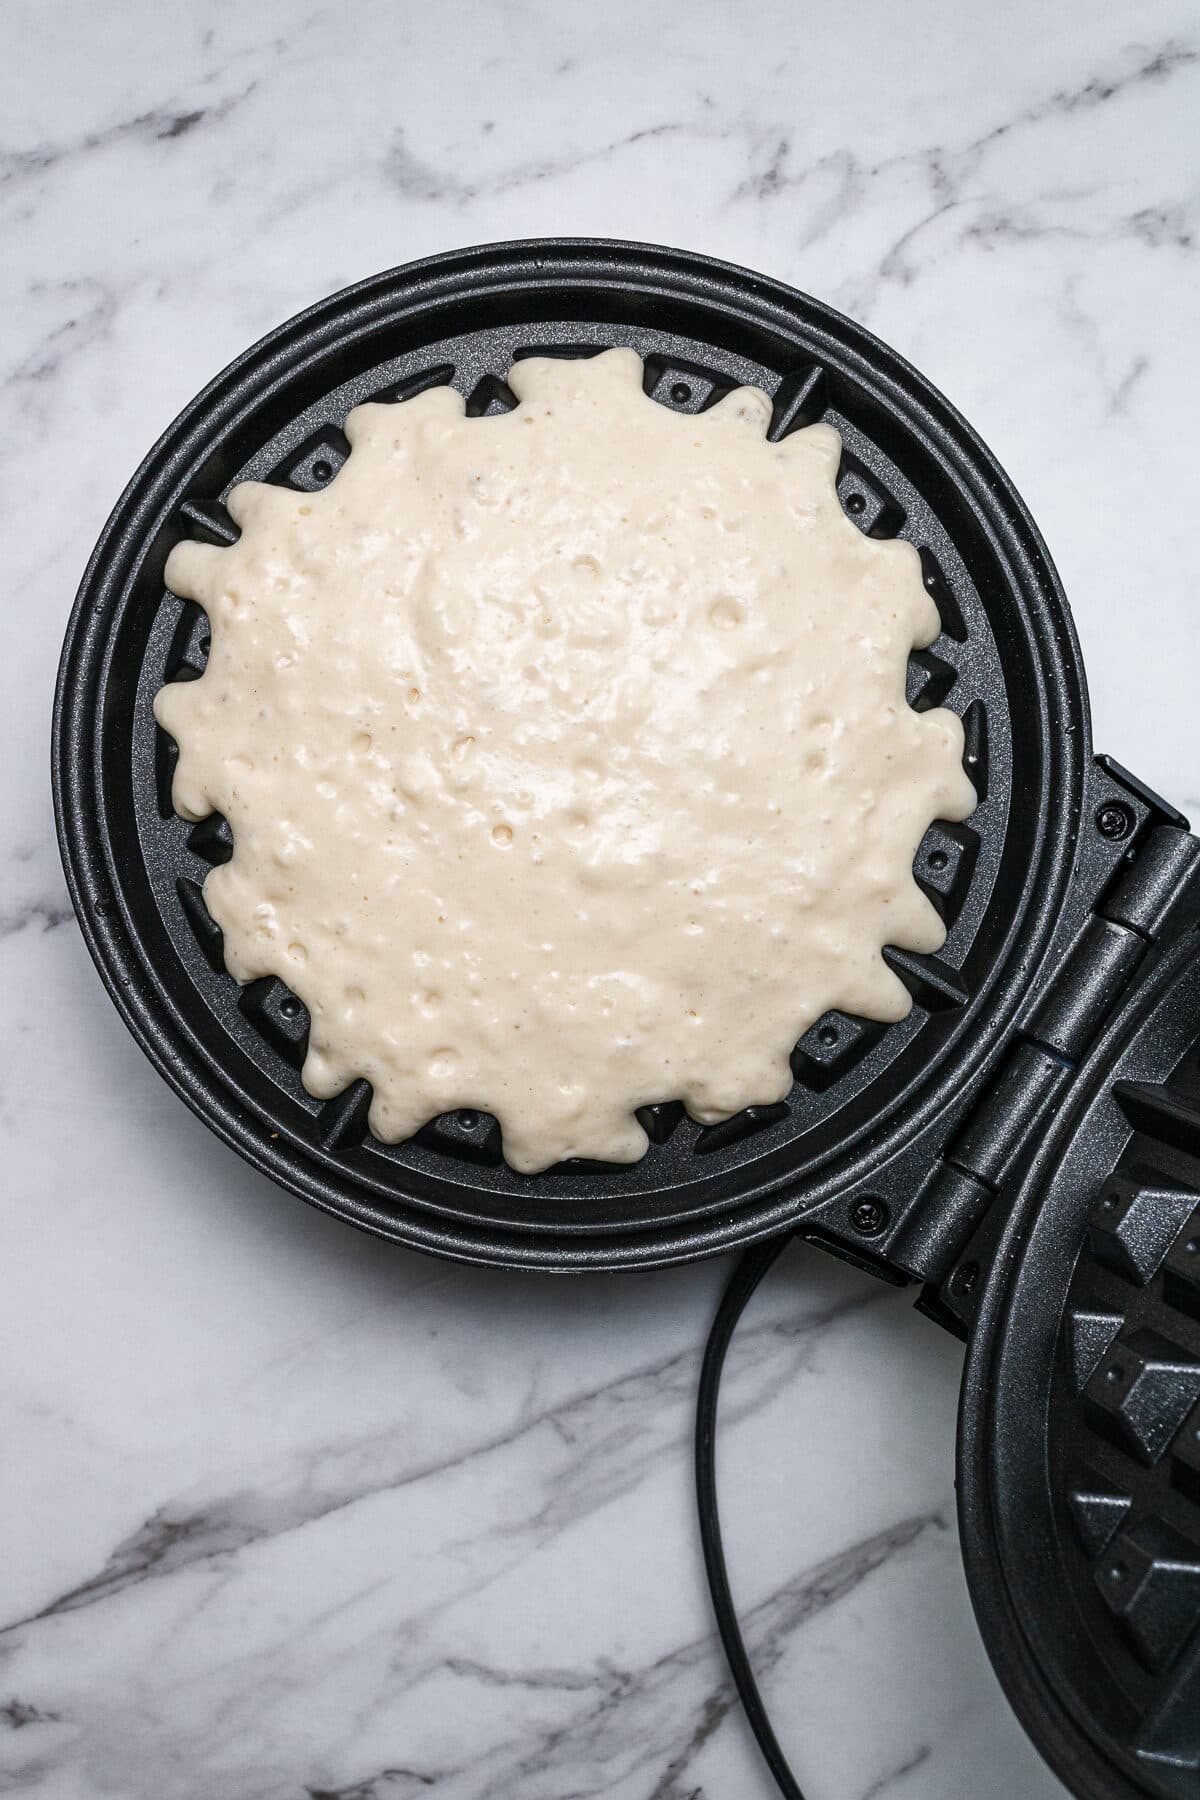
Cook your waffles!
Dairy Free Waffle Toppings
Some of my favorite toppings for these waffles are homemade vegan nutella or dairy free whipping cream!
Recipe Developer Expert Tips
- Make sure your waffle iron is fully pre-heated before you add the batter to it: adding batter to a lukewarm waffle iron will affect the crispiness.
- Watch the heat: Keep a close eye on the waffles, especially if you’re using a new waffle iron. Every waffle iron has different recommended heats and instructions to follow, so I always like to make a test waffle.
More Recipes You’ll Love


If you make this recipe, let me know how it went in the comments below, I’d love to hear from you! You can also tag me on Instagram or Facebook so I can check it out!
Baking FAQ
These are the topics I’m asked about most frequently:
You can get these answers and more in my frequently asked questions post!

Easy Dairy Free Waffles
Video
Ingredients
- 2 cups (250 g) all-purpose flour
- 1½ Tablespoons baking powder
- ¼ teaspoon salt
- 3 Tablespoons (36 g) granulated sugar
- 1¼ cup dairy free milk of choice
- 6 Tablespoons (68 ml) neutral oil, (grapeseed, canola, or coconut)
- 2 teaspoons vanilla extract
- 2 eggs
Instructions
- Preheat your waffle iron (spray lightly with cooking spray if your waffle iron requires it). Add dairy free milk, vanilla extract, oil and eggs to a large measuring cup and whisk until combined, then set aside.
- In a medium mixing bowl, add flour, sugar, baking powder, and salt, then whisk. Add the wet ingredients into the bowl and whisk together with the dry ingredients until just combined.
- Pour the batter into your waffle iron and cook according to the directions on your specific waffle maker (each waffle iron is different!). The amount of batter you use for each waffle will also depend on the size of your waffle maker! As a general rule, cooking your waffles for longer will make them crispier.
- Add toppings and enjoy!
Equipment
Notes
The calorie information provided for this recipe is an estimate. The accuracy of the calories listed is not guaranteed.
Best waffle recipe! Even better than the ones with dairy somehow! I swapped the soy to full cream milk twice but the consistency was too runny and taste just wasn’t right. I made these for my own and my friend’s little ones with allergies, always a big hit! Thank you so much for sharing!
Yay! So glad you enjoyed! And thank you for leaving your review!
I made these pancakes this morning and my 5 year old son gobbled up 3 1/2 medium sized pancakes! They are fluffy and tasty and will definitely try these again!!
Hi Sarah! I’m so glad that you and your son loved the pancakes. Thank you for your review!
These are literally the best waffles ever! My daughter is lactose intolerant so we use lactose free milk and they work perfectly!!! So tasty
Thank you for sharing!!
Are these ok to make ahead and reheat in toaster
Yes definitely! They can be stored in a ziploc bag or airtight container in the fridge for up to 5 days. You can also freeze any leftover waffles in a ziploc bag for later, then either let them thaw in the fridge before reheating in the microwave or toaster and enjoy right away!
2.5 Tablespoons or 2.5 teaspoons of baking powder???
1.5 Tablespoons!
These were great! I used Oat-Milk and they turned out wonderful! I was afraid that they would taste like baking powder, but they did not. It only took 15 minutes! Definitely would recommend!
I’m so happy you loved them yay! Thanks for the review!
Very nice texture!
Hi Linda! So glad you loved them 🙂
These were delicious! Thanks
I am so happy you loved them!!
super good, really easy to make.
Hi Dani! So glad to hear that you loved them, thanks for the review 🙂
Very easy to make and turned out great! I use water as substitute and it taste just as delicious. My kids ate them quickly and requested me to make again the next day!
Hi Nadia! I’m so happy to hear that you all loved the waffles! Thanks so much for taking the time to leave a review 😀