Vegan Red Velvet Cookies
This post contains affiliate links. Read the full disclosure here.
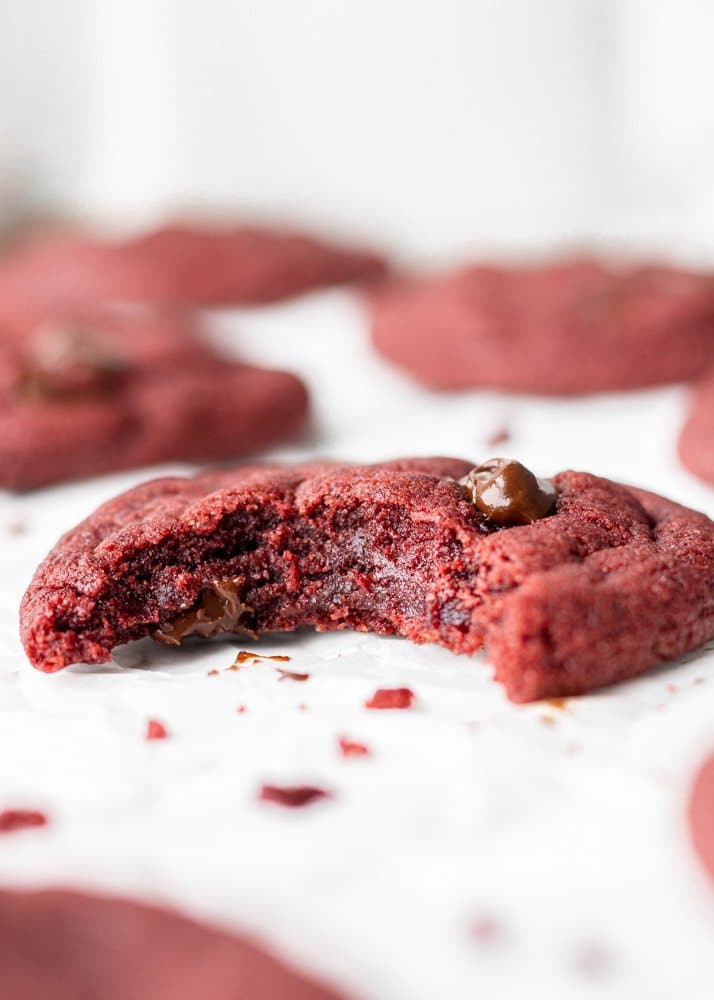
These vegan red velvet cookies are chewy on the inside, slightly crunchy on the edges, and filled with gooey chocolate chips. They’re so easy and require simple ingredients. You’re going to love them!

I recently realized that a lot of my readers are looking for vegan or egg free baking recipes! So I decided to develop some vegan cookies and to my surprise, neither myself nor my recipe testers could even tell that they were vegan!
The vibrant red colour makes these the perfect vegan Valentines cookies, Christmas cookies, or really just whenever cookies. One of the best things about vegan red velvet cookies is that they don’t belong to any season 😉

Ingredients:
- Vegan butter: you can use any type of vegan butter, but if the kind you use is solid, just make sure it’s softened at room temperature!
- Red food colouring: this recipe uses liquid food colouring. I haven’t tried it with gel food colouring but you can experiment with how much if that’s all you have on hand. If you want the cookies to be a more vibrant red colour you can always use more than 1 tbsp of liquid as well!
- Vegan milk: vegan milk acts as the liquid component of the cookies. I used oat milk, but any plant-based milk will work!
- Vegan chocolate chips: I use semi-sweet chocolate chips but you can use whichever kind you’d like. You can also use vegan white chocolate chips, or chopped chocolate. You can also leave out the chocolate chips entirely for less chocolatey-ness!
How to make vegan red velvet cookies
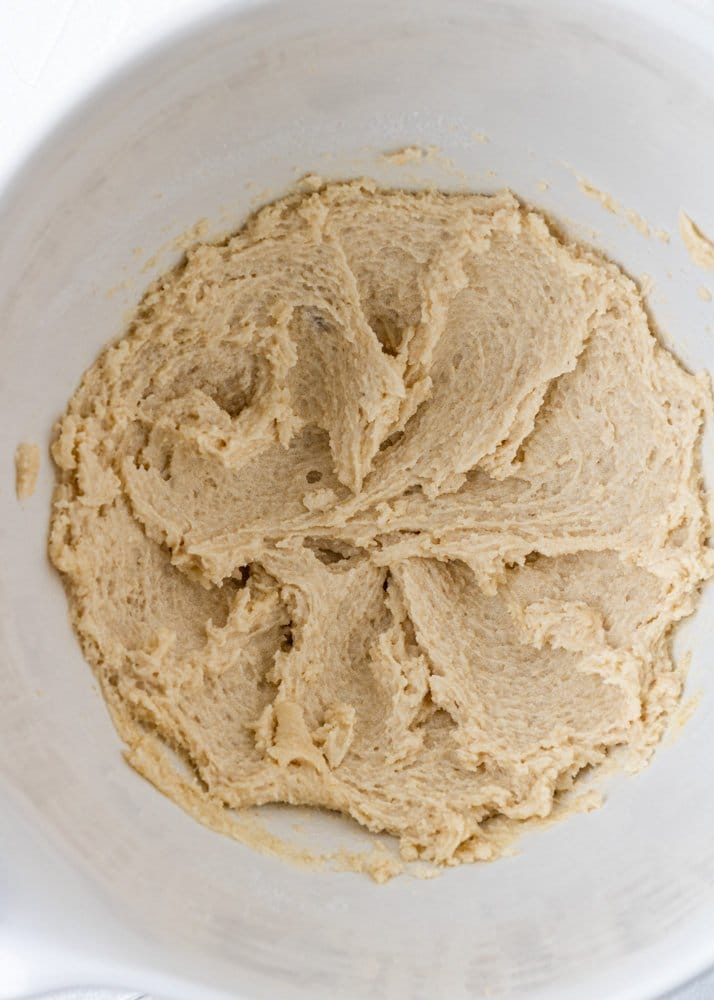
Step One: Use a medium bowl to combine the flour, cocoa, baking powder, and salt and set that aside for later. In another bowl, mix together the butter and both sugars for about a minute.
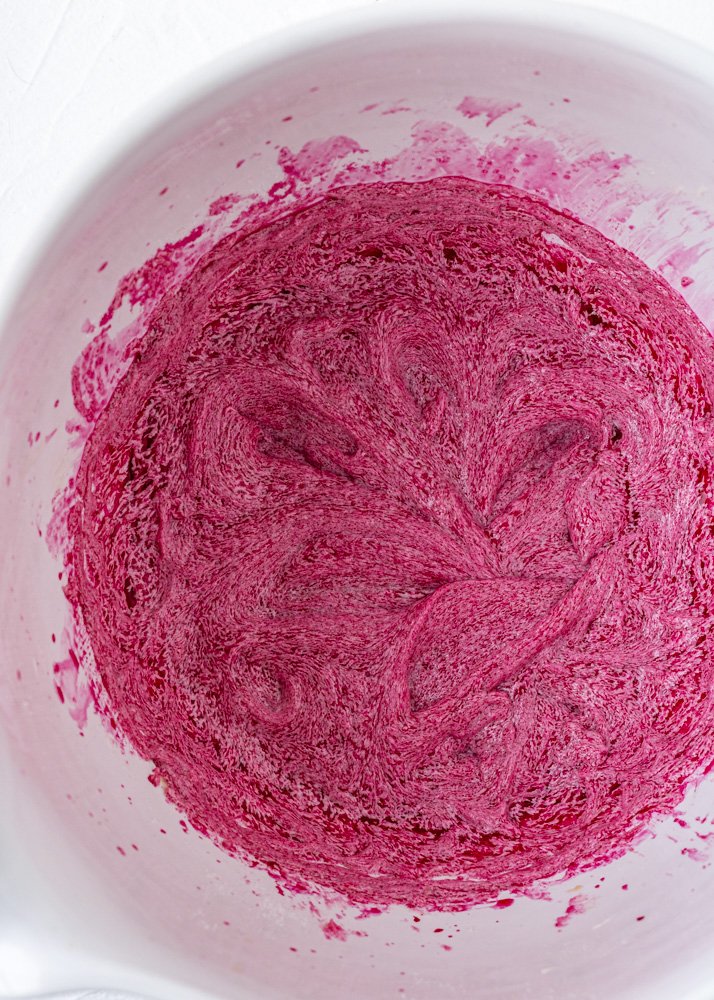
Step Two: Pour in the vegan milk, food colouring, and vanilla and mix again until fully combined. Mix in all the dry ingredients, making sure to scrape the sides of the bowl.
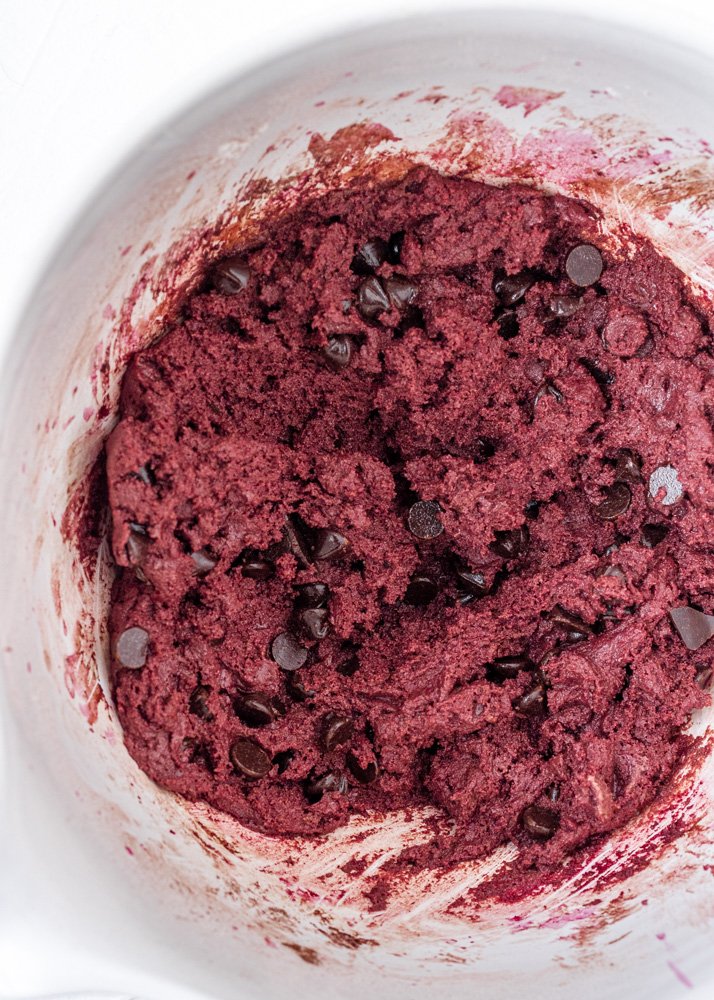
Step Three: Add in the chocolate chips and fold. If you’d like, you can save a handful of chocolate chips to plop on top of the dough before the cookies bake.
Step Four: Place plastic wrap tightly over top of the bowl and place it in the refrigerator for at least 2.5 hours and up to 24 hours to chill.
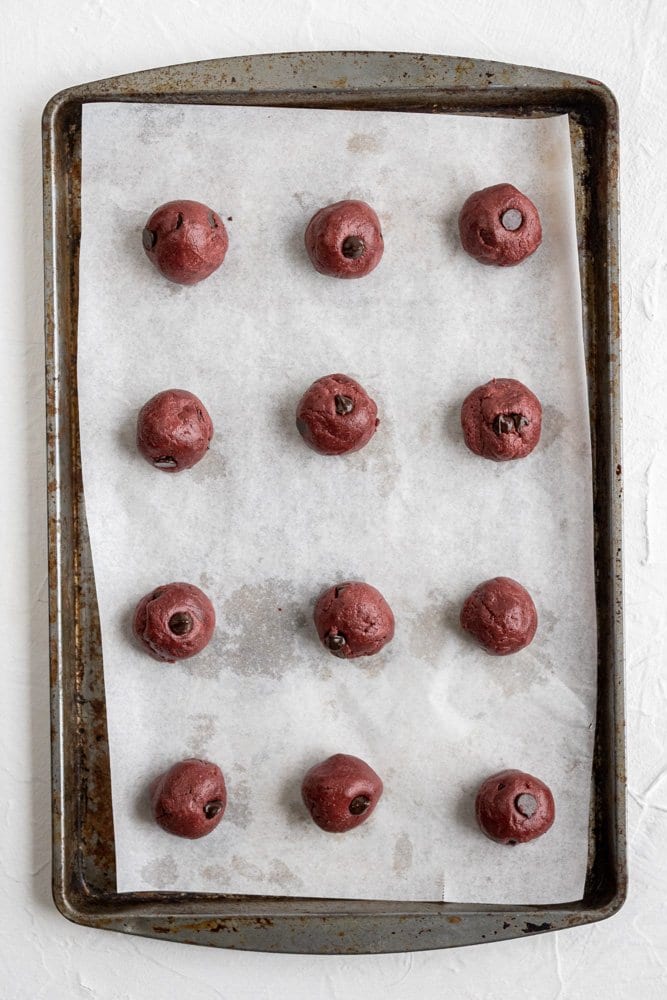
Step Five: After 2.5 hours, remove the cookie dough from the fridge and form 1.5 tbsp-sized balls of dough, then place on parchment-lined baking sheets, giving them a little room to spread.
Step Six: Bake the cookies (one baking sheet at a time) in the preheated oven for between 9-12 minutes. Place the second tray of unbaked cookie dough into the fridge while the first batch is in the oven so that the dough doesn’t get too soft.
You’ll know the cookies are done when the edges look set and they’re slightly cracked on top. Remove them from the oven and leave them on the baking sheet for 5-10 minutes before transferring to a cooling rack.
What is red velvet?
Growing up, red velvet was one of my favourite flavours. Only later did I start to wonder “what the heck is red velvet flavour anyway?”. If you’re like me, you might be wondering the same thing. I know that that, well, I guess you could say red velvet isn’t actually a flavour.
Traditionally, the name red velvet was given to cakes that had a small amount of cocoa powder combined with vinegar and buttermilk. Apparently a chemical reaction caused the cakes to turn red…
To be honest, I’ve done a lot of baking and have never personally seen that happen with my own eyes. It could be true, but now a days red velvet taste/flavour is basically a light chocolate flavour combined with red food colouring – which of course adds no flavour. But it sure is fun!
Expert Tips
- Don’t skip the dough chilling! Because there are no eggs in these chewy vegan cookies to provide them with structure, they’ll be really flat if you don’t refrigerate the dough first. The longer you chill the dough, the thicker these vegan red velvet cookies will be.
- Be sure to properly measure your flour using a food scale or the fluff, scoop, and level method.
- Underbake, don’t over-bake!
Storage Instructions
The cookies can be stored covered at room temperature for up to 5 days. You can also freeze them in a freezer ziploc bag and thaw at room temperature.


If you make this recipe, let me know how it went in the comments below, I’d love to hear from you! You can also tag me on Instagram or Facebook so I can check it out!
Baking FAQ
These are the topics I’m asked about most frequently:
You can get these answers and more in my frequently asked questions post!

Vegan Red Velvet Cookies
Ingredients
- 1½ cup (188 g) all-purpose flour
- 2 tbsp (15 g) cocoa powder
- 1 tsp baking powder
- ½ tsp salt
- ½ cup (105 g) vegan butter
- ½ cup (100 g) light brown sugar
- ½ cup (100 g) granulated sugar
- 2 tbsp (30 g) vegan milk of choice (I use unsweetened oat milk)
- 1 tbsp liquid red food colouring (vegan)
- 1 ½ tsp vanilla extract
- ¼ cup vegan dark chocolate chips*, see notes
Instructions
- In a medium bowl, combine flour, cocoa powder, baking powder, and salt. Set aside.
- In the bowl of a standing mixer with the paddle attachment or a using a handheld mixer, beat together butter, brown sugar and granulated sugar for about 1 minute.
- Add in the milk, food colouring, and vanilla extract and mix until combined, scraping along the sides of the bowl.
- Mix in the dry ingredients until just combined (the dough will be sticky), then fold in the chocolate chips.
- Cover the bowl with plastic wrap so that it's airtight, then place the dough in the fridge to chill for 2 ½ hours.* (see notes)
- Once the dough has chilled, preheat the oven to 350°F and line 2 baking sheets with parchment paper. Form the dough into 1.5 tbsp-sized balls and place on the baking sheets, leaving room for them to spread a bit.
- Bake one sheet at a time for between 9-12 minutes. Be sure to place the second tray of prepared dough into the fridge while the first batch of cookies is baking so that the dough doesn't soften.
- When the cookies are done, the edges should look set and the tops will be slightly cracked. Remove the cookies from the oven and leave them on the baking sheet for 5-10 minutes, then transfer to a wire rack to cool completely.

Hi Gabby! Love your recipes. When I measure 1 1/2 cup of my all purpose flour I get about 180g but the recipe says it should be 210g. Which one should I use?
Thank you!
Hi! Thank you so much for catching that – that is an error and should be 188 g of flour! I’ve updated the recipe. Sorry about that!
I want to make a batch ahead of time and freeze it before baking. Do I need to chill the dough for 2.5 hours first, then place it in the freezer?
That shouldn’t be necessary, just portion the dough and freeze it right away.
Hey! I want to try this recipe but I want to make simple red velvet cookies. Will this recipe work if I change vegan products with regular to make simple red velvet cookies?
Hi Monika! I recommend trying this recipe instead: https://thecookiedoughdiaries.com/red-velvet-cheesecake-cookies/
You can just leave out the cream cheese filling!
Hello! You’re recipe sounds delish. Can beet powder replace the liquid coloring? If so, what would be the measurement?
Thanks and happy holidays!
Hi Lisa! That would work fine, yes! You can start with around 1.5 Tablespoons of beet powder and add up to 2 Tablespoons depending on your color preference. Enjoy and happy holidays to you too!
Baking powder or soda?
Just 1 tsp of baking powder 🙂
these cookies turned out perfect, super soft, melt in your mouth delicious. Im not a vegan in any way but could not tell the difference whatsoever, AMAZING
Hi Taylor! I am so happy to hear that! They are one of my favorites too – thanks so much for trying out the recipe! 🙂
Hello!
How do you reccomend storing these cookies? I’m planning on making them tomorrow and serving them the next day.
Hi Adrian! The cookies should be stored in an airtight container at room temperature. If you’re making them tomorrow to serve the next day then that’s perfect 🙂 Enjoy!
Can you make these non vegan?
Hi Krissy! You sure can! Just replace the vegan butter with regular butter and the vegan milk with regular milk – no need to add eggs to it. Enjoy! 🙂
Can you substitute the flour with oat flour?
Hi Minnie! I believe oat flour should be substituted for all purpose flour at an equal weight ratio, as opposed to just with cups, because it’s much lighter than all-purpose flour. I personally haven’t made these with oat flour so I can’t say for sure how they will turn out, though I’d image they’d have a different texture. If you try it out, please let me know how it goes – good luck!
I can’t wait to try these! They look amazing!
Thanks Mikyla! I hope you love them – can’t wait to hear what you think! 🙂