Chocolate Raspberry Cake
This post contains affiliate links. Read the full disclosure here.
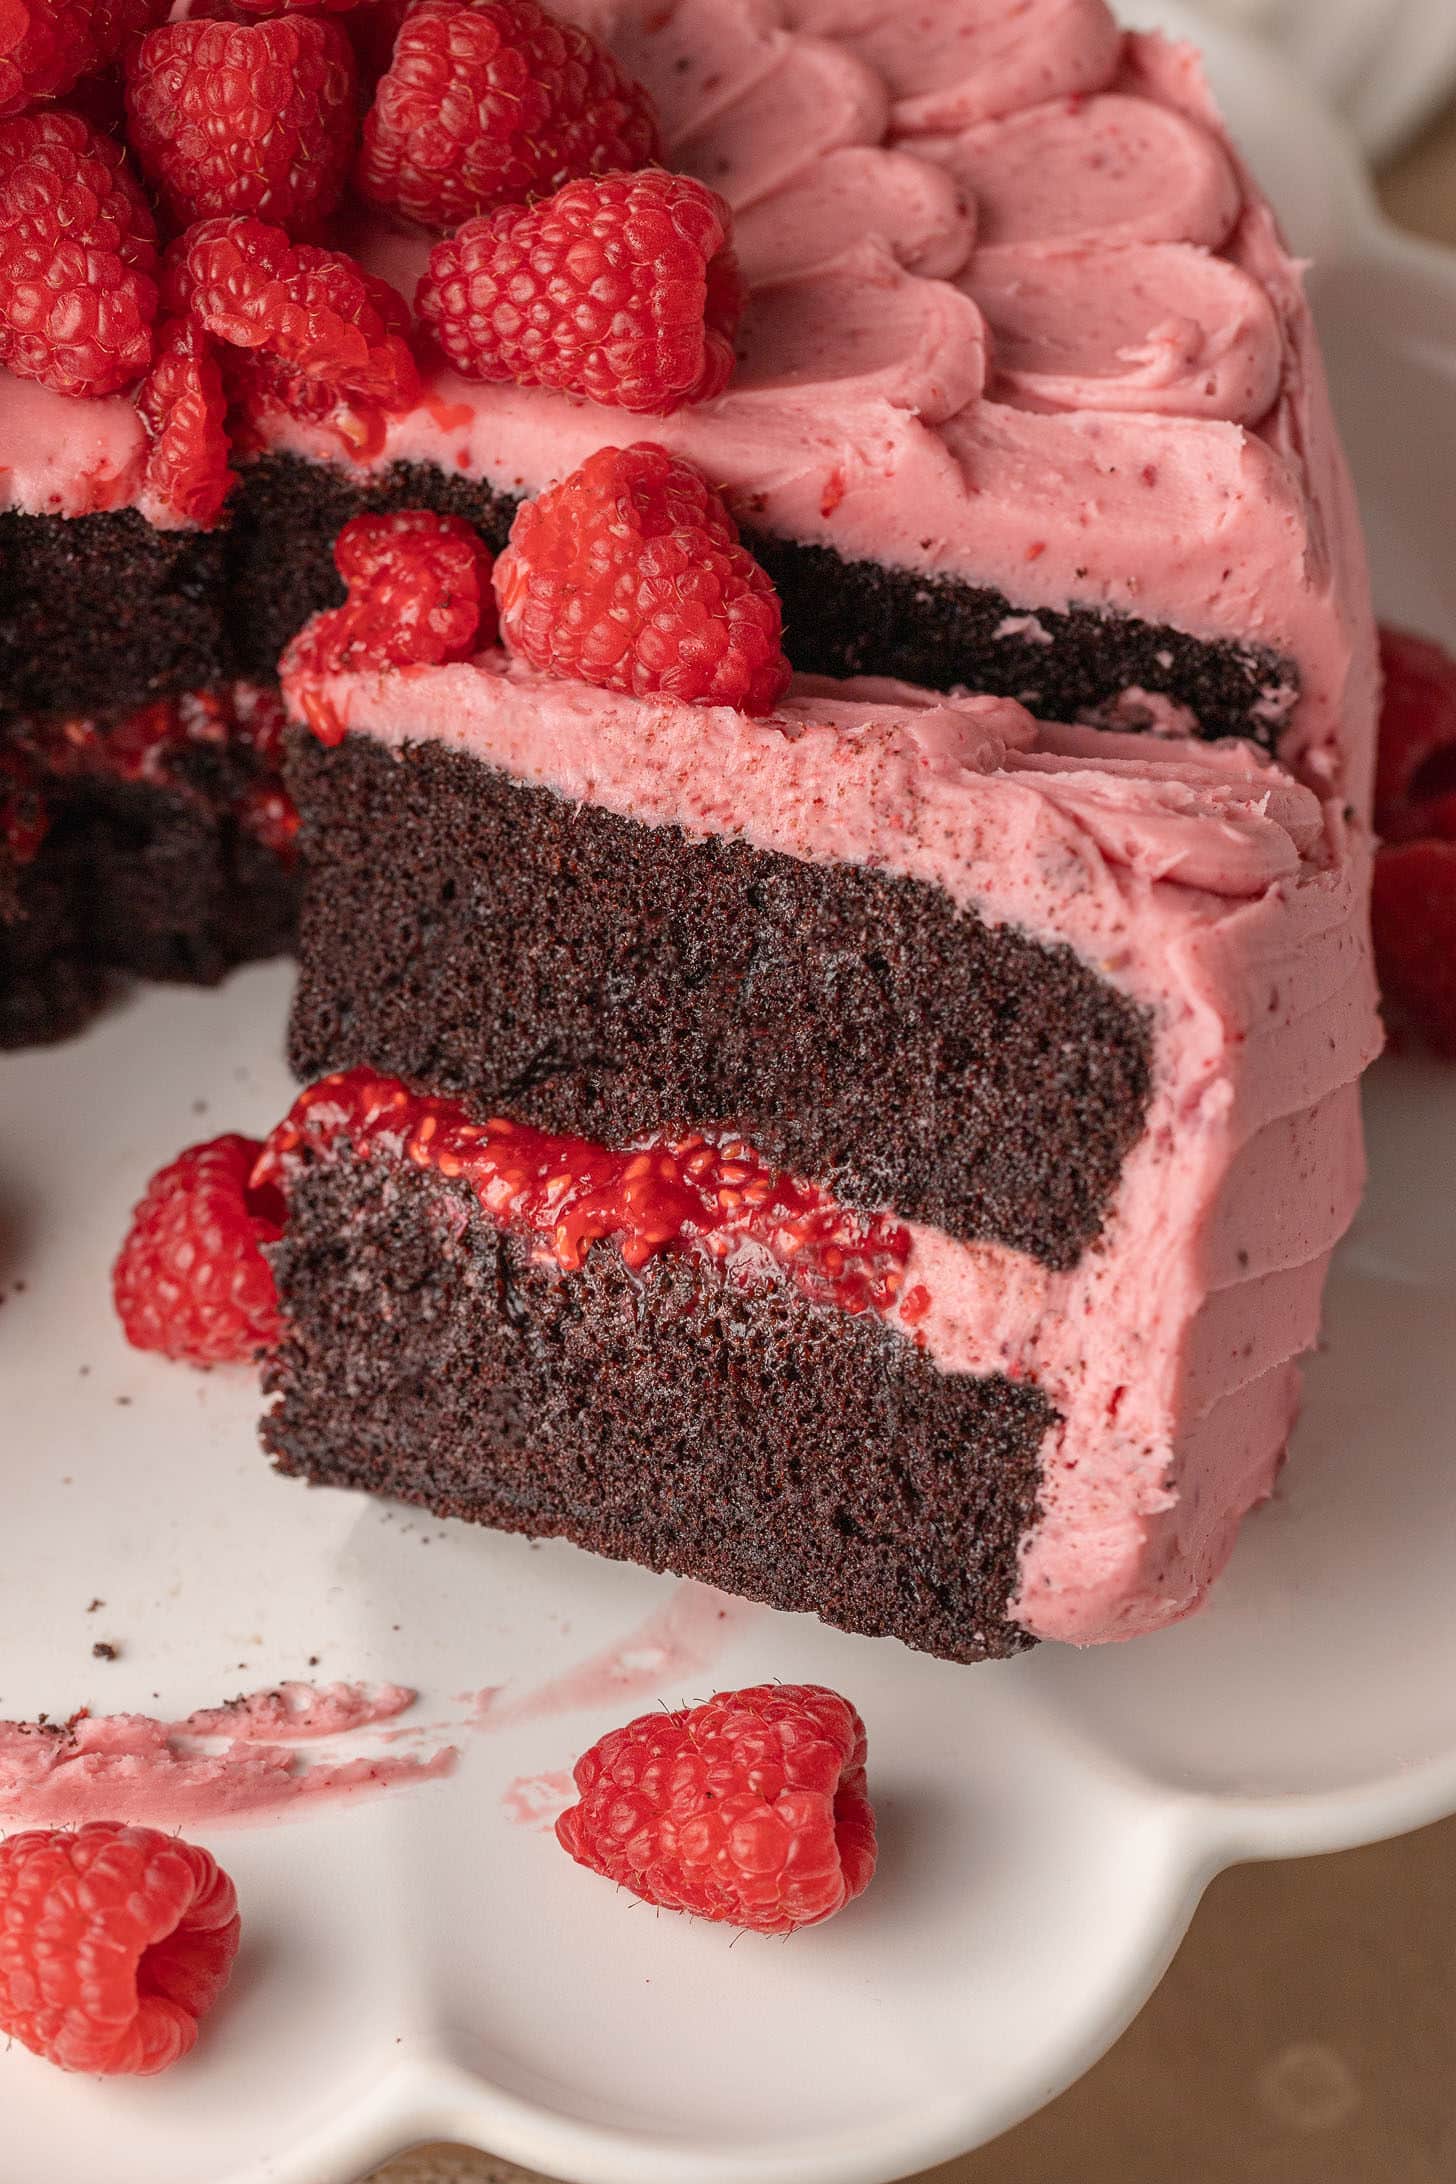
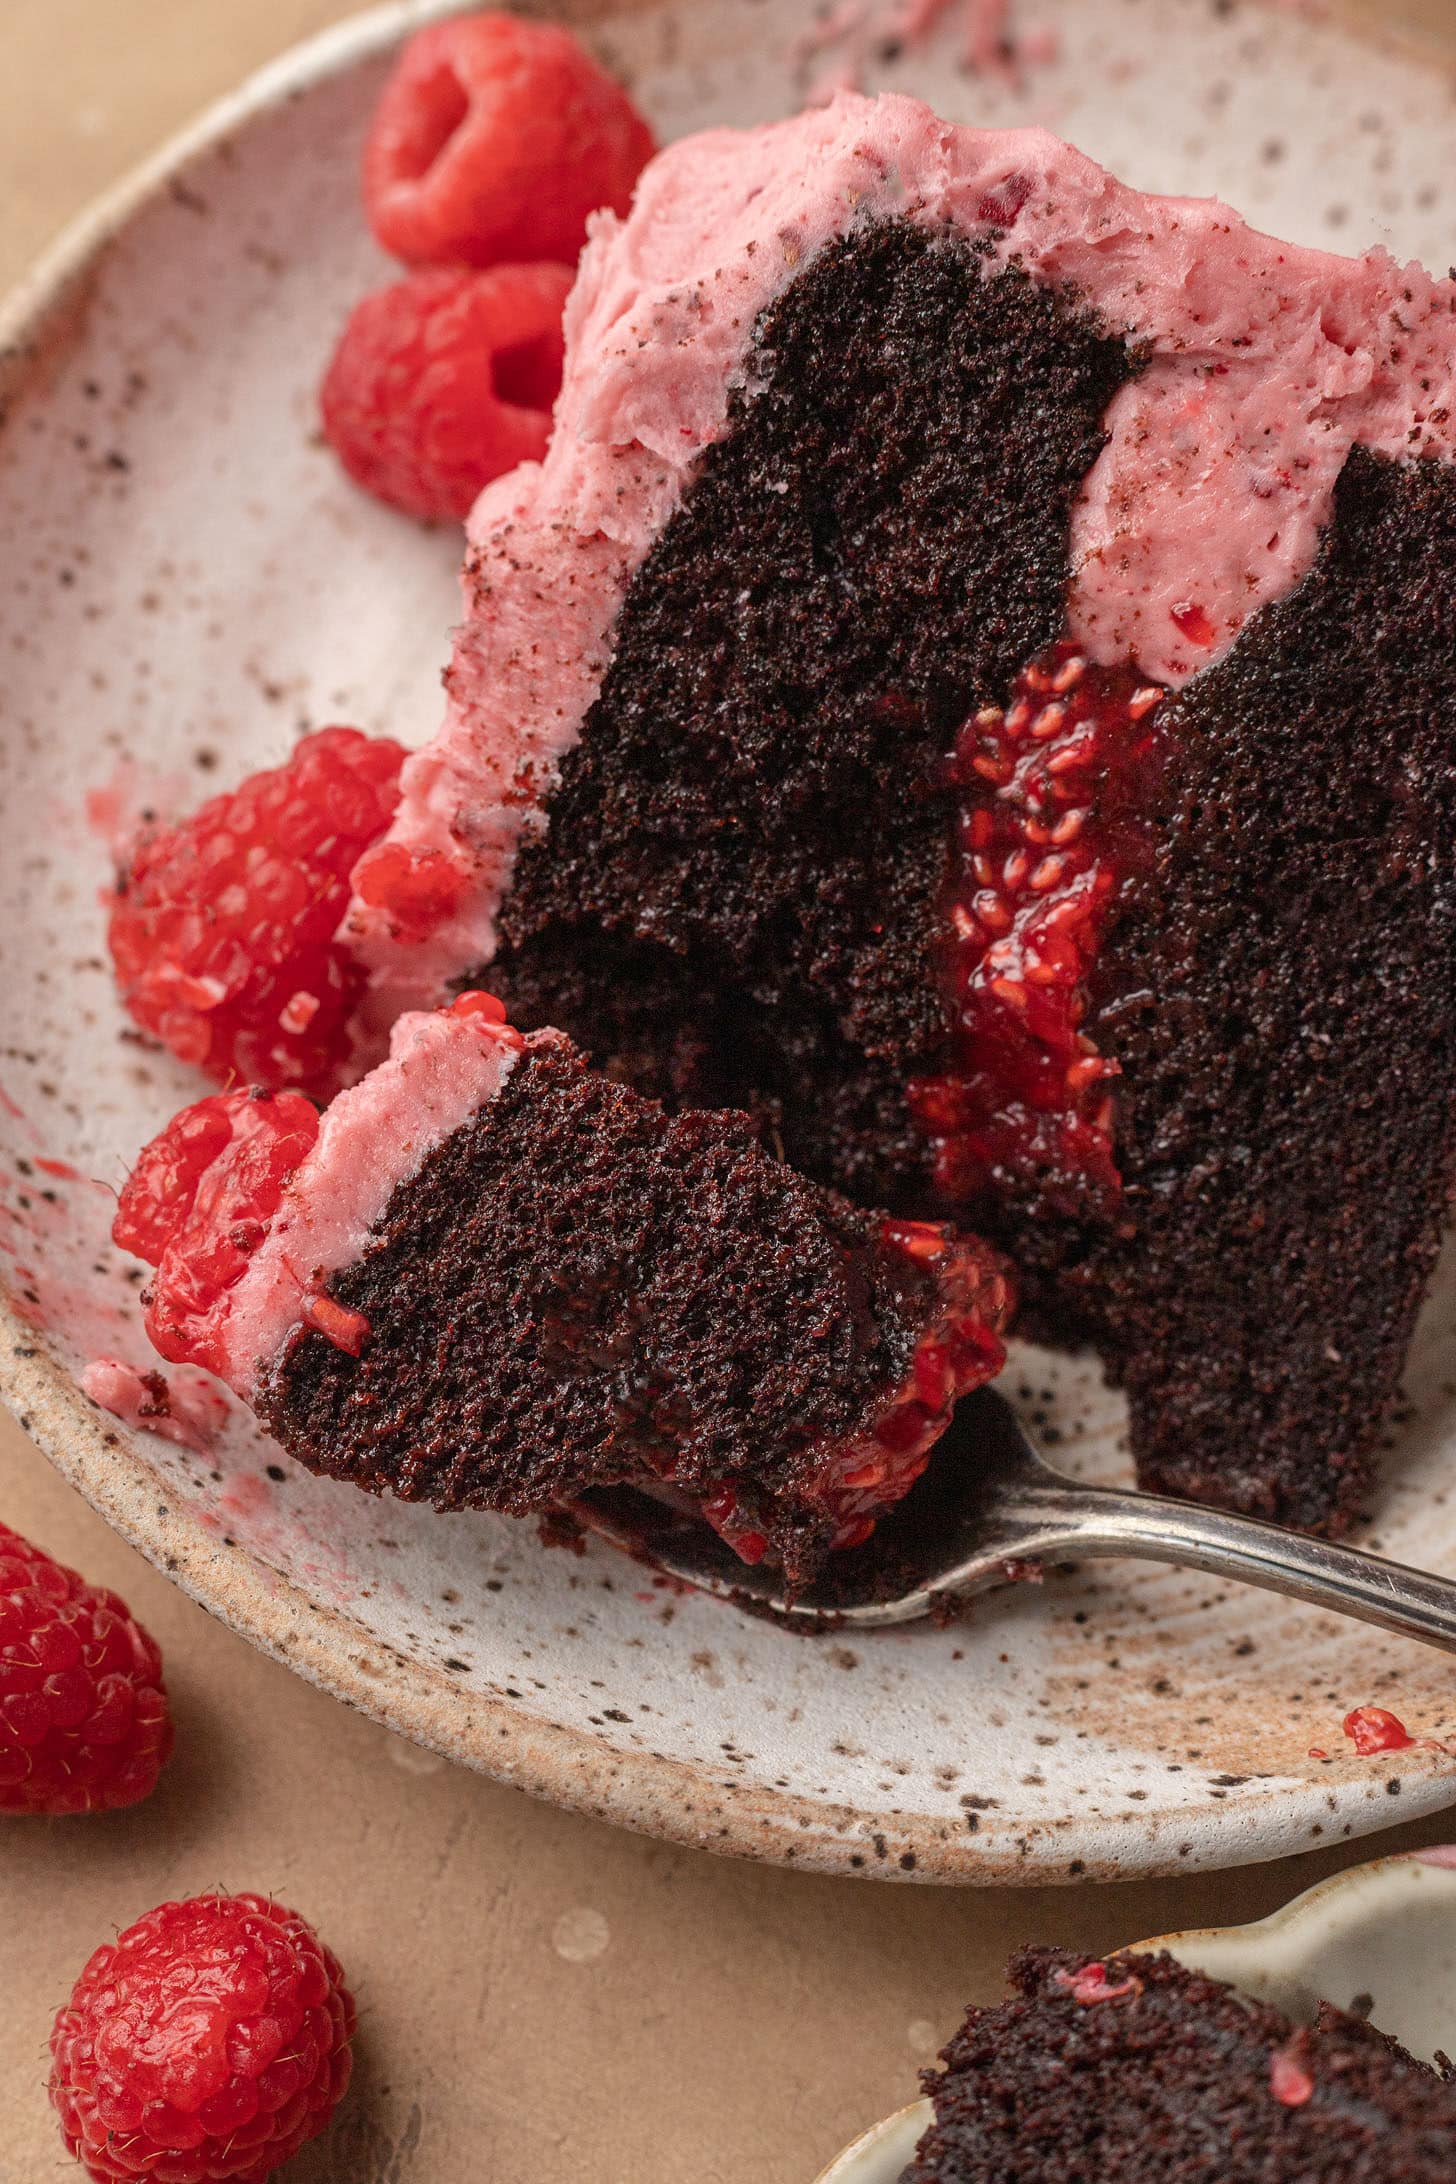
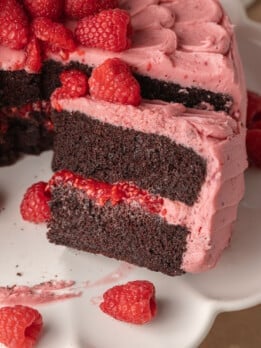
This chocolate raspberry cake has soft chocolate cake layers, is filled with a homemade raspberry filling, and then covered in raspberry buttercream! The filling can be made with fresh or frozen raspberries, so you can make this chocolate and raspberry cake all year long. Plus, the frosting is naturally pink thanks to freeze-dried raspberries!
Chocolate and fruit are always a win for me. A chocolate strawberry cake or raspberry chocolate chip cookies? Sign me up! This raspberry chocolate cake is the perfect combo of sweet from the chocolate and a slight tartness from the raspberries.
I think this layer cake is perfect for a birthday party, but also for Mother’s Day or a dinner party!
Why You’ll Love This Chocolate Raspberry Cake
- This chocolate raspberry cake gets tons of raspberry flavor thanks to a homemade raspberry filling and freeze-dried raspberry powder in the buttercream.
- The chocolate cake is super soft and moist, no dry cake here!
- You can easily make this cake dairy-free if you have food allergies.
Ingredients Needed
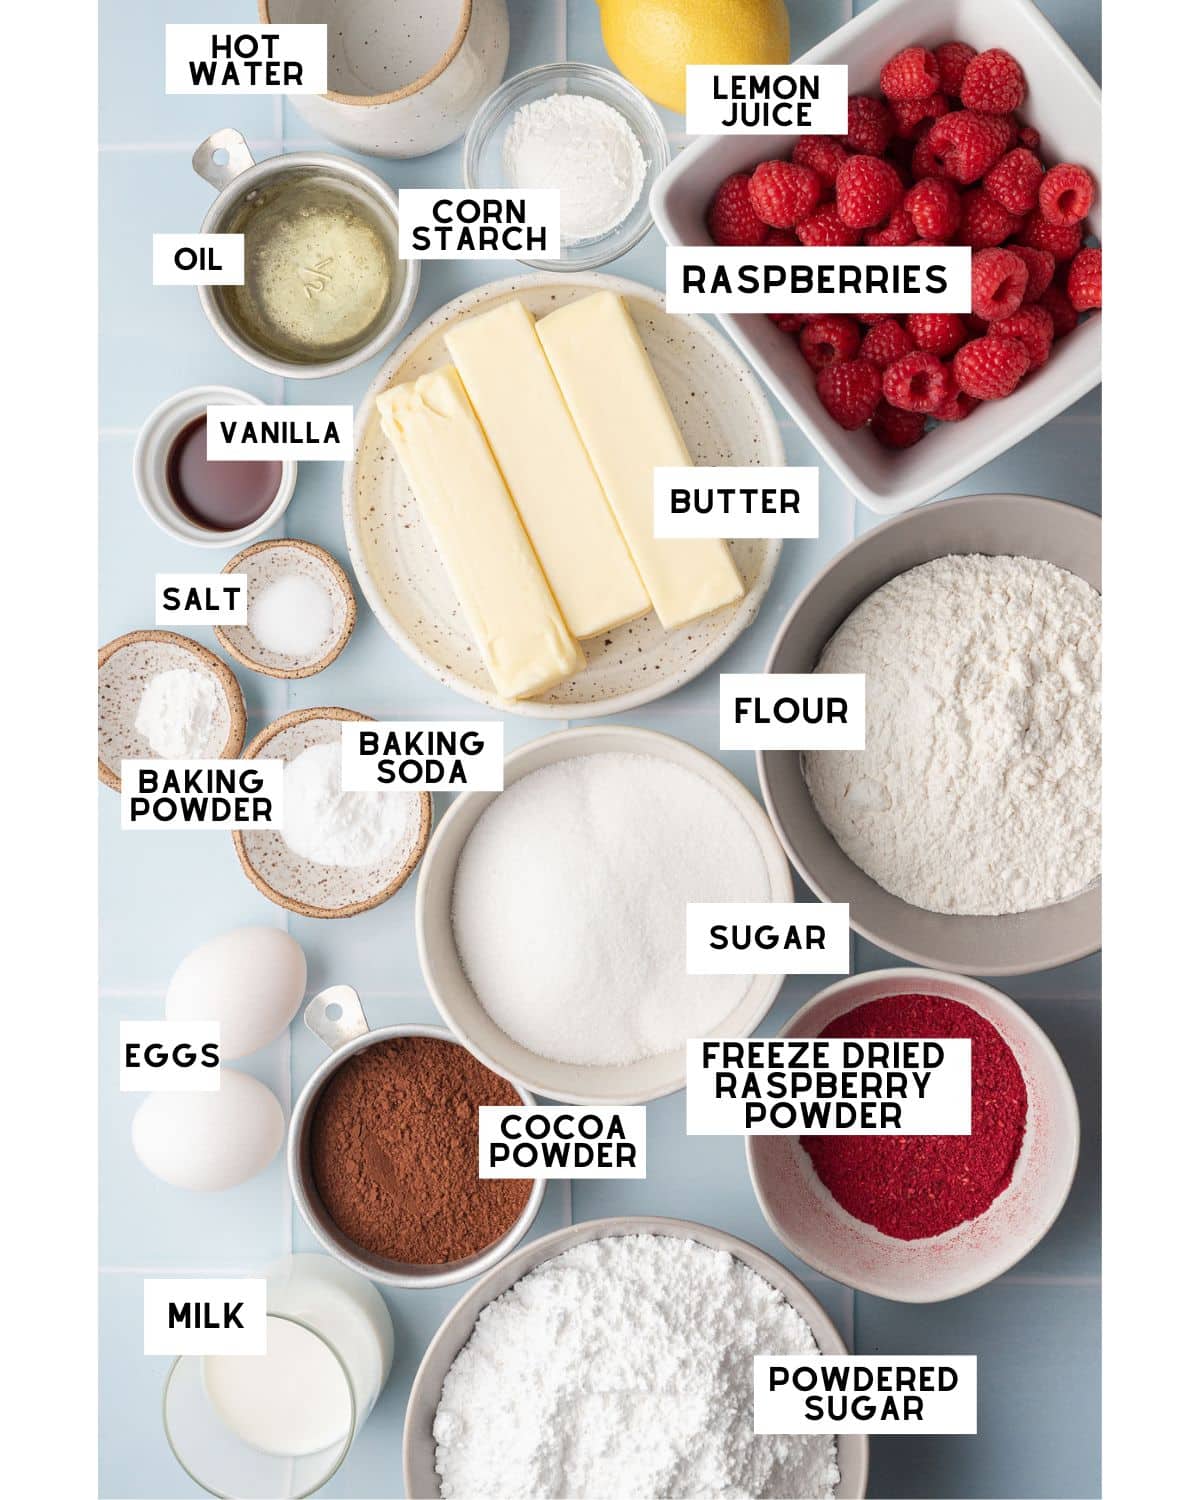
- Raspberries: I recommend using fresh raspberries, but you can swap them out for frozen raspberries.
- Freeze-Dried Raspberry Powder: I’m using ground-up freeze-dried raspberries, but you can use whole freeze-dried raspberries and grind them up yourself. Just make sure to re-measure the freeze-dried raspberries after you’ve ground them up!
- Oil: You can use any neutral oil, like sunflower oil or vegetable oil.
- Cocoa Powder: I’m using Dutch-processed cocoa powder, but you can swap it out for natural unsweetened cocoa powder if you prefer.
- Milk: Feel free to use regular milk or dairy-free milk.
- Butter: If you’re dairy-free like me, just use dairy-free butter for the frosting.
Step by Step Instructions
Step 1: In a small bowl, whisk the water and cornstarch together. Set aside.
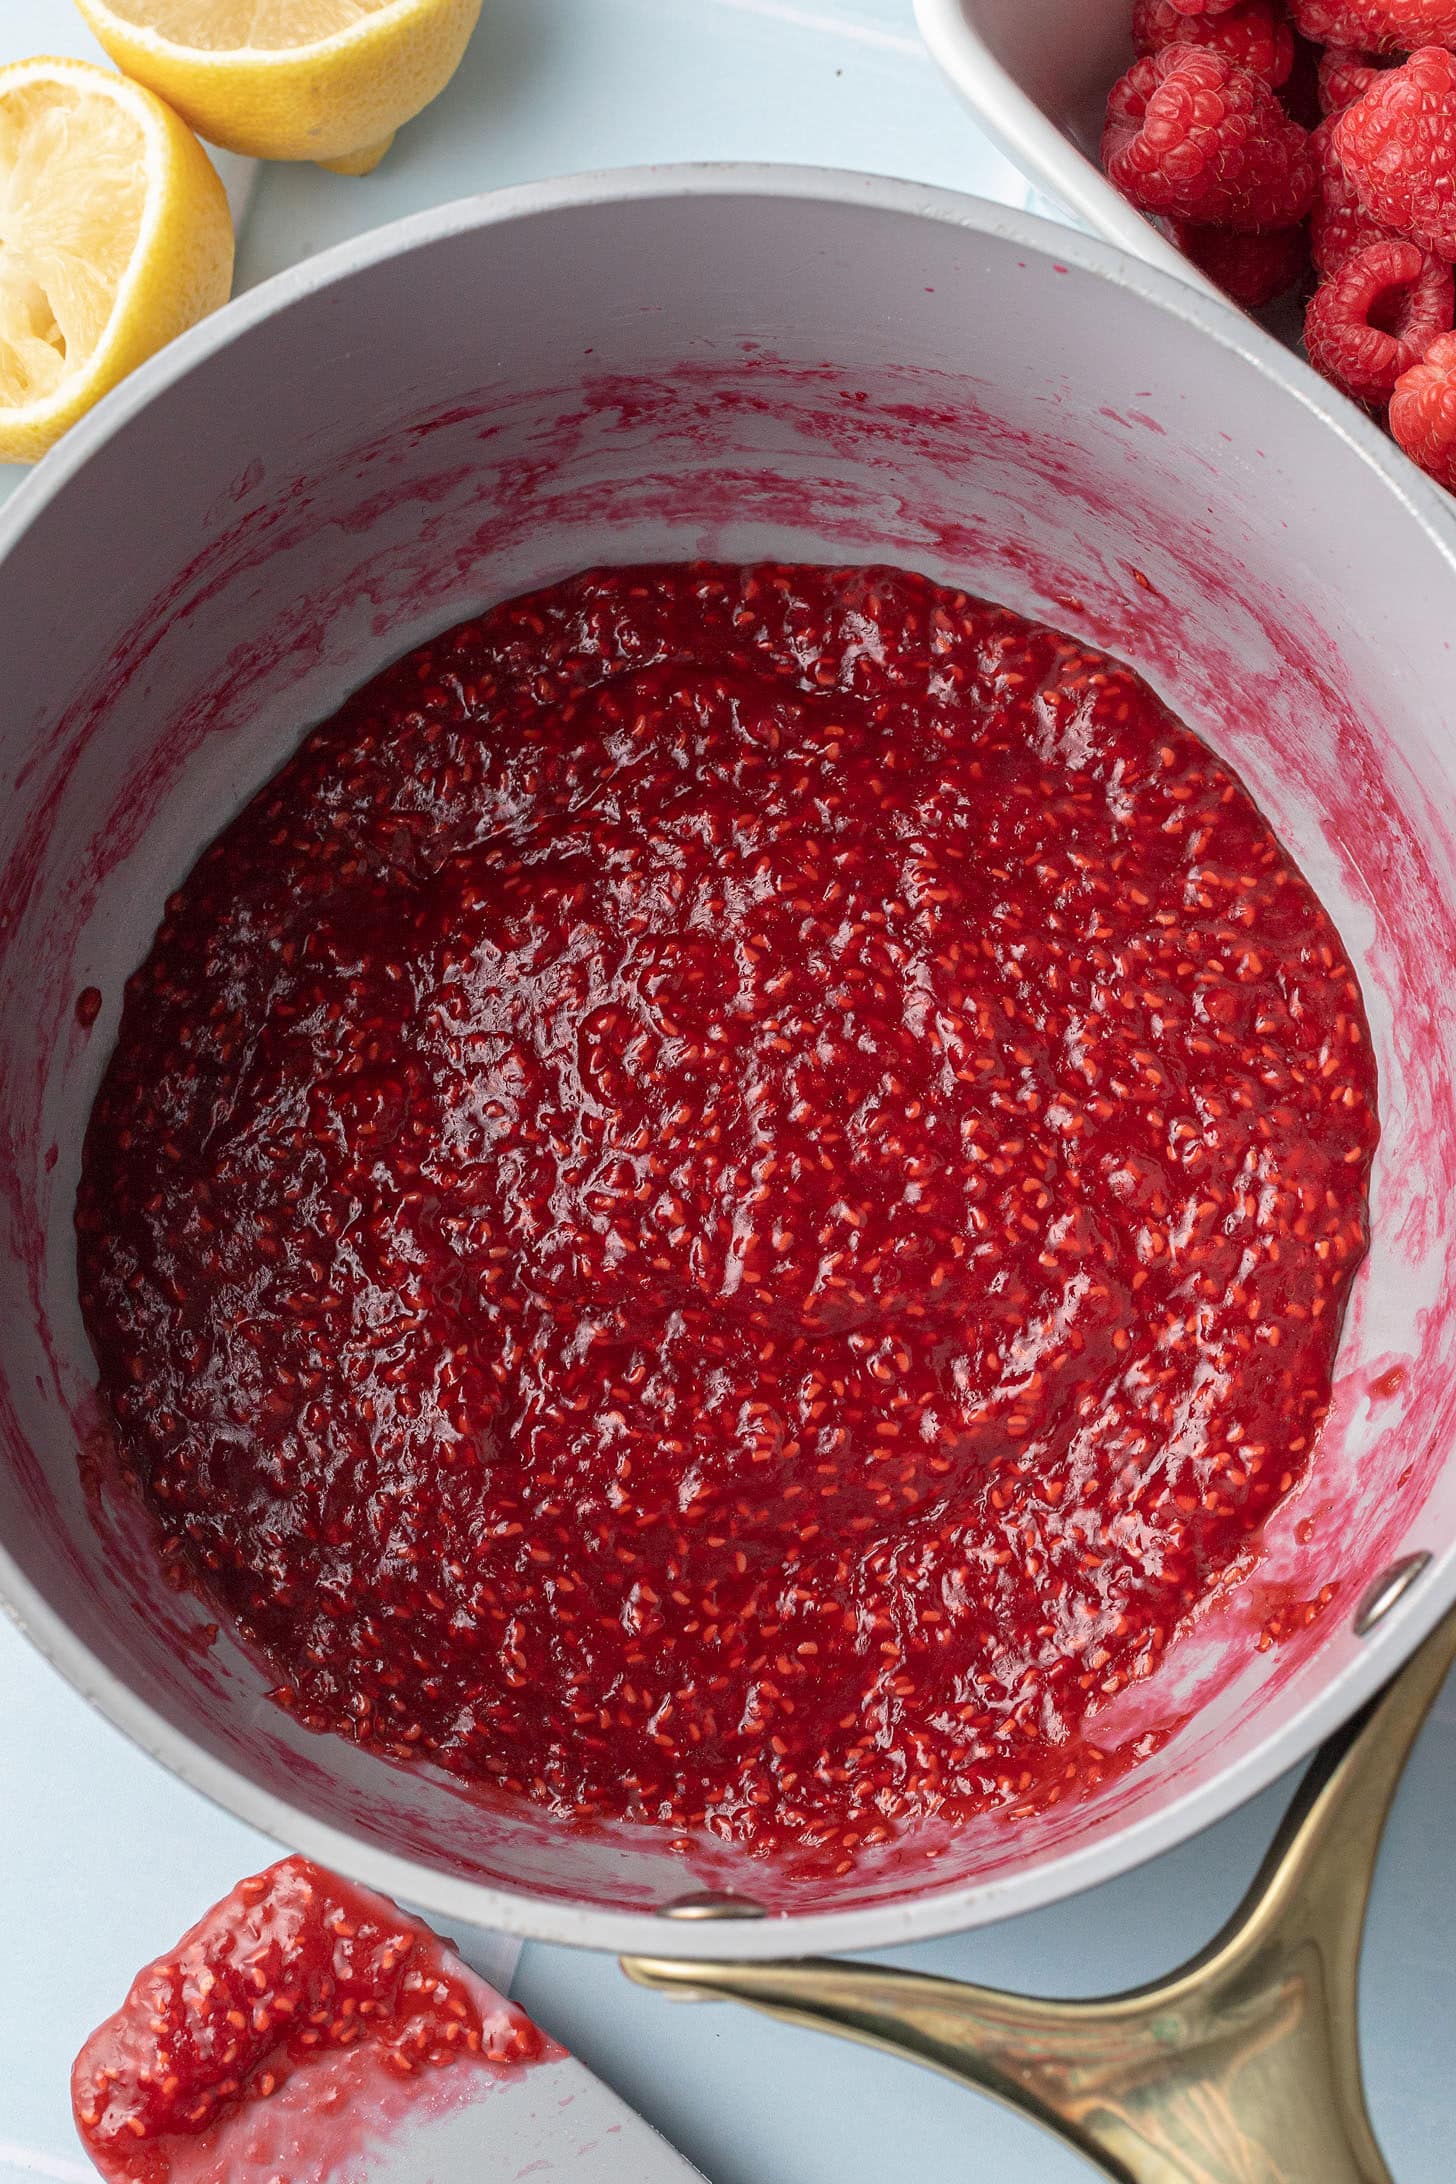
Step 2: Add the raspberries, lemon juice, and sugar to a medium pan and place on medium-low heat.
Step 3: Stir until the mixture begins to simmer. Reduce the heat and cook until it has reduced (8-10 minutes)
Step 4: Add the cornstarch mixture and stir together. The raspberry filling should thicken. Remove from the heat when the mixture coats the back of a spoon.
Step 5: Set aside and let it cool completely.
Step 6: Once cool, place in an airtight container or in a bowl covered with plastic wrap. Chill in the refrigerator for at least one hour.

Step 7: Preheat the oven to 350°Fahrenheit and spray two 8-inch cake pans with cooking spray. Line the bottoms of the pans with parchment paper.
Step 8: In a large bowl, whisk the flour with the cocoa powder, salt, sugar, baking soda, and baking powder.
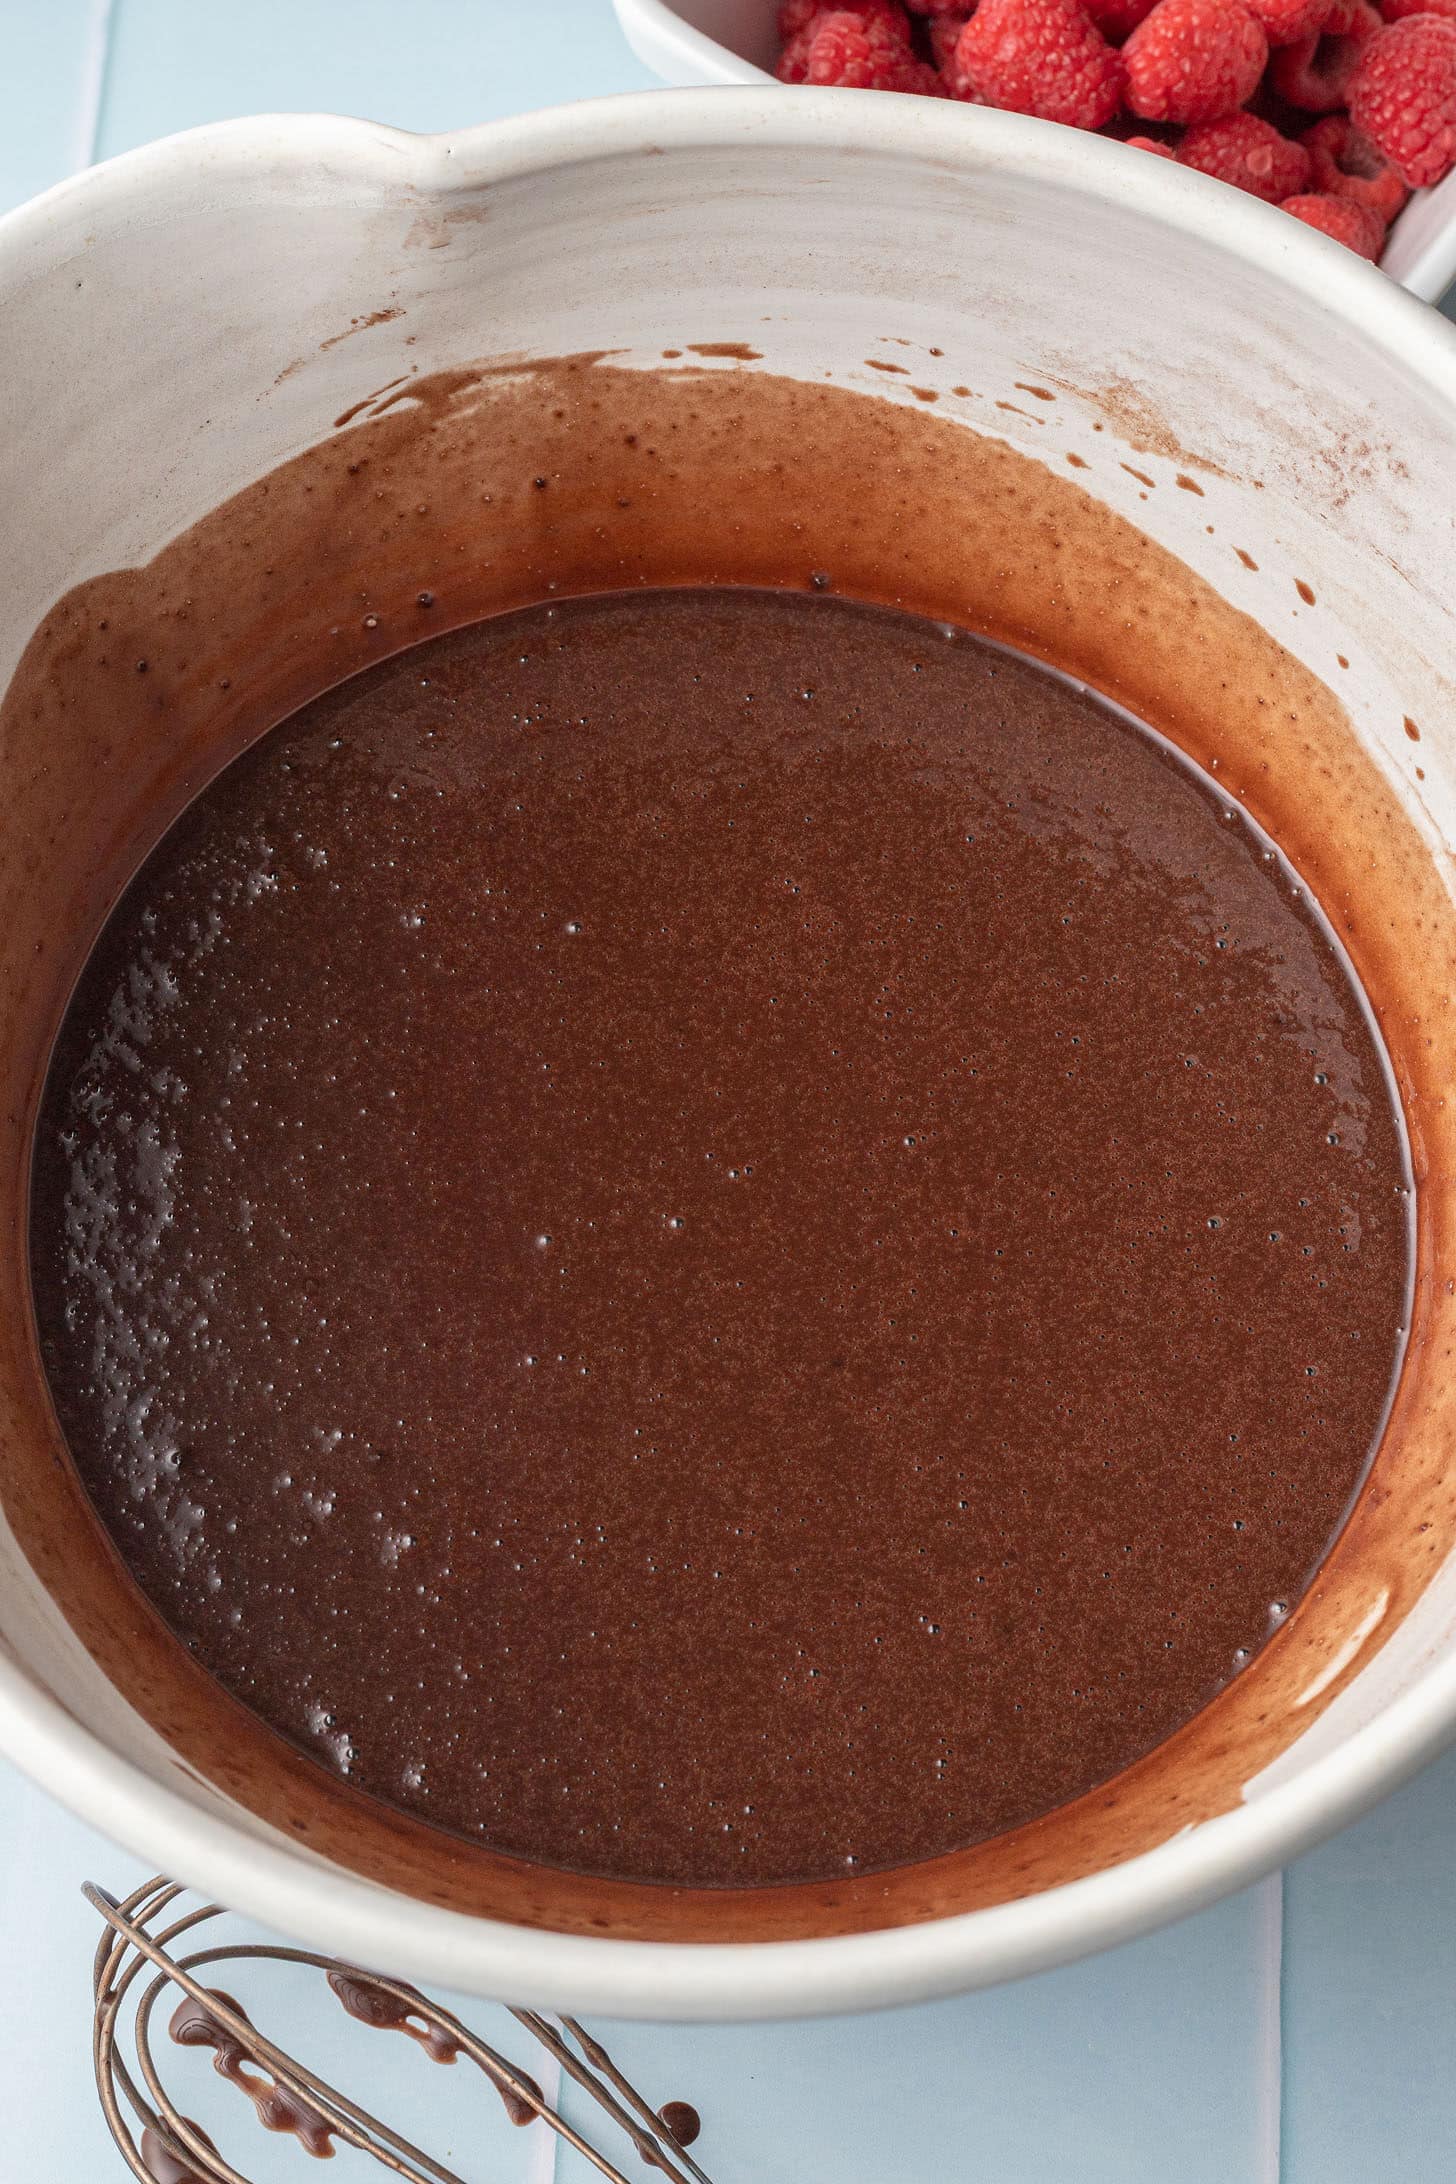
Step 9: Add the vanilla, oil, milk and eggs. Pour in the hot water and mix until smooth.
Step 10: Divide the cake batter evenly into the two prepared cake pans. Bake in the oven for 20-36 minutes, or until a toothpick inserted comes out clean.
Step 11: Let the cakes cool in the pan for 20 minutes, then remove to a wire cooling rack to cool completely.
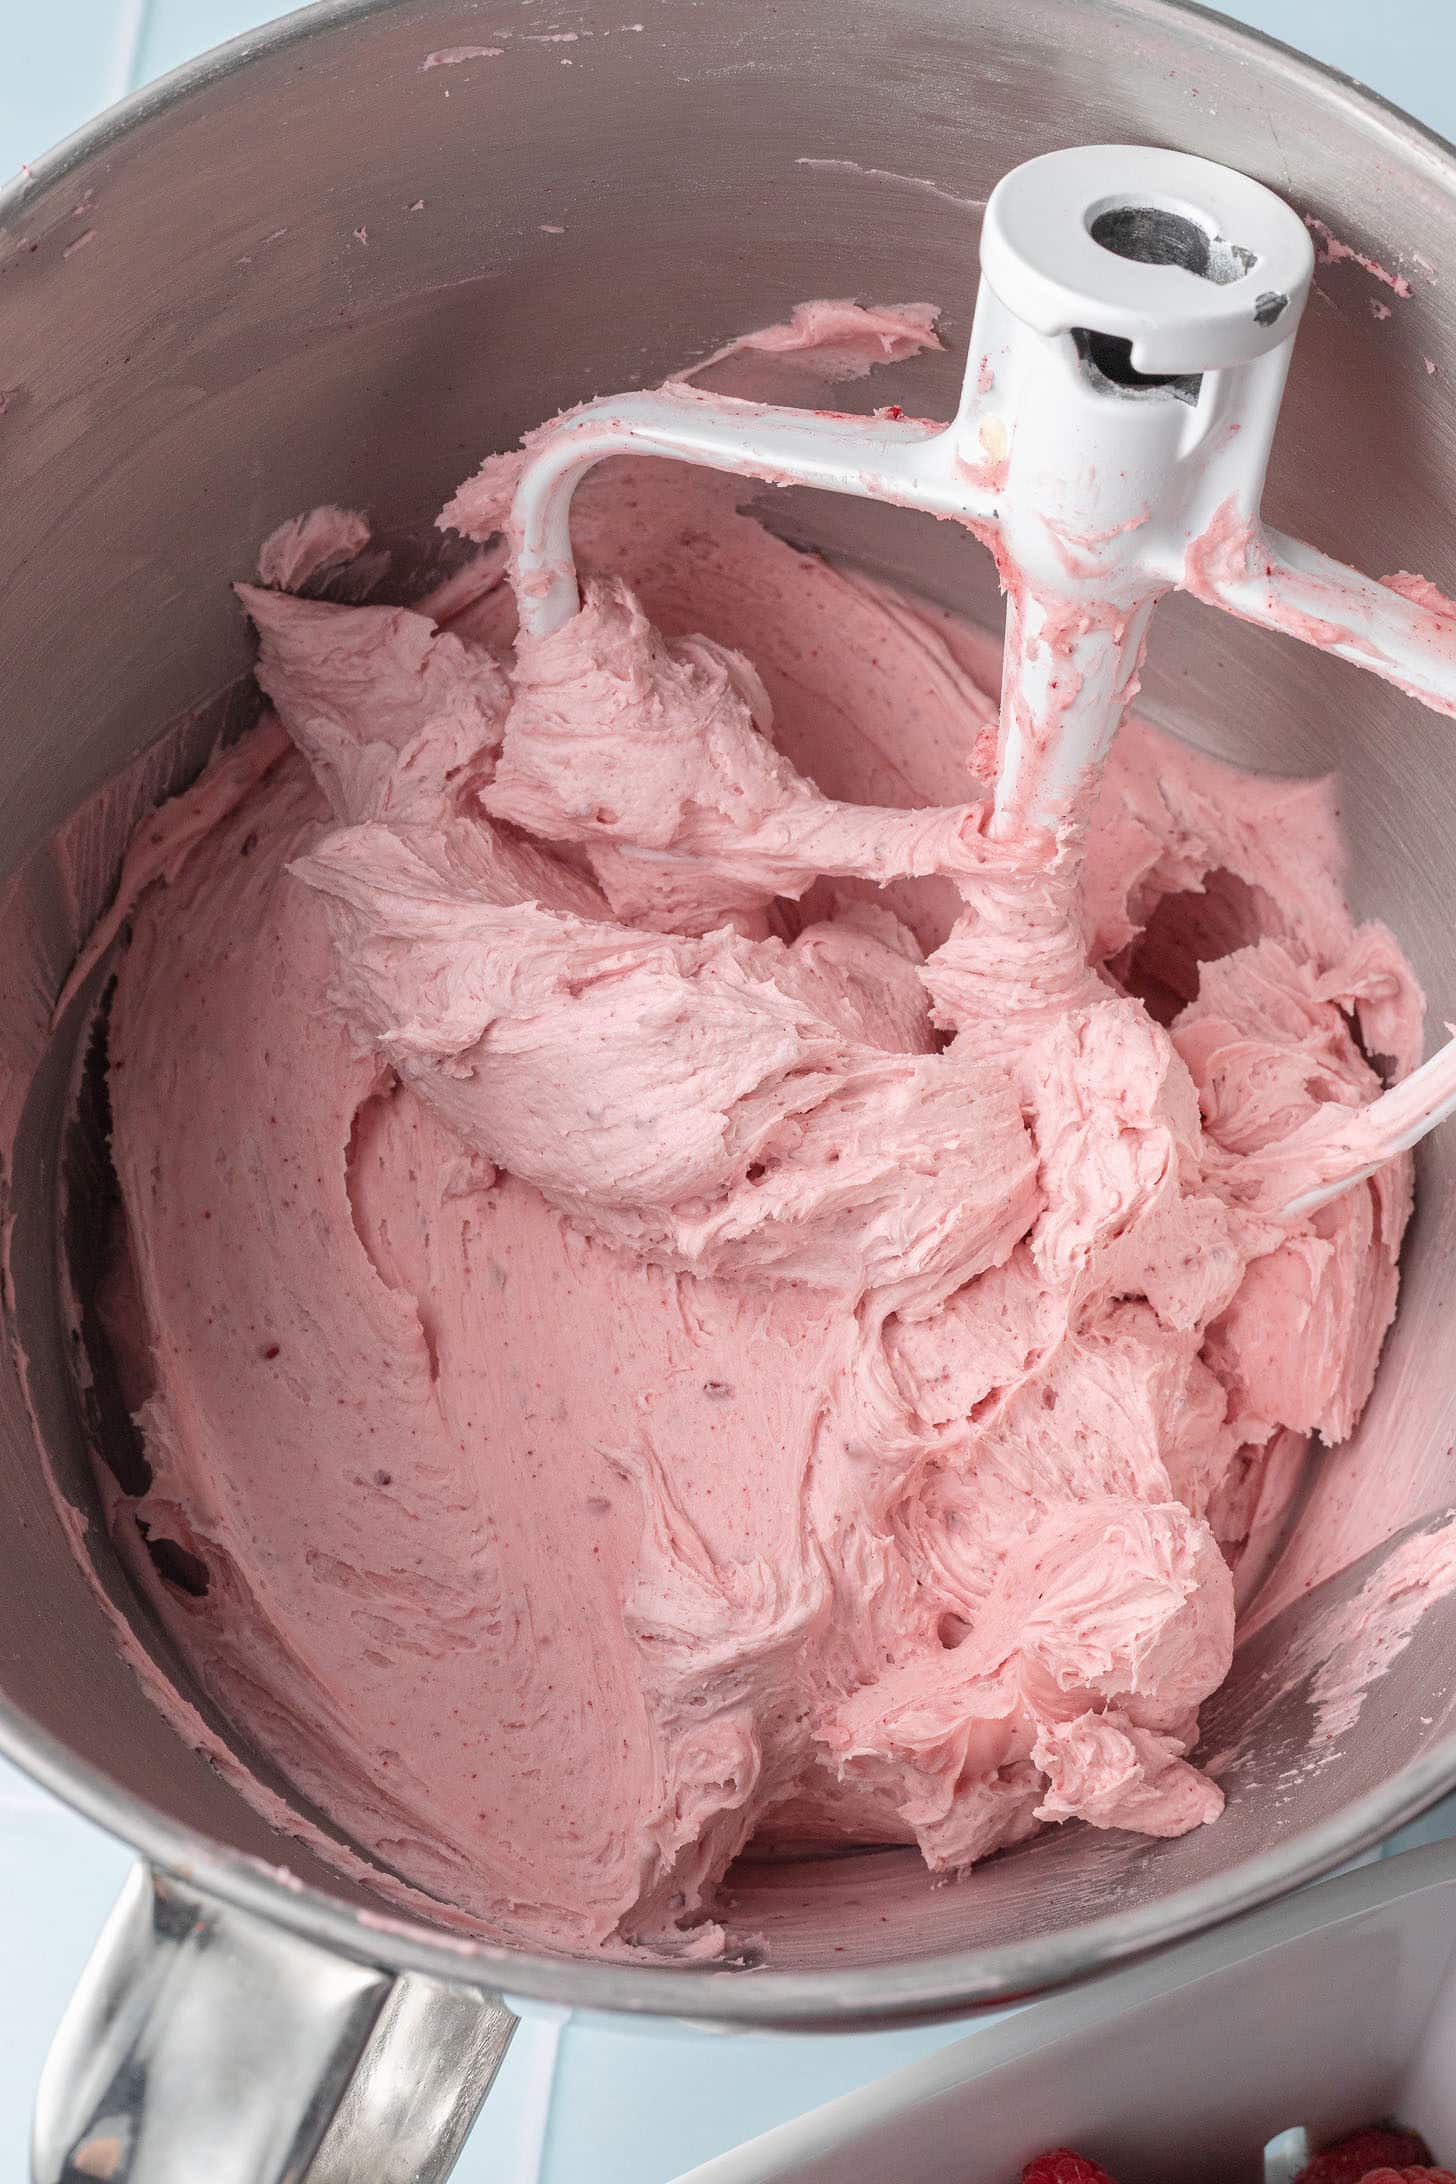
Step 12: While the cake cools, make your buttercream.
Step 13: In a large bowl, add the butter. Add the freeze-dried raspberry powder and slowly add in the powdered sugar, using a stand mixer or handheld mixer.
Step 14: If needed, you can add more powdered sugar until you reach your desired consistency. Add in 1-2 tablespoons of milk if your buttercream is too thick.
Step 15: Cover and refrigerate the frosting while the cake layers cool.
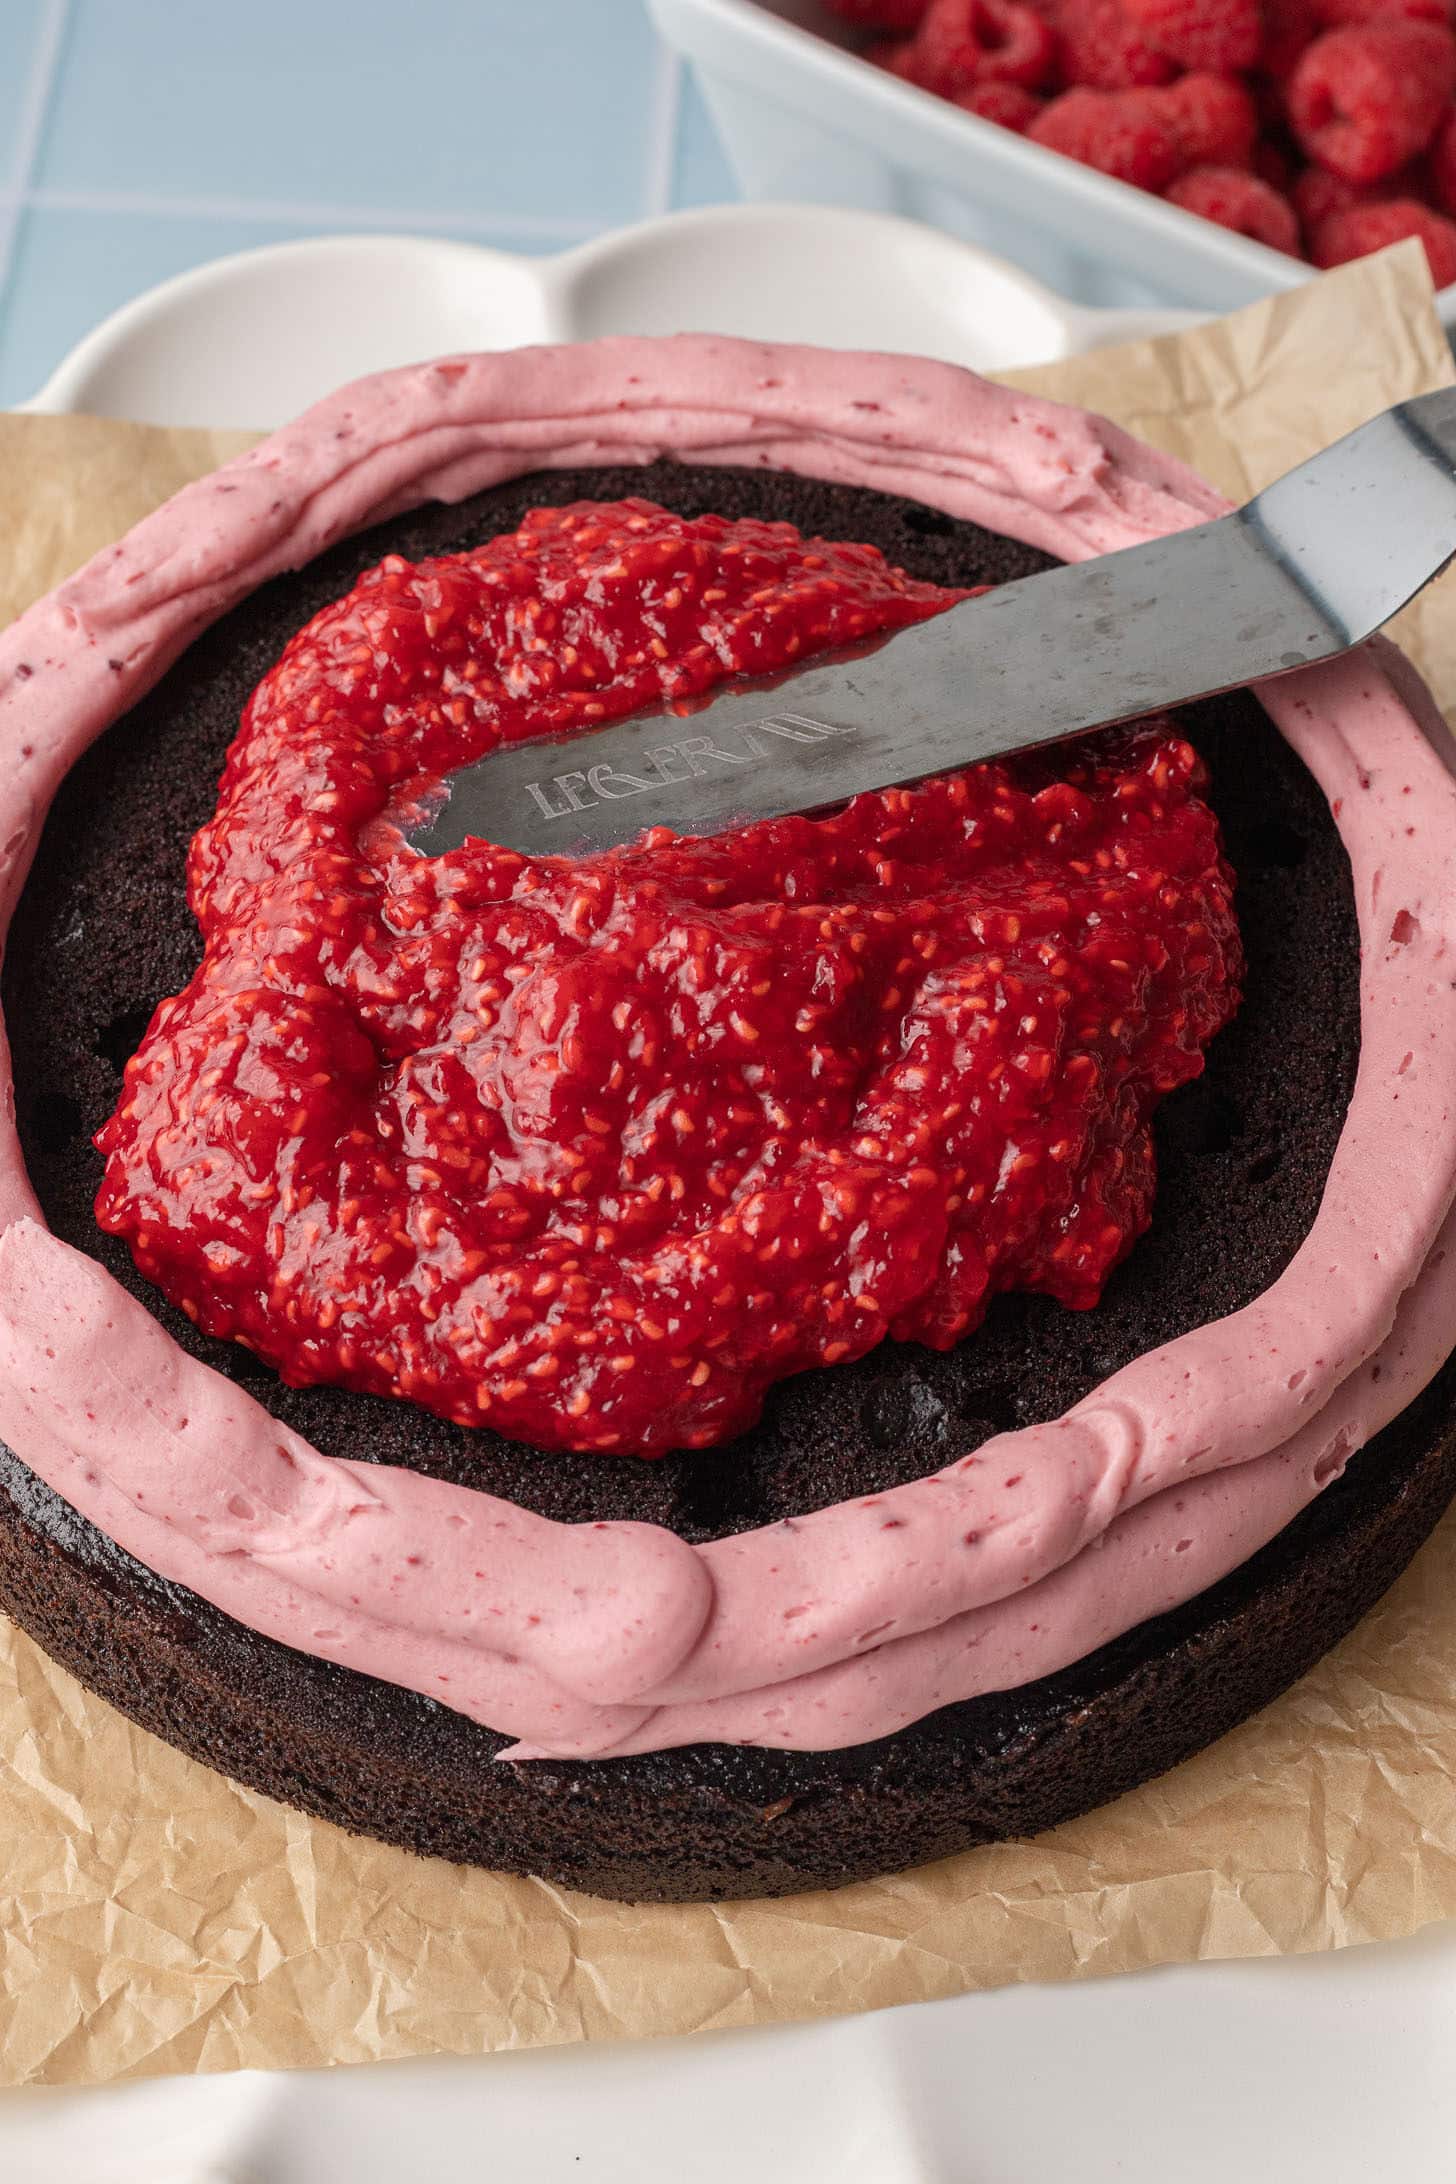
Step 16: Place one cooled cake layer onto your cake plate. Pipe a thick layer of frosting along the edge to create a border.
Step 17: Scoop the thickened raspberry filling onto the cake. Place the second cake layer on top.
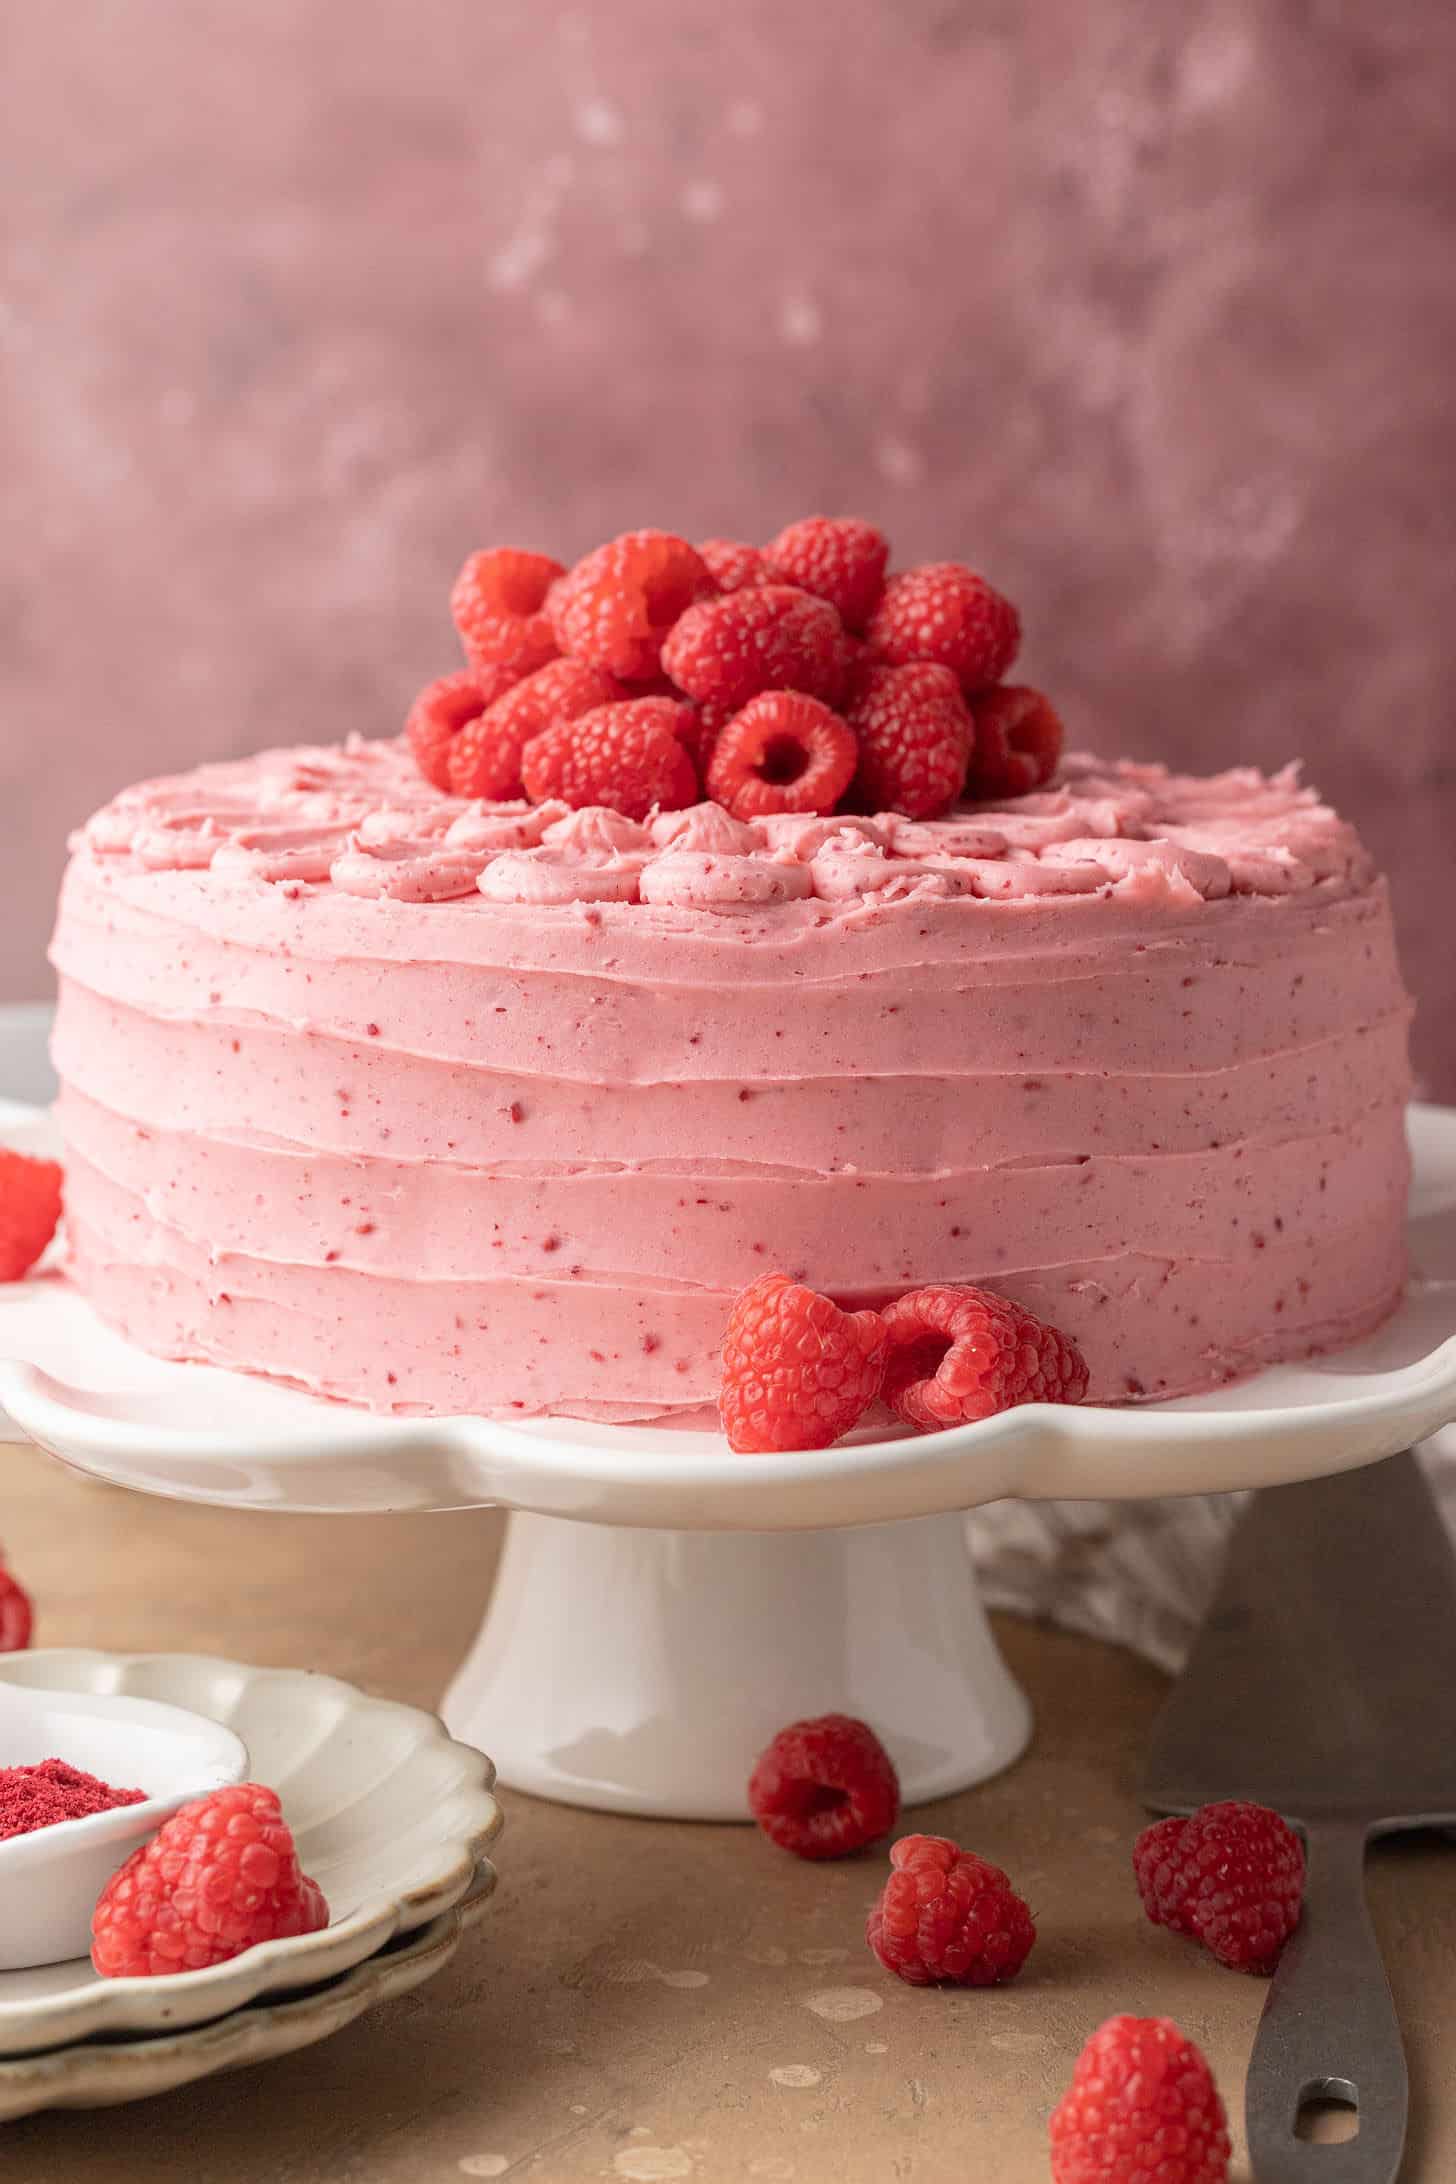
Step 18: Frost the cake and decorate as desired. Enjoy!
Fresh or Frozen Raspberries
While I do recommend using fresh raspberries for the filling, in a pinch, you can use frozen raspberries.
Fresh raspberries tend to work better because they have less water in them, so if you’re using frozen raspberries, just note you’ll have to cook them down for longer.
Expert Tips
- I always recommend using a kitchen scale to weigh out your ingredients! It’s super easy to add too much flour or cocoa powder, which will make your cake dry.
- If you don’t have a kitchen scale, then make sure to use the scoop and level method to weigh out your flour.
- This buttercream recipe makes enough frosting to decorate the cake. If you don’t need that much buttercream, then just make ⅔ of the buttercream recipe or freeze leftovers.
- If you’re a chocolate lover, swap out the raspberry frosting for chocolate frosting!
Storage Instructions
Store the cake in an airtight container in the fridge for up to 4-5 days.
To make this cake ahead of time, make the chocolate cake layers and let them cool. Wrap them in parchment paper and then foil. Place in freezer bags and freeze for up to 3 months. Let thaw at room temperature.
If you have leftover buttercream, store it in an airtight container and freeze it for up to 2 months. Let thaw in the refrigerator, and then re-whip with a handheld mixer.
More Recipes You’ll Love


If you make this recipe, let me know how it went in the comments below, I’d love to hear from you! You can also tag me on Instagram or Facebook so I can check it out!
Baking FAQ
These are the topics I’m asked about most frequently:
You can get these answers and more in my frequently asked questions post!
Chocolate Raspberry Cake
Ingredients
Raspberry Cake Filling
- 2 cups fresh raspberries, (may sub frozen)
- ¼ cup (50 g) granulated sugar
- ½ Tablespoon lemon juice
- 1 Tablespoon water
- 1 Tablespoon cornstarch
Chocolate Cake
- 1½ cup (188 g) all-purpose flour
- 1¼ cup (250 g) granulated sugar
- ½ teaspoon salt
- 1½ teaspoon baking soda
- ½ teaspoons baking powder
- ¾ cup (65 g) dutch processed cocoa powder
- 2 eggs
- 1 teaspoon vanilla extract
- 1 cup (225 ml) water, hot
- ½ cup (108 ml) sunflower, grapeseed, or canola oil
- ½ cup (125 ml) milk of choice, (regular or dairy free)
Raspberry Buttercream
- 1¾ cup (368 g) butter, softened, (regular or dairy free) SEE NOTES
- 4 cups (480 g) powdered sugar (icing sugar)
- 2½ Tablespoons (12 g) freeze dried raspberry powder , (or freeze dried whole raspberries ground into a powder using a food processor/blender)
Instructions
Raspberry Cake Filling
- In a small bowl, whisk cornstarch and water together until combined and set aside.
- Add raspberries, sugar, and lemon juice to a medium or large pan on medium low heat.
- Stir to combine and continue stirring every few minutes until the mixture reaches a simmer. Reduce the heat to low and cook until the mixture has reduced. This should take around 8-10 minutes.
- Add the cornstarch slurry into the pan and stir to combine. The mixture will continue to thicken for a few more minutes. Remove from heat when the mixture sticks to the back of a spoon.
- Set aside and allow the mixture to cool completely (it will continue to thicken as it cools).
- Once cooled, transfer the filling to an airtight container or a bowl tightly covered with plastic wrap and refrigerate for at least one hour before using.
Chocolate Cake
- Preheat the oven to 350°F and prepare two 8 inch round cake pans. Spray the inside with cooking spray, then cut out pieces of parchment paper so that they fit in the bottom of each pan (do not skip this step!). Set the pans aside.
- Whisk flour, cocoa powder, sugar, salt, baking powder, baking soda together in a large bowl.
- Add in the eggs, vanilla, oil, and milk. Pour in the hot water and mix until smooth.
- Divide the batter evenly between the two cake pans and bake on the middle rack of the oven for 20-26 minutes or until a toothpick inserted in the middle of the cakes comes out clean.
- Let the cakes cool in the pans for 20 minutes, then run a butter knife around the outside of the cake to loosen it from the pan and flip upside down onto a cooling rack to cool completely.
- While the cakes cool, make the buttercream.
Raspberry Buttercream
- Add the butter to a large bowl. Add in the freeze dried raspberry powder and then slowly add in powdered sugar, using a standing mixer or handheld mixer to mix until combined.
- If needed, slowly add in more powdered sugar until it reaches your desired consistency. Add in 1-2 Tablespoons of milk if the buttercream is too thick.
- Cover and refrigerate until the cakes have cooled completely.
Assembling the Cake
- Once the cake layers and filling have cooled completely, assemble the cake. Place one cake layer onto your cake plate and pipe a thick layer of frosting on top of the cake along the edges, like a border (photos in the post above for reference).
- Scoop the raspberry filling onto the cake, so that there is a circle of buttercream around it. Place the second cake layer on top.
- Frost the cake and decorate as desired. Leftover buttercream can be frozen.
Equipment

Notes
The calorie information provided for this recipe is an estimate. The accuracy of the calories listed is not guaranteed.
Photography by: Kelly at Bake & Bacon